Using a Beauty Blender for Foundation: Tips and Tricks for Flawless Coverage
Welcome to our comprehensive guide on how to use a beauty blender for foundation! If you’re someone who loves makeup, you’ve probably heard of the beauty blender. It’s a versatile and easy-to-use tool that can help you achieve a flawless complexion. Whether you’re new to makeup or an experienced makeup artist, this guide will provide you with tips and tricks to make your foundation application smoother and more natural-looking.
What is a Beauty Blender?
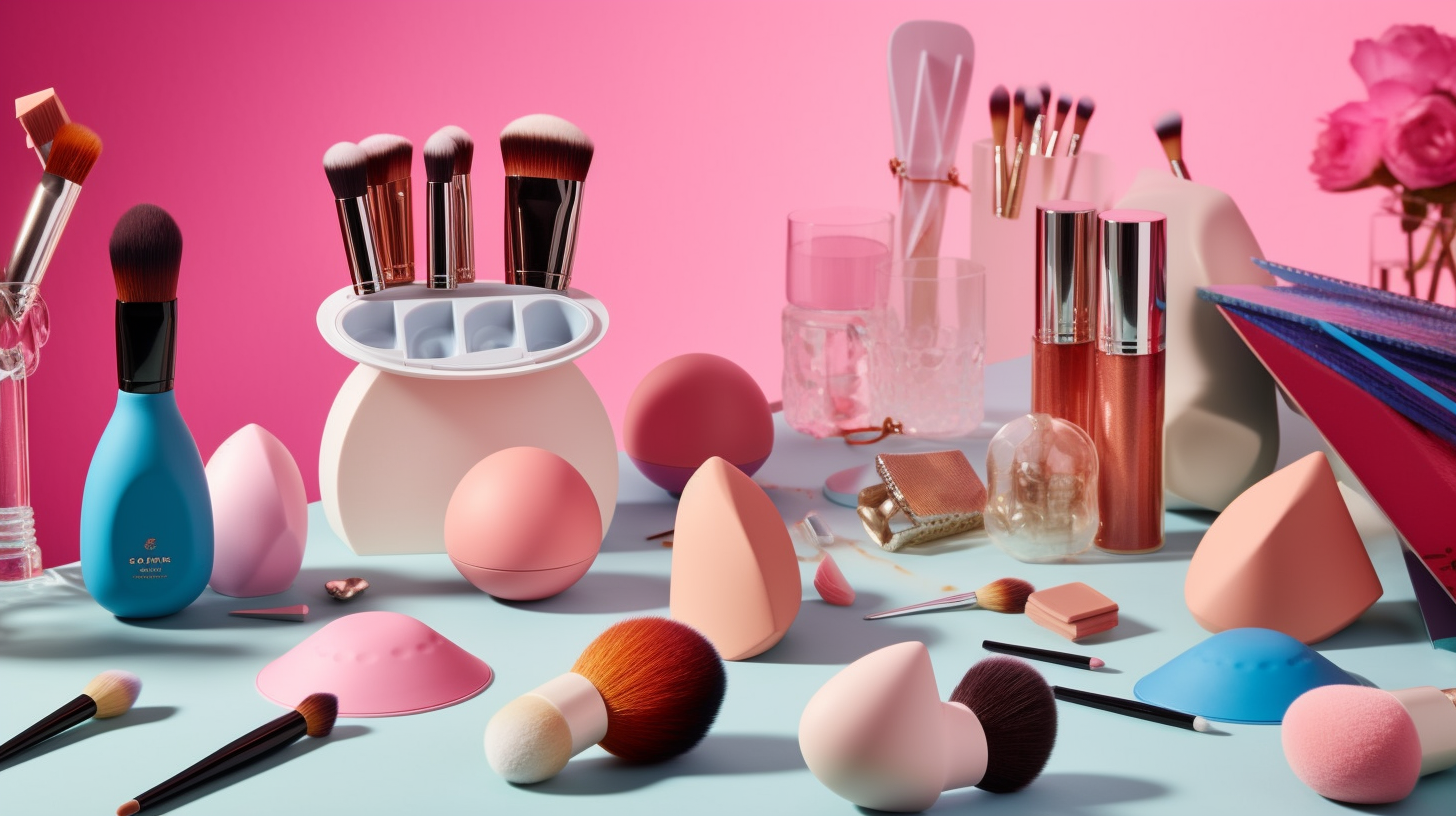
A beauty blender is a small, egg-shaped sponge that is used for makeup application. It was first introduced by makeup artist Rea Ann Silva in 2003 and quickly became popular among professional makeup artists and beauty enthusiasts alike. The original beauty blender is made of latex-free foam and has a unique shape that allows it to be used for various purposes, including applying foundation, concealer, blush, and highlighter.
The beauty blender is designed to be used wet or dampened before use, which helps the sponge expand and become softer. This helps it blend the product into the skin more seamlessly. The sponge’s shape also makes it easy to reach hard-to-reach areas like around the nose or under the eyes.
Why Use a Beauty Blender for Foundation?
Using a beauty blender for foundation has several benefits over other application methods. Here are some of them:
- The sponge’s unique texture allows for even distribution of product, resulting in a more natural-looking finish.
- The sponge’s shape makes it easy to reach all areas of the face, including around the nose and under the eyes.
- The dampness of the sponge helps create a dewy finish that looks fresh and healthy.
- Using a beauty blender reduces waste since it absorbs less product than other tools like brushes or fingers.
How to Use a Beauty Blender for Foundation
Now that you know what a beauty blender is and why it’s beneficial to use one for foundation application, let’s dive into the step-by-step process of using it:
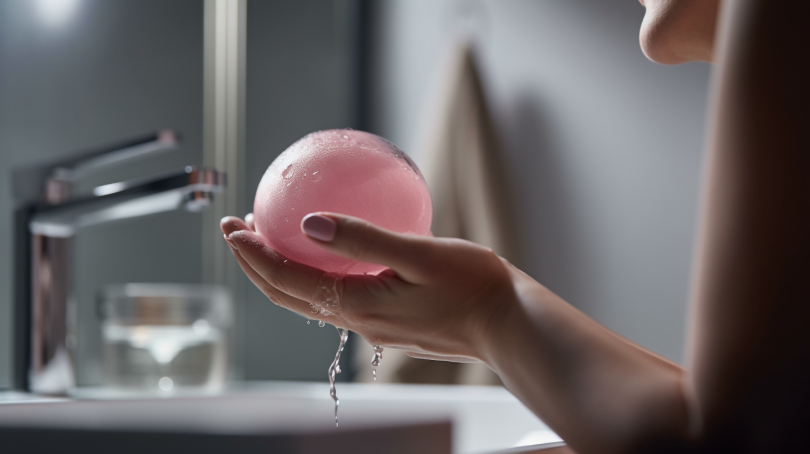
Step 1: Wet the Beauty Blender
The first step in using a beauty blender for foundation is to wet the sponge. To do this, hold the sponge under running water for a few seconds or soak it in a bowl of water until it’s completely saturated. Make sure to squeeze out any excess water so that the sponge is damp but not dripping.
Step 2: Apply Foundation to Your Face
Next, apply your foundation directly onto your face in small dots or lines. You can use your fingers, a brush, or a spatula to do this.
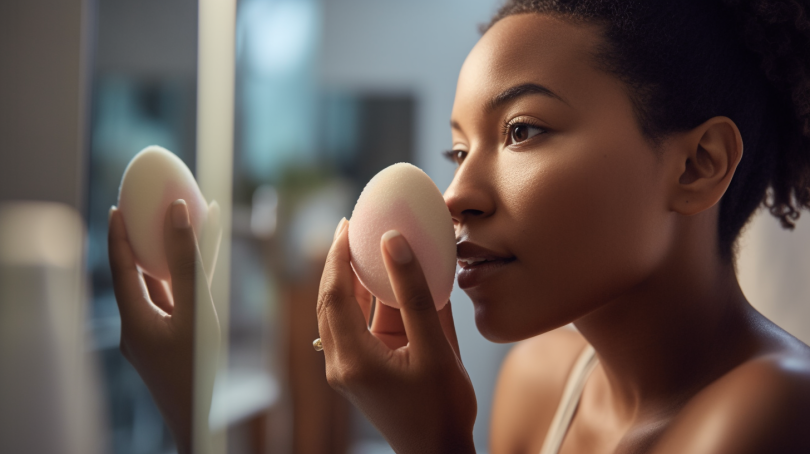
Step 3: Blend with the Beauty Blender
Using a bouncing motion, gently press the damp beauty blender onto your skin. Start at the center of your face and work outward towards your hairline and jawline. Make sure to blend evenly and avoid leaving any harsh lines or streaks.
You can also use the pointed end of the beauty blender to reach hard-to-reach areas like around the nose and under the eyes. For extra coverage, you can build up layers of foundation by repeating steps 2 and 3 until you achieve your desired coverage.
Tips and Tricks for Using a Beauty Blender for Foundation
Here are some additional tips and tricks that can help you get the most out of your beauty blender:
- Clean your beauty blender after each use to prevent bacteria buildup. You can wash it with soap and water or use a specialized beauty blender cleanser.
- Use the pointed end of the beauty blender to apply concealer or cream contour for more precise application.
- You can also use the flat edge of the beauty blender to apply powder or set your foundation without disturbing the product underneath.
- For a more natural-looking finish, mix a drop of facial oil or moisturizer with your foundation before applying it with the beauty blender. This will help create a more dewy, radiant finish.
The Pros and Cons of Using a Beauty Blender for Foundation
Like any makeup tool, using a beauty blender for foundation has its pros and cons. Here are some things to consider:
Pros:
- The sponge’s unique texture allows for even distribution of product, resulting in a more natural-looking finish.
- The sponge’s shape makes it easy to reach all areas of the face, including around the nose and under the eyes.
- The dampness of the sponge helps create a dewy finish that looks fresh and healthy.
Cons:
- A beauty blender can be more time-consuming than other application methods like using your fingers or a brush.
- A beauty blender needs to be cleaned after each use, which can be inconvenient if you’re short on time.
- A beauty blender may absorb more product than other tools like brushes or fingers, which can lead to waste.
Conclusion
We hope this guide has provided you with valuable information on how to use a beauty blender for foundation. Remember, using a beauty blender is all about finding what works best for you and your skin. With a little practice and experimentation, you’ll be able to achieve a flawless complexion that looks natural and radiant.