Discover the Ultimate Bath Bomb Recipe for a Relaxing and Luxurious Soak
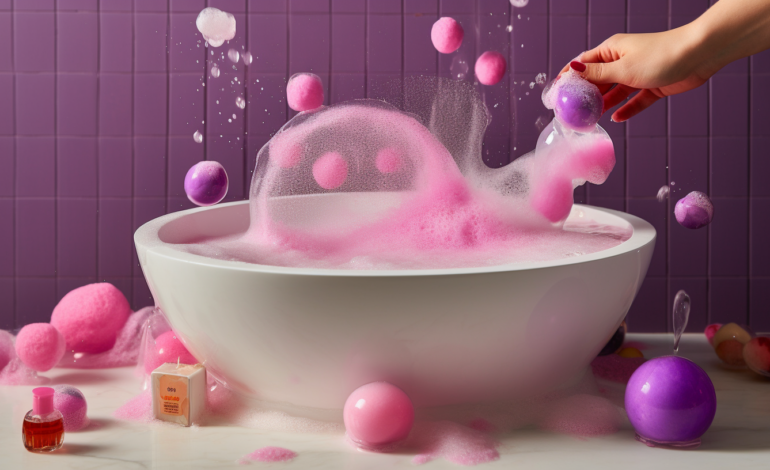
Welcome to the world of DIY bath bombs! There’s nothing quite like sinking into a warm, fizzy bath after a long day, and bath bombs can take your relaxation game to the next level. Not only do they smell amazing, but they also add a touch of luxury to your bath time routine. If you’re interested in creating your own bath bombs, you’ve come to the right place.
Why Make Your Own Bath Bombs?
You may be wondering why you should bother making your own bath bombs when there are so many available for purchase. Here are just a few reasons:
- Homemade bath bombs are customizable – you can choose your own scents and colors
- You know exactly what ingredients are going into them
- Making your own can be more cost-effective than buying pre-made ones
- It’s a fun and creative DIY project
Now that we’ve convinced you to give it a try, let’s dive into the ultimate bath bomb recipe for a relaxing and luxurious soak.
Gathering Materials
Before we get started on the recipe itself, let’s make sure we have everything we need:
- Baking soda (1 cup)
- Citric acid (1/2 cup)
- Cornstarch (1/2 cup)
- Epsom salt (1/2 cup)
- Coconut oil (3 tablespoons)
- Essential oils (20-30 drops) – choose your favorite scent(s)
- Foaming soap dye or food coloring (optional)
- Water (1-2 tablespoons)
- Bath bomb molds
You can find most of these ingredients at your local grocery store or online. As for the bath bomb molds, you can use silicone molds, plastic Christmas ornaments, or even muffin tins. You just want something that will hold the mixture in a round shape while it dries.
Step-by-Step Instructions
Now that we have everything we need let’s get started on making our bath bombs:
- In a large mixing bowl, combine the baking soda, citric acid, cornstarch, and epsom salt. Use a whisk to thoroughly mix the dry ingredients together.
- In a separate small bowl or measuring cup, melt the coconut oil in the microwave for 20-30 seconds. Add your chosen essential oils to the melted coconut oil and stir to combine.
- Add the oil mixture to the dry ingredients and mix well with a whisk. The mixture should be crumbly but hold together when squeezed in your hand.
- If you’re using a dye or food coloring, add it now and mix well. Be careful not to add too much – you want just enough to give your bath bombs a hint of color.
- Add water one tablespoon at a time and mix well with your hands until the mixture is damp enough to stick together but not too wet. It should feel like slightly damp sand.
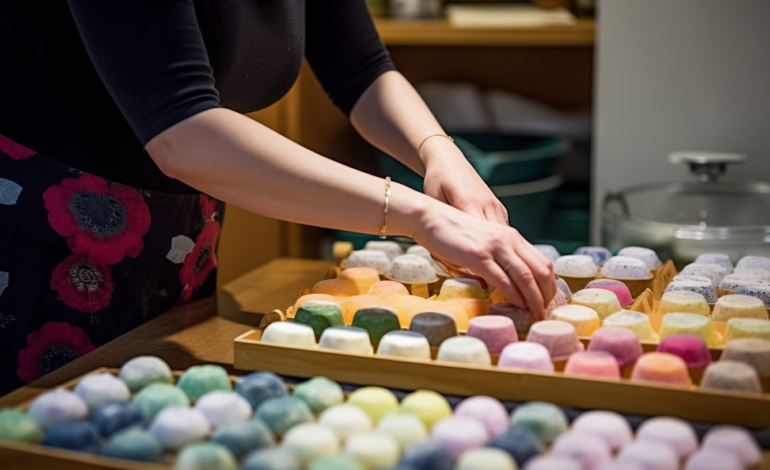
- Now it’s time to fill your bath bomb molds! Pack each half of the mold tightly with the mixture (overfilling slightly) then press them together firmly so they stick together.
- Let your bath bombs dry for at least 24 hours before removing them from the molds. If you’re having trouble getting them out, try tapping the mold gently on a hard surface or using a butter knife to loosen the edges.
- Once your bath bombs are dry, store them in an airtight container away from moisture until you’re ready to use them.
Tips and Tricks
Here are a few tips to help ensure your bath bombs turn out perfectly:
- Be careful not to over-wet the mixture – it should be damp enough to hold together but not so wet that it starts fizzing prematurely.
- If your bath bombs crack while drying, try adding a bit more water or coconut oil next time.
- Experiment with different essential oil combinations to find your perfect scent. Lavender and peppermint are popular choices for relaxation and stress relief, while citrus scents like lemon and grapefruit can be energizing.
- If you’re having trouble finding citric acid, try looking for it in the canning section of your local grocery store or online.
Conclusion
Congratulations! You’ve just made your own batch of luxurious bath bombs. Not only was it fun and easy, but now you have a relaxing addition to your bath routine that’s completely customizable. Whether you prefer soothing lavender or invigorating citrus scents, you can create the perfect bath bomb for your needs. Enjoy!

