The Ultimate Guide on Making Homemade Soap: A Comprehensive Breakdown of Time Required
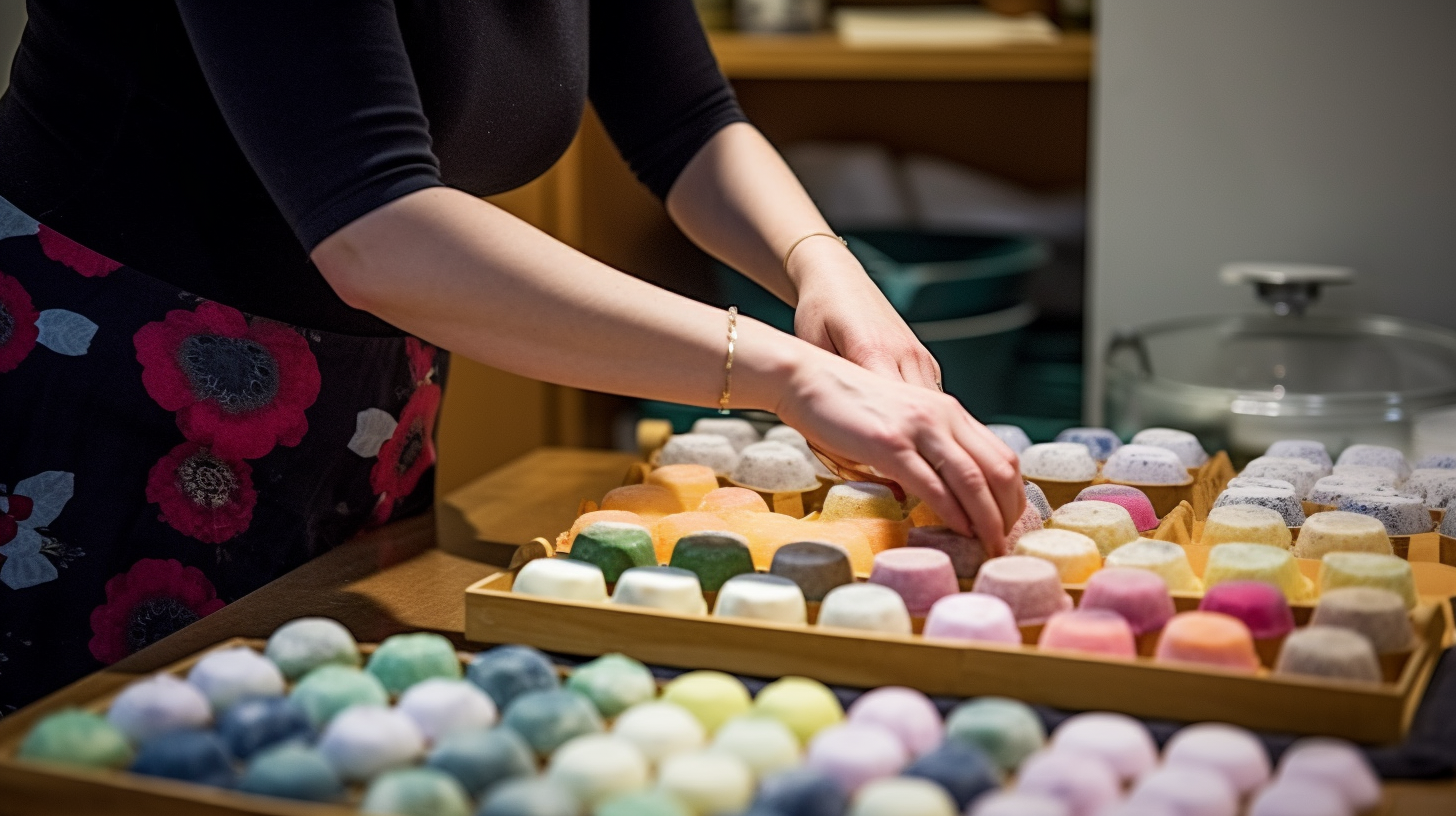
Soap making is a fun and rewarding activity that can be done right in the comfort of your own home. With just a few ingredients, you can create unique, natural soap bars that are gentle on the skin and free from harmful additives. But how long does it take to make homemade soap? In this ultimate guide, we’ll break down the time required to make homemade soap, including the different processes involved and tips for streamlining the process.
The Benefits of Making Homemade Soap
Making homemade soap has numerous benefits, both for your health and for the environment. Unlike store-bought soaps, which often contain synthetic fragrances and harsh chemicals, homemade soap is made from natural ingredients that are gentle on the skin. You can also customize your soap to suit your specific needs, adding ingredients like essential oils or exfoliants to create a unique product that’s tailored just for you.
In addition to being better for your health, homemade soap is also better for the environment. Many commercial soaps contain palm oil, which is a major contributor to deforestation and habitat loss. By making your own soap, you can use sustainable ingredients like coconut oil or olive oil instead.
The Soap-Making Process
There are several different processes involved in making homemade soap: cold process, melt-and-pour, and hot process. Each method has its own set of advantages and disadvantages when it comes to time required.
Cold Process Soap Making
Cold process soap making involves mixing lye (sodium hydroxide) with oils or fats to create a chemical reaction that turns them into soap. This method requires the most time because it involves curing the soap for several weeks before it’s ready to use.
Here’s a breakdown of the time required for each step in the cold process soap making process:
- Gathering ingredients and equipment: 30 minutes
- Mixing the lye solution and oils: 30 minutes
- Pouring the soap into molds: 15 minutes
- Curing the soap: 4-6 weeks (depending on the recipe)
As you can see, cold process soap making is a time-intensive process. However, the end result is a high-quality, natural soap bar that’s free from synthetic additives.
Melt-and-Pour Soap Making
Melt-and-pour soap making involves melting pre-made blocks of soap base and adding your own scents and colors. This method is much faster than cold process soap making because it doesn’t require curing time.
Here’s a breakdown of the time required for each step in the melt-and-pour soap making process:
- Gathering ingredients and equipment: 15 minutes
- Melting the soap base: 10-15 minutes
- Adding scents and colors: 5-10 minutes
- Pouring the soap into molds: 10-15 minutes
Melt-and-pour soap making is an excellent option for beginners or those who want to make soap quickly without waiting for it to cure. However, because you’re using pre-made blocks of soap base, you may have limited control over the ingredients in your final product.
Hot Process Soap Making
Hot process soap making involves cooking the ingredients together in a slow cooker or on a stove top. This method is faster than cold process because it doesn’t require curing time, but it can be more challenging than melt-and-pour because it involves more steps.
Here’s a breakdown of the time required for each step in the hot process soap making process:
- Gathering ingredients and equipment: 30 minutes
- Mixing the lye solution and oils: 30 minutes
- Cooking the soap: 2-3 hours
- Molding and cutting the soap: 30 minutes
Hot process soap making is a good option if you want to make soap quickly without waiting for it to cure. However, because it involves cooking the ingredients together, it can be more challenging than other methods.
Tips for Streamlining the Soap-Making Process
Regardless of which soap-making method you choose, there are several tips you can follow to streamline the process and make it more efficient:
- Prepare your workspace ahead of time. Make sure you have all of your ingredients and equipment laid out before you start so that you don’t waste time searching for things later.
- Measure your ingredients carefully. Accurate measurements are crucial in soap making, so make sure you’re using a scale to weigh out your oils and lye.
- Use a stick blender. A stick blender can help speed up the mixing process, reducing the amount of time required to achieve trace (when the mixture thickens).
- Clean up as you go. Soap making can be messy, but cleaning up spills and messes as soon as they happen can help prevent them from becoming bigger problems later on.
Conclusion
Making homemade soap is a fun and rewarding activity that can provide numerous benefits for your health and the environment. However, it’s important to understand the time commitment involved in the soap-making process so that you can plan accordingly. Whether you choose cold process, melt-and-pour, or hot process soap making, following these tips can help streamline the process and make it more efficient.
Remember to take your time and enjoy the process of creating something unique and beautiful. With a little patience and practice, you’ll be making high-quality homemade soap in no time!