A Beginner’s Guide to Creating Stunning Acrylic Nails: Step-by-Step Instructions
Welcome to our beginner’s guide to creating stunning acrylic nails! If you’re interested in learning how to create beautiful and long-lasting acrylic nails at home, then this tutorial is for you. Acrylic nails are a popular and stylish way to enhance your look, but getting them done at a salon can be expensive. Fortunately, with the right supplies and some practice, you can create your acrylic nails from the comfort of your own home.
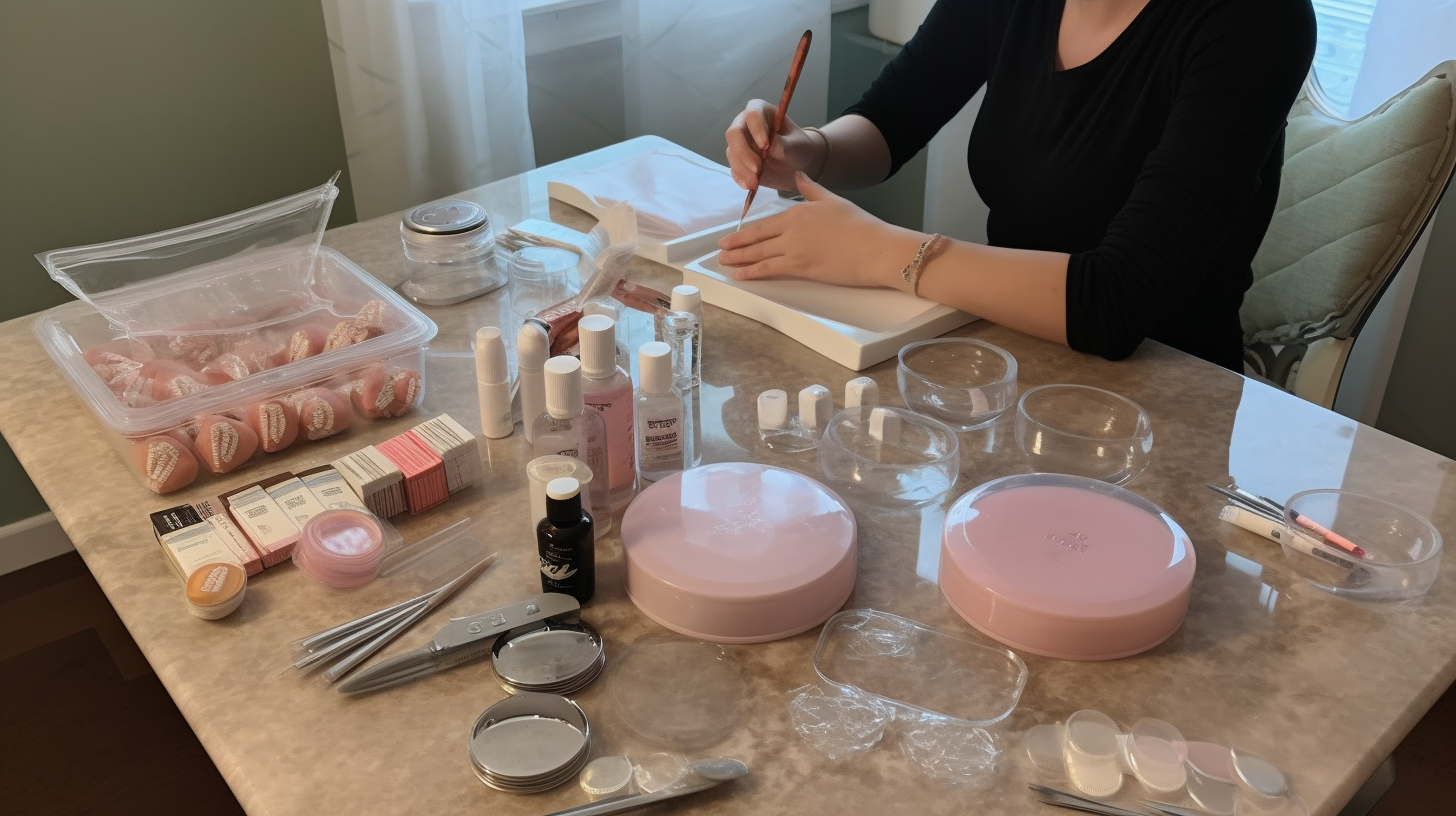
Supplies You’ll Need
Before we dive into the step-by-step instructions, let’s go over the supplies you’ll need:
- Acrylic nail kit (includes liquid monomer and polymer powder)
- Nail primer
- Nail tips
- Nail glue
- A nail file (100/180 grit)
- A buffer block
- Cuticle pusher
- Cuticle oil
- Acetone or nail polish remover
- A small glass dish for mixing acrylic
- A brush for applying acrylic (size #8 or #10)
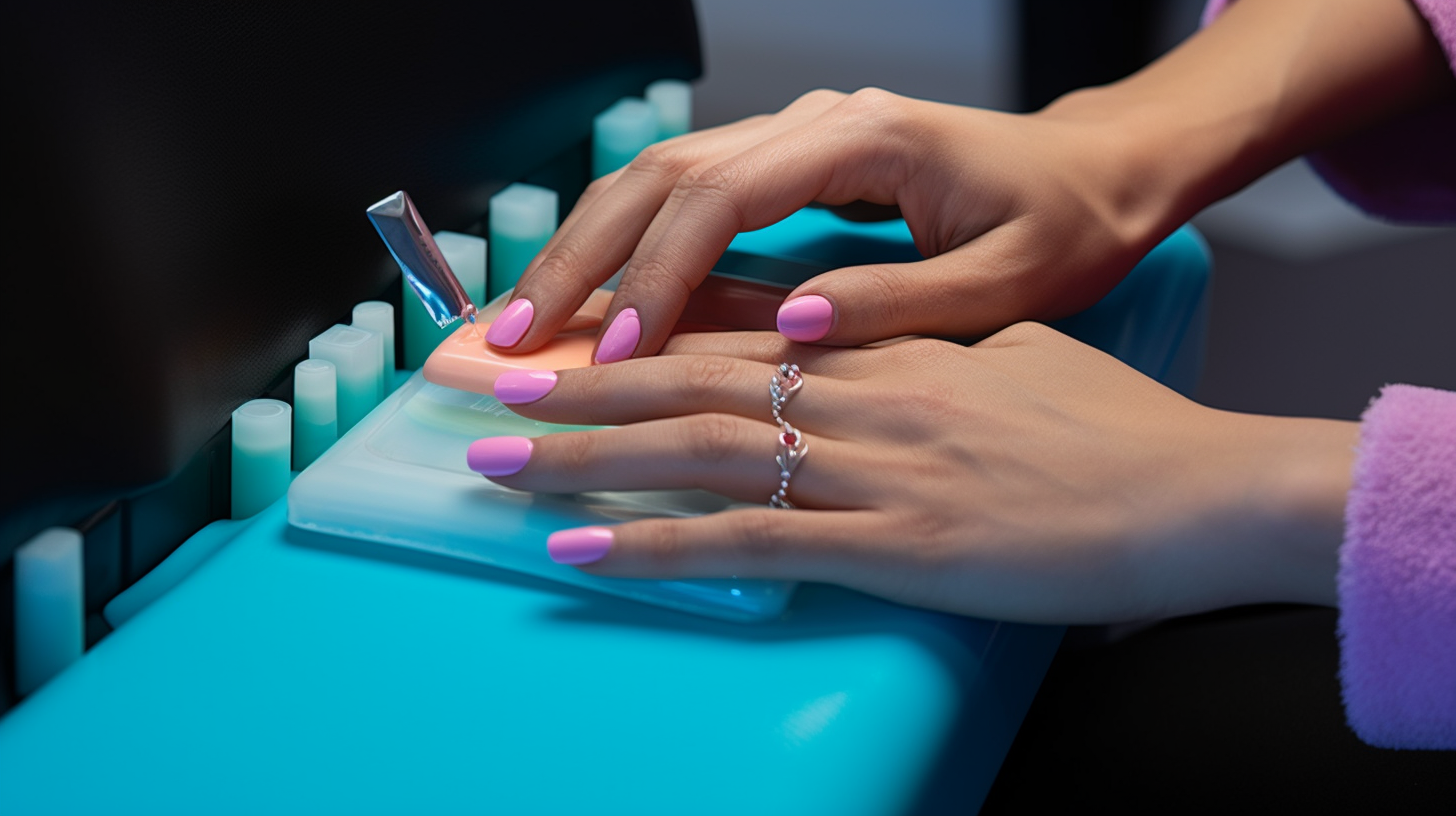
Preparation: Getting Your Nails Ready
The first step in creating stunning acrylic nails is preparing your natural nails. Follow these steps:
- Remove any old nail polish using acetone or nail polish remover.
- Trim your nails to your desired length using a nail clipper.
- Gently push back your cuticles using a cuticle pusher. Be careful not to hurt yourself.
- Use a nail file to shape your nails. You can file them into a square, round, or oval shape. Make sure to file in one direction to avoid damaging your nails.
- Buff the surface of your nails with a buffer block to remove any shine and create a rough surface for the acrylic to adhere to.


Step-by-Step Instructions: Applying Acrylic Nails
Now that you’ve prepped your natural nails, it’s time to apply the acrylic. Follow these step-by-step instructions:
- Apply nail primer to your natural nails. This helps the acrylic adhere better.
- Select the appropriate nail tips for each finger and attach them using nail glue. Make sure they fit well and don’t extend beyond your natural nail bed.
- Pour some liquid monomer into a small glass dish and dip your brush into it.
- Dip the brush into the polymer powder and create a small bead of acrylic on the end of the brush.
- Apply the bead onto the base of the nail tip, near where it meets your natural nail. Use gentle pressure and smooth strokes to spread the acrylic evenly over the nail tip. Make sure to cover the entire nail tip and blend the acrylic with your natural nails.
- Repeat steps 3-5 for each nail until all nails are covered in acrylic.
- Let the acrylic dry for at least 10 minutes before filing and shaping.

Shaping, Filing, Buffing, and Top Coat Application
Now that you’ve applied the acrylic, it’s time to shape and file your nails. Follow these steps:
- Use a nail clipper to trim your nails to your desired length.
- File your nails into your desired shape using a nail file. Again, make sure to file in one direction to avoid damaging your nails.
- Use a buffer block to smooth out any rough spots on your nails and create a smooth surface.
- Apply a top coat of clear polish to seal and protect your nails. This will also give them a glossy finish.
Maintenance: Taking Care of Your Acrylic Nails
Now that you have your beautiful acrylic nails, it’s important to take care of them properly. Here are some tips:
- Moisturize your cuticles daily with cuticle oil to prevent them from becoming dry and cracking.
- Avoid exposing your nails to harsh chemicals or cleaning products as they can damage the acrylic.
- If one of your nails breaks or lifts, don’t try to fix it yourself. Go to a professional nail technician to have it repaired.
- Get your acrylic nails filled in every 2-3 weeks to maintain their shape and prevent lifting.
Removal: How to Remove Acrylic Nails
If you want to remove your acrylic nails, follow these steps:
- Use a nail clipper to trim the length of the nails down as much as possible. This will make the removal process easier.
- Soak your nails in acetone for at least 15 minutes. You can use a small bowl or a cotton ball soaked in acetone and wrapped around each nail with aluminum foil.
- Gently push off the softened acrylic with a cuticle pusher. Be careful not to damage your natural nails.
Conclusion
Congratulations! You’ve learned how to create stunning acrylic nails at home. With some practice and patience, you can create beautiful and long-lasting acrylic nails that will enhance your look and boost your confidence. Remember to follow the steps carefully and take proper care of your nails to keep them looking their best.