DIY Manicure: A Step-by-Step Guide to Perfect Nails at Home
Welcome to our step-by-step guide on how to do a manicure at home! With the pandemic affecting our daily lives and making it difficult to visit nail salons, we understand that maintaining beautiful nails has become a challenge. But don’t worry, you can easily achieve perfect nails at home with just a few tools and some patience. Not only is doing your own manicure cost-effective, but it can also be a relaxing and enjoyable self-care activity. In this tutorial, we will walk you through each step of the DIY manicure process, from nail care to applying polish and nail art. So, let’s get started!
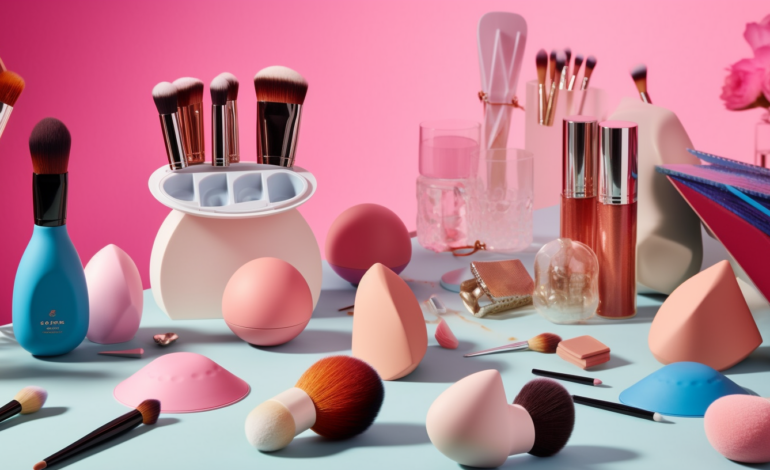
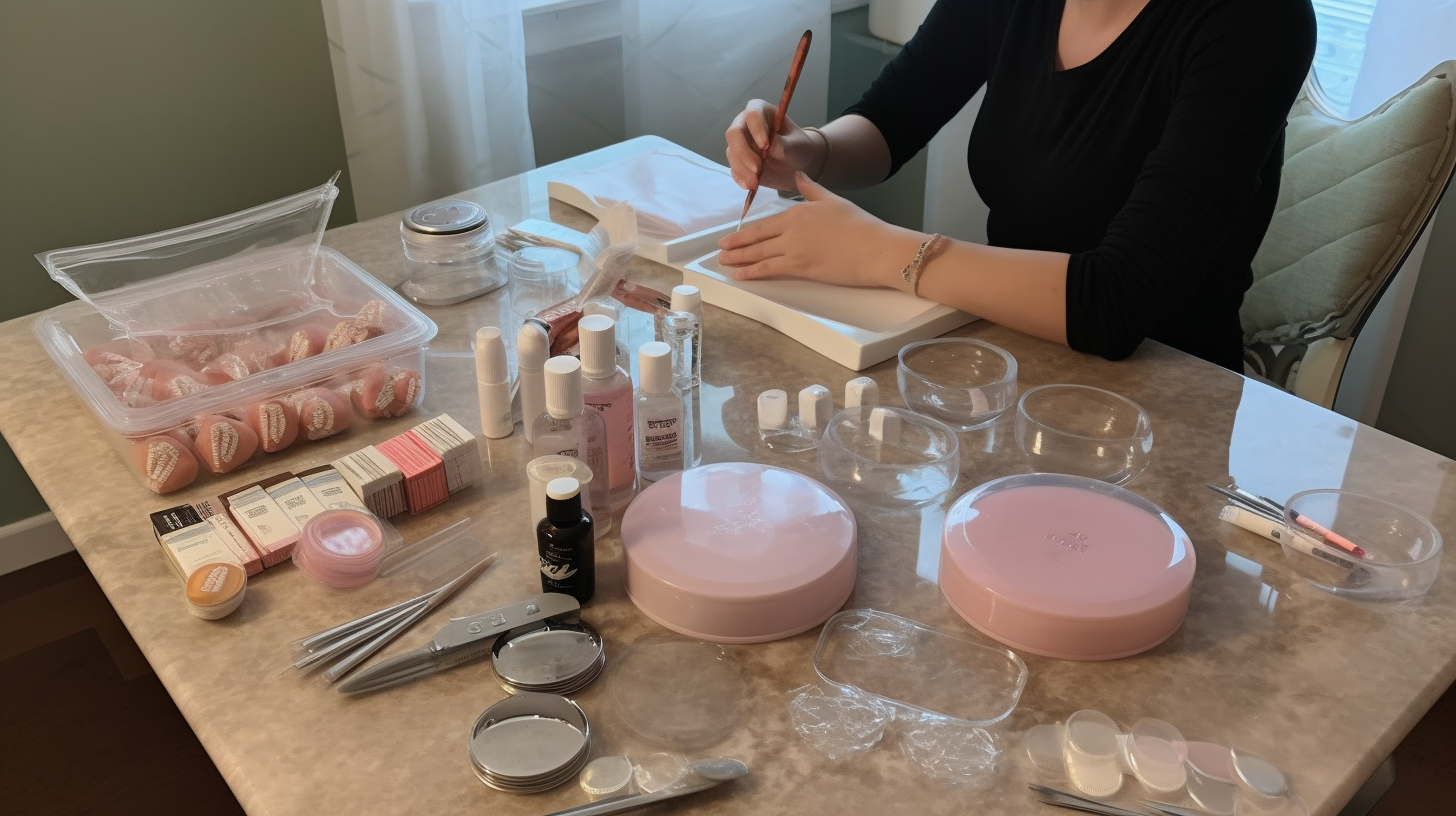
Step 1: Gather Your Tools
The first step in doing a DIY manicure is to gather all the necessary tools. Here’s what you’ll need:
- Nail clippers
- Nail file
- Cuticle pusher
- Cuticle nippers (optional)
- Bowl of warm water
- Hand towel
- Nail buffer
- Base coat
- Nail polish in your desired color(s)
- Top coat
- Cotton balls or pads
- Rubbing alcohol or nail polish remover
- Cotton swabs (optional)
Make sure all your tools are clean and sanitized before using them. You can sanitize metal tools like clippers and nippers by soaking them in rubbing alcohol for a few minutes.
Step 2: Remove Old Nail Polish
If you have old nail polish on your nails, use cotton balls or pads soaked in rubbing alcohol or nail polish remover to remove it completely. Make sure to rub gently so that you don’t damage your nails. You can also use a cotton swab to remove any stubborn polish around the edges of your nails.
Step 3: Trim and Shape Your Nails
Use your nail clippers to trim your nails to your desired length. Make sure to clip straight across and avoid rounding the corners, which can cause ingrown nails. Then, use a nail file to shape your nails. File in one direction, starting at the outer edge and moving towards the center of the nail. Avoid using a sawing motion, as this can weaken your nails.
Step 4: Soak Your Nails
Fill a bowl with warm water and soak your fingers for about five minutes. This will help soften your cuticles and make them easier to push back.
Step 5: Push Back Your Cuticles
Use a cuticle pusher to gently push back your cuticles. Be careful not to push too hard, as this can damage your nail bed. If you have excess cuticle skin around your nails, use cuticle nippers to trim it away carefully.
Step 6: Buff Your Nails
Use a nail buffer to smooth out any ridges on the surface of your nails. Buffing will also help the base coat and polish adhere better to your nails.
Step 7: Apply Base Coat
Apply a thin layer of base coat on each nail. The base coat will protect your nails from staining and strengthen them.
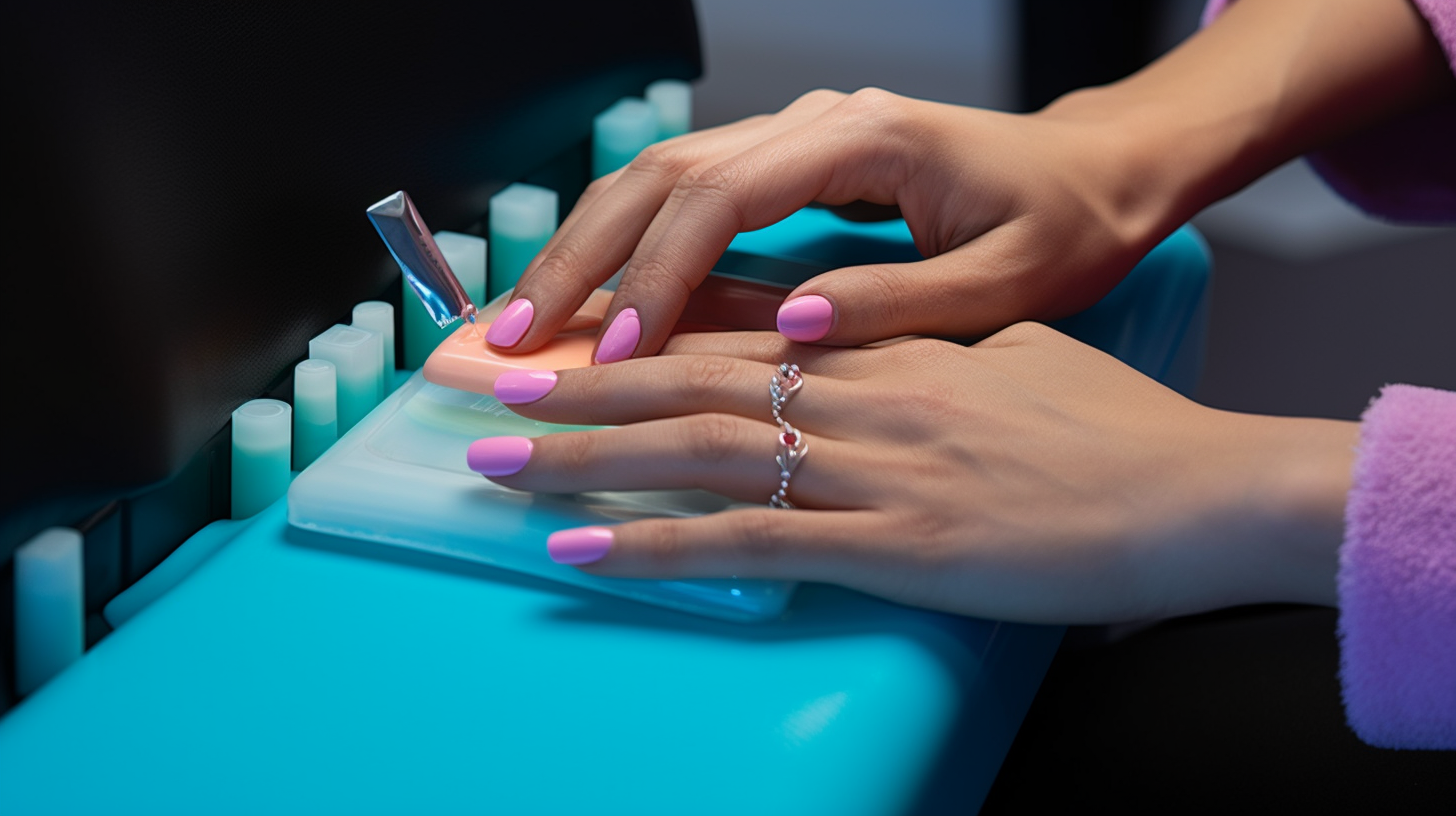
Step 8: Apply Nail Polish
Now it’s time to add some color! Apply two thin coats of nail polish in your desired shade, waiting for each coat to dry completely before applying the next one. For best results, avoid applying thick coats of polish, which can take longer to dry and are more likely to smudge.
Step 9: Apply Top Coat
Once your nail polish is dry, apply a thin layer of top coat to seal in the color and add shine. The top coat will also help your manicure last longer.
Step 10: Clean Up Any Mistakes
If you accidentally got polish on your skin, use a cotton swab dipped in rubbing alcohol or nail polish remover to clean it up. This will give your manicure a neat and professional look.
Step 11: Optional – Add Nail Art
If you want to take your DIY manicure to the next level, you can add some nail art! You can use nail stickers, glitter, or create designs with a thin brush and different shades of nail polish. Let your creativity run wild!
Step 12: Relax and Enjoy Your Manicure
Congratulations! You’ve just completed a beautiful DIY manicure at home. Now it’s time to relax and enjoy your freshly painted nails. Avoid doing any strenuous activities that could damage your nails for at least an hour after painting them.
Conclusion
A DIY manicure is an excellent way to pamper yourself and achieve beautiful nails without leaving home. By following these simple steps, you can create salon-worthy nails at a fraction of the cost. Remember always to keep your tools clean, work gently on your nails, and take your time. So why not try it out today? Happy painting!