How to easily create stunning nail art at home with these simple tips
Welcome to our how-to guide on creating stunning nail art at home! Nail art is a creative and fun way to express yourself through your nails. It’s a great way to add some personality and style to your look, and the best part is, you can do it all from the comfort of your own home.
Are you tired of going to the salon every time you want a new design? With these simple tips, you’ll be able to create professional-looking nail art that will make your friends and family think you went to a salon.
Tools and Supplies
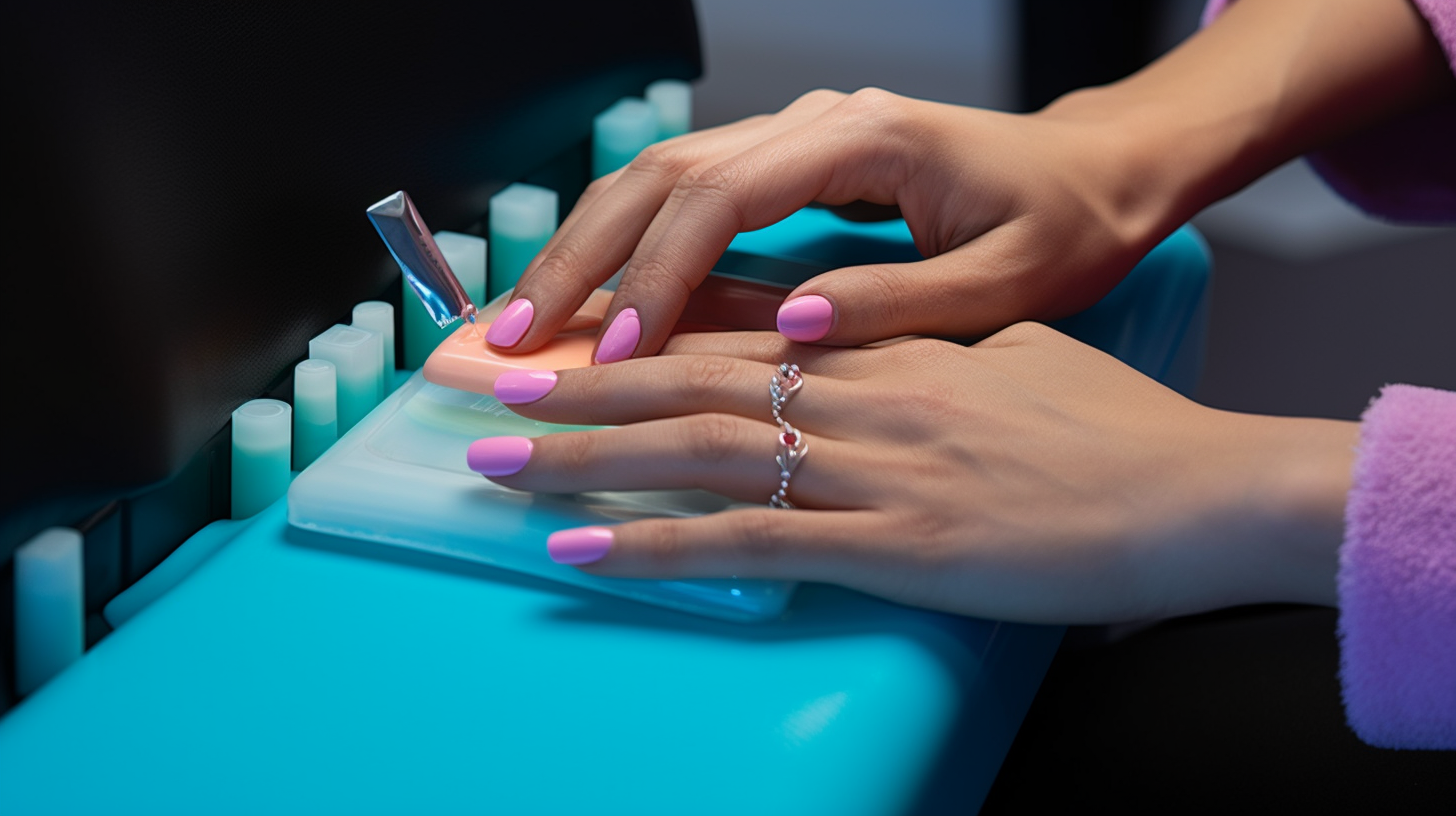
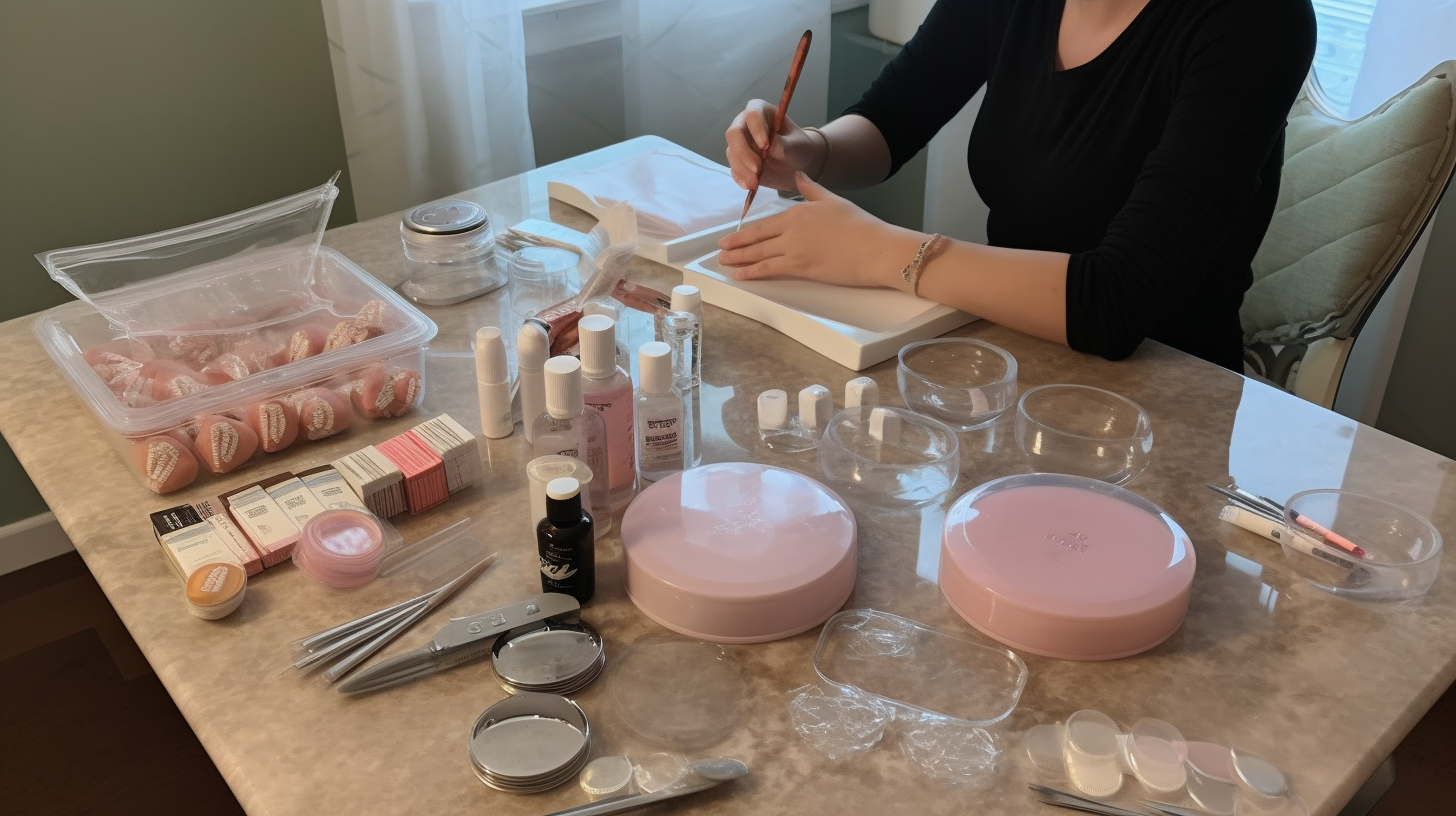
The first step in creating beautiful nail art at home is to make sure you have all the necessary tools and supplies. Here are some basic items you’ll need:
- Nail polish remover
- Cotton balls or pads
- Base coat
- Nail polish in various colors
- Topcoat
- Nail art brushes (thin and angled)
- Dotting tools (various sizes)
- Tape or stencils for designs
You can find most of these items at your local drugstore or beauty supply store. If you’re new to nail art, it’s best to start with basic colors before investing in more expensive products.
Prepping Your Nails
Before starting any nail art project, it’s important to prep your nails properly. This ensures that your design will last longer and look better. Here are the steps for prepping your nails:
- Remove any old polish with nail polish remover and cotton balls or pads.
- File your nails into your desired shape and length.
- Apply a base coat to protect your nails from staining and help the polish adhere better.
Basic Nail Art Techniques
Now that you have your tools and supplies ready, it’s time to start creating some stunning nail art designs. Here are some basic techniques to get you started:
1. Polka Dots
Polka dots are a simple yet effective way to add some personality to your nails. Here’s how to create polka dots:
- Choose two colors of nail polish. The base color should be lighter than the dot color.
- Apply the base color and let it dry completely.
- Dip a dotting tool into the dot color and place dots on each nail. You can make them all the same size or vary them for a more interesting look.
- Let the dots dry completely before applying a topcoat.
2. Stripes
Stripes are another easy way to add some flair to your nails. Here’s how to create stripes:
- Choose two colors of nail polish. The base color should be lighter than the stripe color.
- Apply the base color and let it dry completely.
- Cut thin strips of tape and place them on your nails in a diagonal or vertical pattern.
- Apply the stripe color over the tape and let it dry for a few minutes before removing the tape carefully.
- Let the stripes dry completely before applying a topcoat.
3. Glitter
Glitter is a fun way to add some sparkle to your nails. Here’s how to apply glitter:
- Apply a base coat and let it dry completely.
- Apply a coat of glitter nail polish and let it dry for a few minutes.
- If you want more glitter, apply another coat of glitter nail polish and let it dry for a few minutes.
- Apply a topcoat to seal the glitter in place.
Tips and Tricks
Here are some additional tips and tricks to help you create stunning nail art at home:
- Practice makes perfect! Don’t be discouraged if your first attempts don’t turn out the way you want.
- Use tape or stencils to create clean lines and shapes.
- Dip your nail art brushes in acetone to clean them between uses.
- Add rhinestones or other embellishments for added sparkle.
- Experiment with different color combinations and designs to find what works best for you.
In Conclusion
Congratulations! You now have all the tools, supplies, techniques, tips, and tricks you need to create stunning nail art designs at home. Remember, practice makes perfect, so don’t be afraid to experiment with different colors and designs until you find what works best for you. With these simple tips, you’ll be able to create beautiful nail art that will make your friends and family envious!


