Learn How to Make Homemade Soap: A Step-by-Step Guide
Welcome to our step-by-step guide on how to make homemade soap! Making soap at home is a fun and rewarding DIY project that allows you to create personalized, natural, and eco-friendly soap that is safe for your skin. Whether you’re a beginner or an experienced soap maker, this guide will provide you with all the information you need to create your own custom soap using either the cold process or melt and pour method.
Why Make Homemade Soap?
Before we dive into the details of how to make homemade soap, let’s explore why making your soap is an excellent idea. First of all, homemade soap allows you to control the ingredients used in your products. This means that you can avoid harsh chemicals and additives found in commercial soaps that can irritate your skin or cause allergic reactions.
Homemade soap is also more eco-friendly than store-bought options. You can use natural ingredients and avoid excess packaging waste by making your own bars of soap. Plus, making your soap at home is a creative and fun project that lets you experiment with different fragrances, colors, and designs.
The Basic Ingredients for Making Soap
Before we get started on making homemade soap, let’s discuss the essential ingredients needed for any recipe:
- Water: Used to dissolve the lye and mix with oils or fats
- Lye: An alkaline solution used in soap making that reacts with oils or fats to form soap
- Oils or Fats: The main ingredient in any recipe; can be vegetable-based (such as olive oil) or animal-based (such as lard)
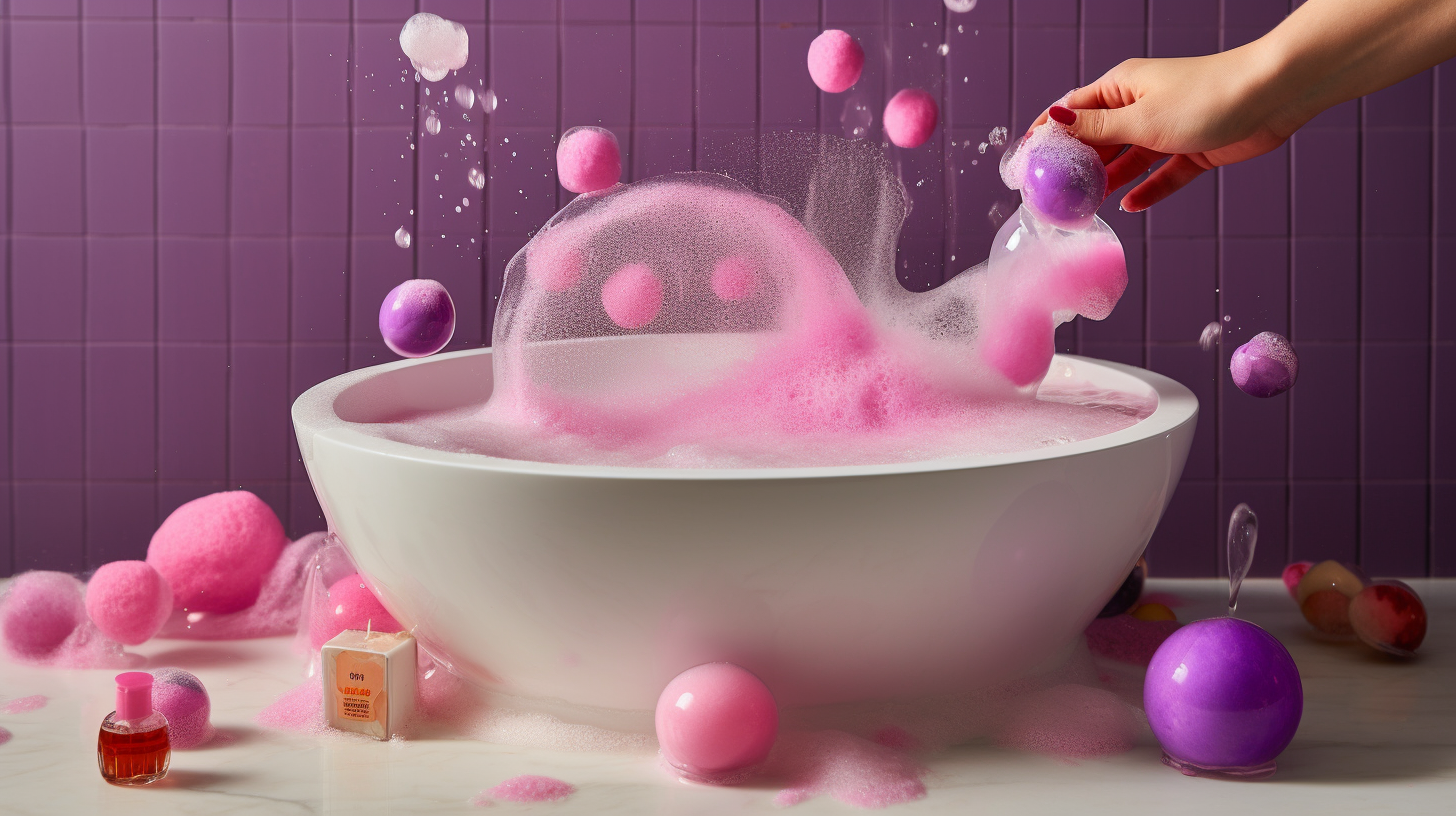
- Fragrance: Optional but can be added for scent; essential oils are a popular choice
- Colorant: Optional but can be added for color; natural options include herbs, spices, and clays
The Cold Process Method
The cold process method is the traditional way of making soap that involves mixing oils or fats with lye to create a chemical reaction that turns them into soap. This method requires more time and effort but allows for greater customization of the final product.
Step 1: Safety First
Before you start making soap, it’s essential to take safety precautions to protect yourself from the caustic nature of lye. Always wear protective gear such as gloves, goggles, and a long-sleeved shirt. Also, make sure to work in a well-ventilated area away from children and pets.
Step 2: Measuring Ingredients
Once you have your safety gear on, it’s time to measure out your ingredients carefully. Use a digital scale to weigh the oils or fats and lye accurately. It’s crucial to follow the recipe precisely to ensure the right balance of ingredients for safe and effective soap.
Step 3: Mixing Lye and Water
Add the lye gradually to cool water in a heat-resistant container while stirring constantly. The mixture will become hot, so be careful not to splash it or inhale any fumes. Allow the mixture to cool down before proceeding.
Step 4: Melting Oils/Fats
Melt your chosen oils or fats together in a separate pot over low heat until they reach around 100°F (38°C). Once melted, remove from heat and let cool down slightly while waiting for the lye solution.
Step 5: Combining Lye Mixture and Oils/Fats
Once both the lye solution and oils/fats have cooled down to around 100°F (38°C), it’s time to combine them. Slowly pour the lye mixture into the oils/fats while stirring continuously until you create a thick, creamy texture known as “trace.”
Step 6: Adding Fragrance and Colorant
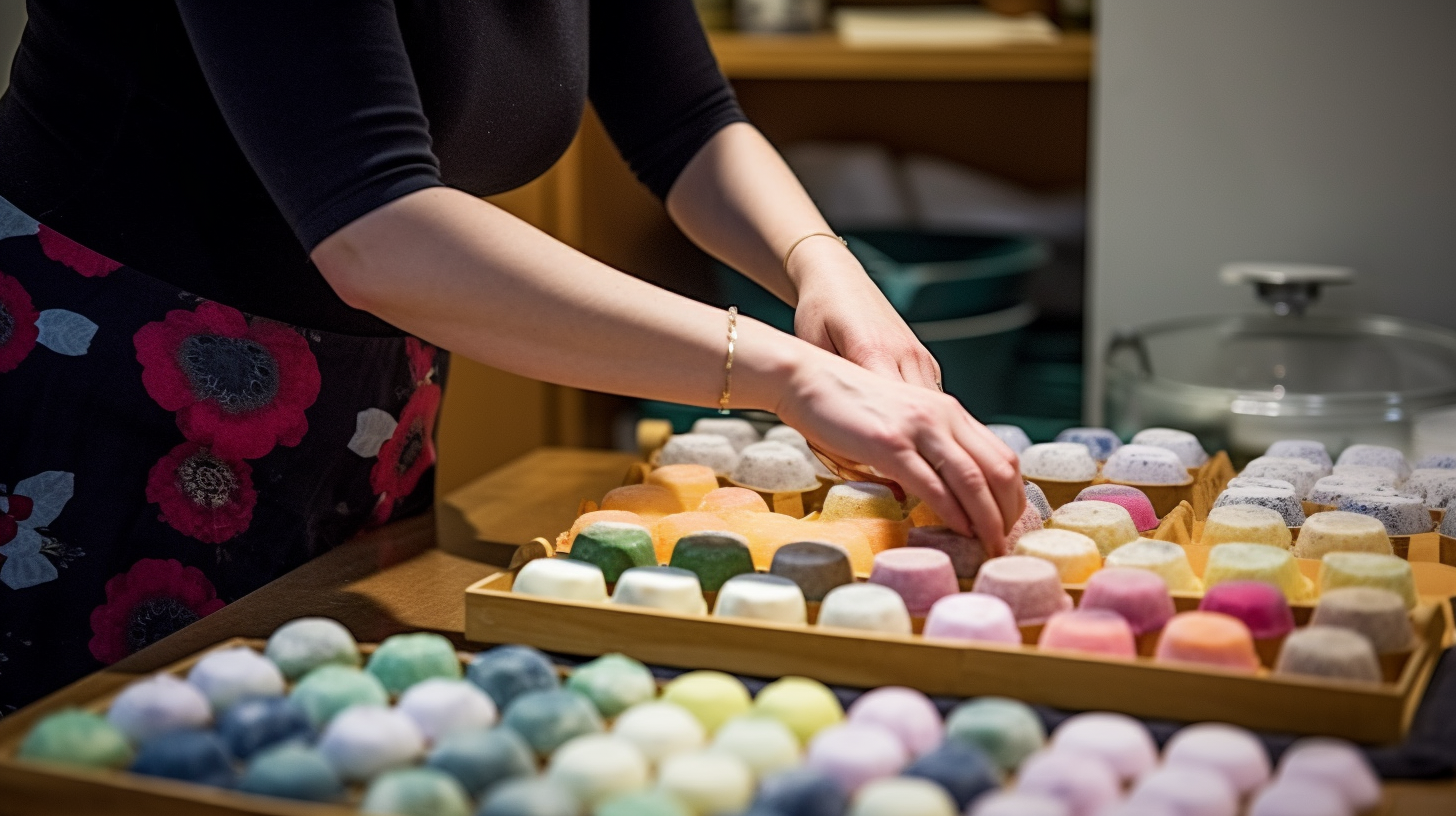
Add your desired fragrance and colorant options to the traced mixture and stir well. Pour the mixture into soap molds, cover with a towel or plastic wrap, and let sit for 24 hours until fully hardened.
The Melt and Pour Method
The melt and pour method is an easier alternative to cold process soap making that involves melting pre-made soap bases and adding your desired fragrances, colorants, or other additives before pouring them into molds.
Step 1: Choosing a Soap Base
Select a pre-made soap base that suits your preferences. Common options include glycerin, shea butter, goat’s milk, or coconut oil. Cut the base into small pieces for easier melting.
Step 2: Melting Soap Base
Melt the soap base in a double boiler or microwave-safe container until it is fully melted. Be careful not to overheat the base as this can cause scorching or burning.
Step 3: Adding Fragrance and Colorants
Add your chosen fragrance and colorant options to the melted soap base and stir well. You can also add other ingredients such as exfoliants or moisturizers at this stage.
Step 4: Pouring into Molds
Pour the melted soap mixture into molds of your choice (silicone molds work well for this). Allow the soap to cool and harden before popping it out of the mold and using it as desired.
Soap Making Tips and Tricks
Here are some additional tips and tricks to keep in mind when making homemade soap:
- Always measure ingredients carefully for accurate results
- Use a digital thermometer to monitor temperatures during the process
- Add fragrances, colorants, and other additives gradually to avoid over-saturating the soap mixture
- Invest in quality soap molds for better results
- Be patient! Soap making requires time and effort, but the end product is worth it.
Conclusion
Congratulations! You have now learned how to make homemade soap using either the cold process or melt and pour method. Remember that safety is paramount when working with lye, so always take precautions to protect yourself from harm. Whether you’re making soap for yourself or as a gift, homemade soap is a fun, creative, and eco-friendly way to take care of your skin while avoiding harsh chemicals found in commercial products. So go ahead and start experimenting with different fragrances, colors, and designs – the possibilities are endless!