Tips for Long-Lasting Nail Art: Keep Your Mani Looking Fresh!
Welcome to our guide on how to make your nail art last longer! If you’re a nail art enthusiast, you know how frustrating it is to spend hours creating the perfect design, only to have it chip or peel off after a day or two. But fear not, we’ve compiled some expert tips and tricks to help you keep your mani looking fresh for days on end.
Why Does Nail Art Chip or Peel?
Before we dive into the tips and tricks for long-lasting nail art, let’s first understand why it chips or peels in the first place. There could be several reasons why your nail art doesn’t last long:
- Oil on Nails: Oils from creams, lotions, and other products can create a barrier between your nails and the polish, causing it to chip quickly.
- Moisture: Water exposure can cause nails to expand and contract, which makes nail polish crack and peel.
- Weak Nails: If your nails are weak or brittle, they can’t hold onto polish for very long.
- Poor Application: If you don’t apply polish correctly (e.g., too thickly), it can cause chipping and peeling.
To ensure that your nail art lasts as long as possible, let’s go through some tips on how to prepare your nails before painting them.
Tips for Preparing Your Nails
The key to long-lasting nail art is proper preparation. By following these steps before painting your nails, you’ll give yourself a better chance of keeping the polish intact for more extended periods:
Step 1 – Clean Your Nails
Before applying any polish, clean your nails thoroughly. Use a cotton ball dipped in nail polish remover to remove any oils or dirt from the nail bed. This will ensure that the polish adheres to your nails correctly.
Step 2 – File Your Nails
After cleaning your nails, use a nail file to shape them. File in one direction only, as filing back and forth can weaken the nail. Shape them according to your preference, but keep in mind that square or squoval shapes tend to hold polish better than round shapes.
Step 3 – Apply a Base Coat
A base coat is essential for long-lasting nail art. It creates a barrier between your nails and the polish, preventing it from chipping or peeling quickly. Apply a thin layer of base coat and let it dry completely before applying any color.
Tips for Applying Nail Polish
Now that your nails are prepped and ready for polish let’s go through some tips on how to apply it correctly:
Step 1 – Use Thin Coats
The key to long-lasting nail art is thin coats. If you apply thick coats of polish, they take longer to dry, which means they’re more likely to smudge or dent. Instead, use thin coats of polish, allowing each layer to dry completely before applying the next one.
Step 2 – Don’t Forget the Edges
When applying polish, make sure you cover the entire surface of your nail, including the edges. This will help prevent chipping and peeling around the edges.
Step 3 – Avoid Quick-Drying Nail Polishes
Quick-drying nail polishes sound great in theory, but they tend to chip more quickly than regular polishes. If you want your nail art to last, opt for regular polishes and allow each layer to dry completely before applying the next one.
Tips for Maintaining Your Nail Art
Now that you’ve applied your nail polish let’s go through some tips to help you maintain your nail art for as long as possible:
Step 1 – Apply a Top Coat
A top coat is an essential step in ensuring long-lasting nail art. It acts as a sealant, protecting the polish from chipping or peeling. Apply a thin layer of top coat over your nail art once it’s completely dry.
Step 2 – Reapply Top Coat Every Other Day
To keep your nail art looking fresh, reapply a thin layer of top coat every other day. This will help protect it from chipping or peeling.
Step 3 – Wear Gloves When Doing Chores
Water exposure can cause nails to expand and contract, leading to cracked or peeled polish. When doing chores such as washing dishes or cleaning the house, wear gloves to protect your nails from water exposure.
Step 4 – Avoid Heat Exposure
Heat exposure can cause nails to expand and contract, which can lead to chipping or peeling polish. Avoid exposing your nails to heat sources such as hot showers or direct sunlight for extended periods.
Gel Nail Polish and Acrylic Nails
If you’re looking for even longer-lasting nail art, you may want to consider gel nail polish or acrylic nails:
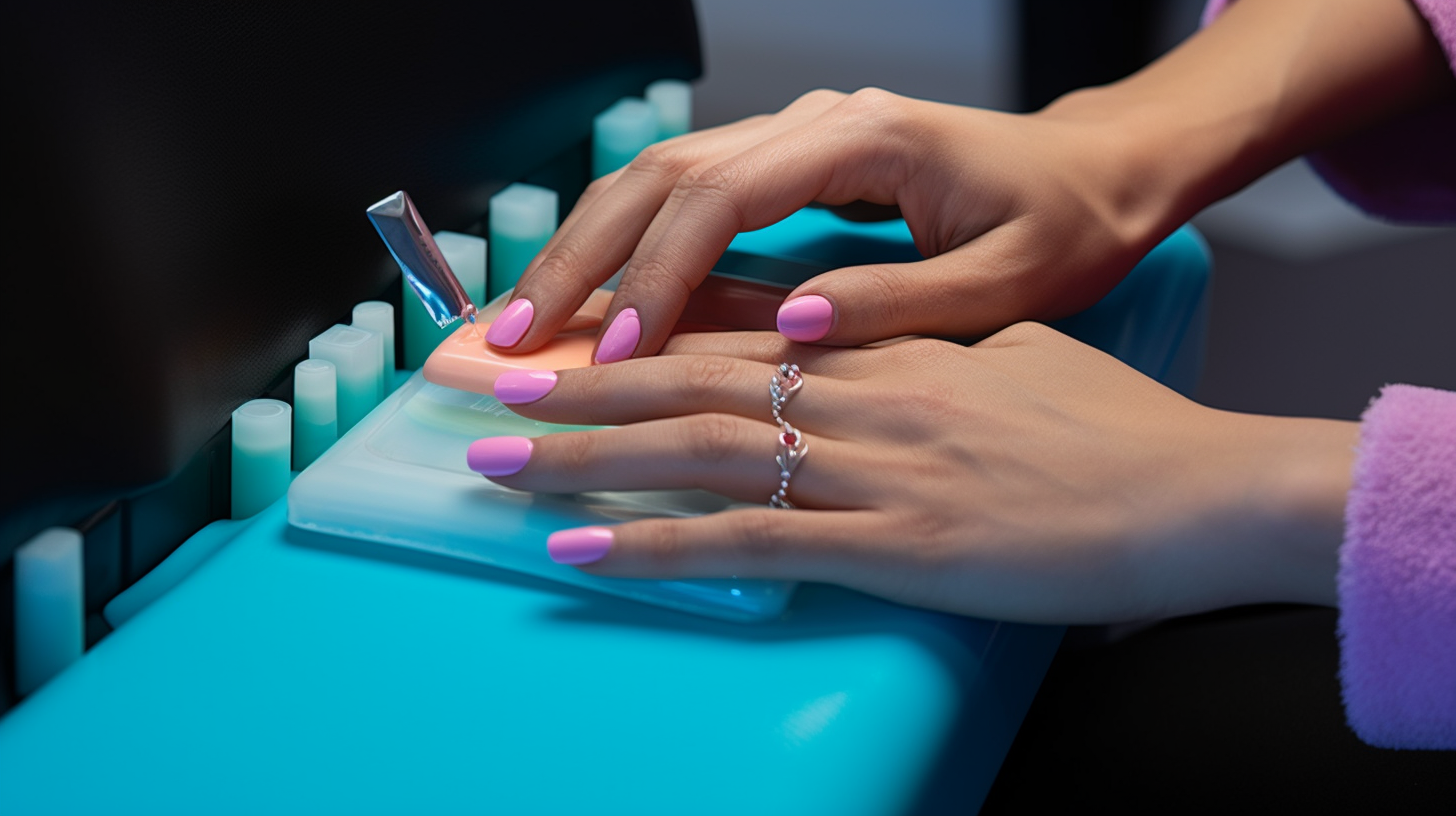
Gel Nail Polish
Gel nail polish lasts longer than regular polish, with some brands claiming up to two weeks of wear. The polish is cured under a UV or LED lamp, creating a hard, durable finish that resists chipping and peeling.
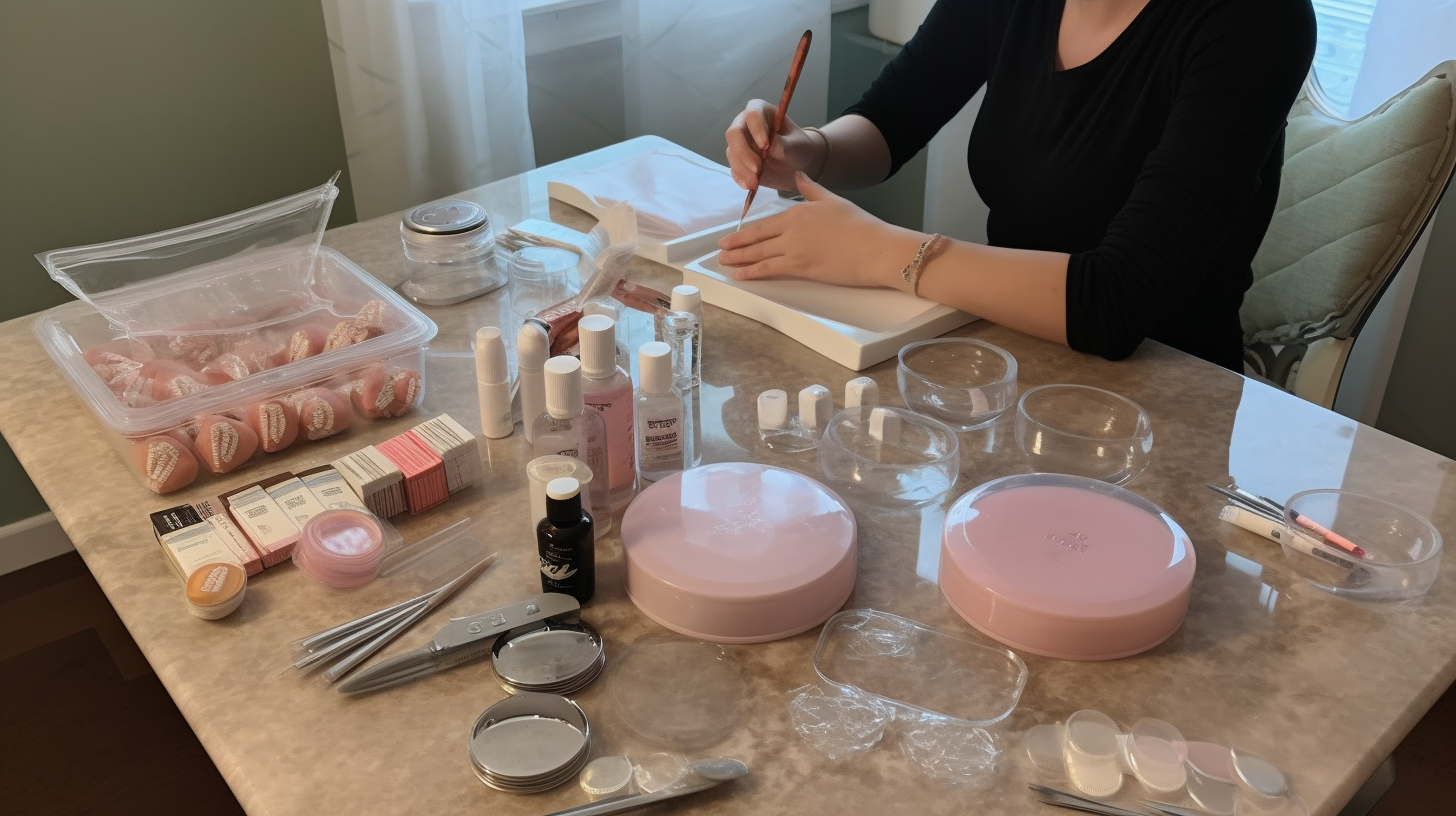
Acrylic Nails
Acrylic nails are artificial nails that are applied to your natural nails. They’re made from a mixture of liquid and powder that’s applied to your nails and then shaped and buffed. Acrylic nails can last up to three weeks with proper maintenance.
Conclusion
We hope you found these tips and tricks helpful in making your nail art last longer. Remember to properly prepare your nails before applying any polish, use thin coats, apply a top coat, and maintain your nail art by reapplying the top coat every other day, wearing gloves when doing chores, and avoiding heat exposure. If you’re looking for even longer-lasting nail art, you may want to try gel nail polish or acrylic nails. With these tips in mind, you’ll be able to enjoy your beautiful nail art for days on end!