The Ultimate Guide to Using a Beauty Blender for Flawless Makeup Application
Have you ever wondered how makeup artists achieve that flawless, airbrushed look? The secret lies in the beauty blender. This versatile makeup tool has taken the beauty world by storm, and for good reason. When used correctly, a beauty blender can help you achieve a seamless, natural-looking makeup application that looks professionally done. In this ultimate guide, we’ll walk you through everything you need to know about using a beauty blender for flawless makeup application.
What is a Beauty Blender?
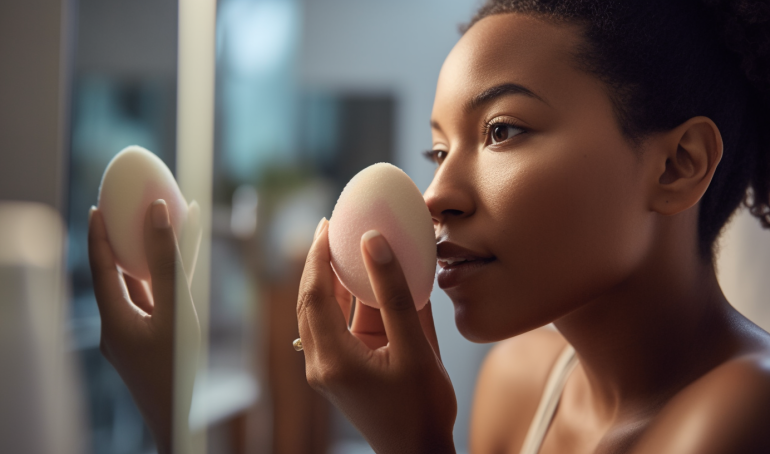
A beauty blender is a reusable, egg-shaped makeup sponge designed to blend and apply liquid and cream-based products such as foundation, concealer, blush, and more. Its unique shape allows you to reach every corner of your face with ease while providing even coverage for a smooth, streak-free finish.
Why Use a Beauty Blender?
Here are some reasons why a beauty blender is worth adding to your makeup routine:
- Flawless finish: The soft, porous material of the sponge helps blend makeup seamlessly into your skin for an airbrushed appearance.
- Versatility: A beauty blender can be used with various types of products – from foundation to concealer to blush – making it an all-in-one makeup tool.
- Precision: The pointed tip allows for precise application in hard-to-reach areas like the corners of your eyes and nose.
- Eco-friendly option: Since it’s reusable and washable, using a beauty blender means less waste than disposable makeup sponges or applicators.
How to Choose the Right Beauty Blender
When selecting a beauty blender, consider the following factors:
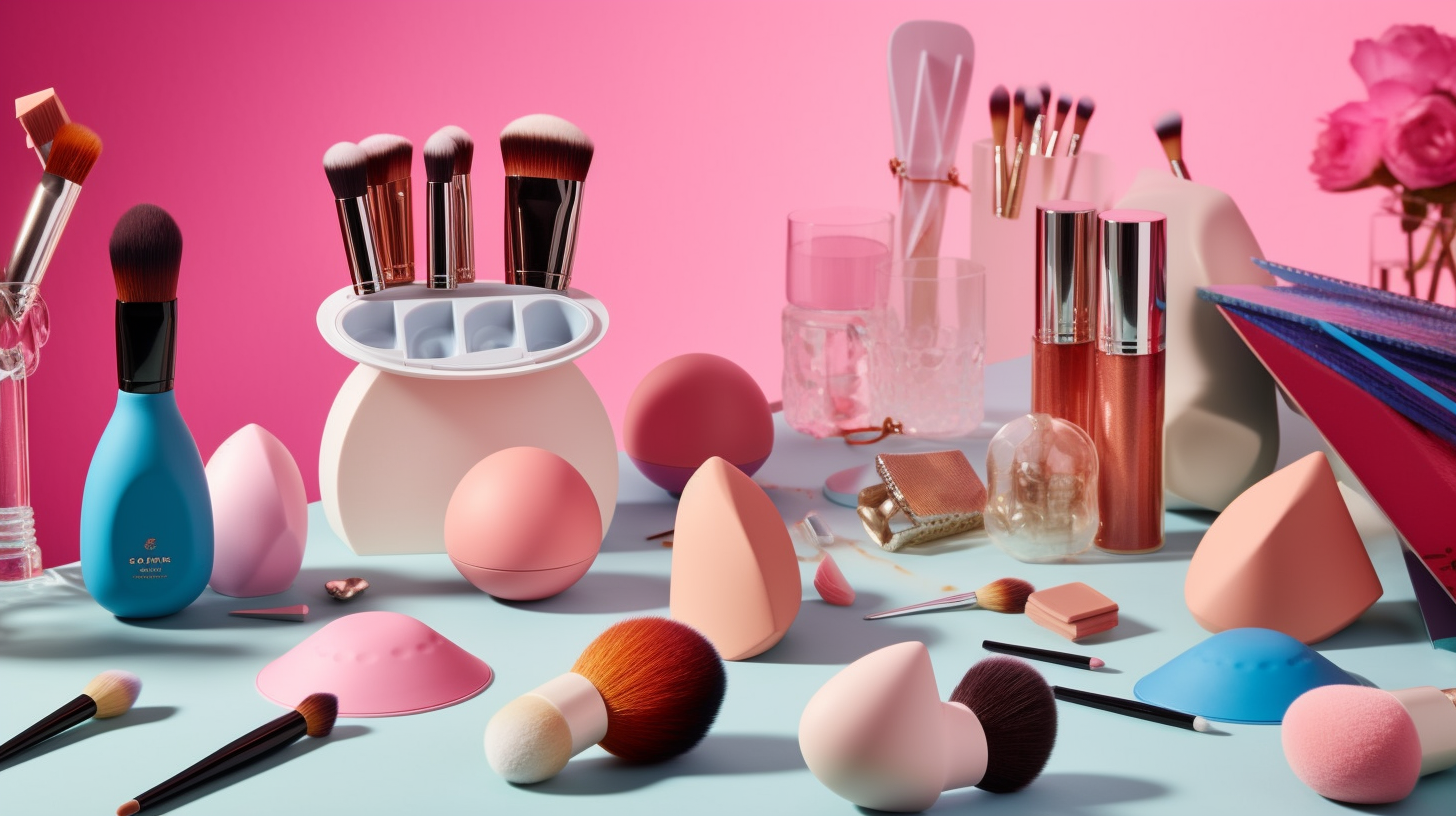
- Size: Beauty blenders come in various sizes, from mini to large. Choose one based on the size of your face and the areas you want to cover.
- Shape: While the classic egg shape is popular, there are other shapes available, such as flat-edged or angled sponges. These may be better suited for specific makeup applications or personal preferences.
- Material: Look for a sponge made from high-quality, latex-free foam that’s soft and bouncy. This ensures optimal blending and a longer-lasting product.
How to Use a Beauty Blender: Step-by-Step Guide
Follow these steps to achieve flawless makeup application using a beauty blender:
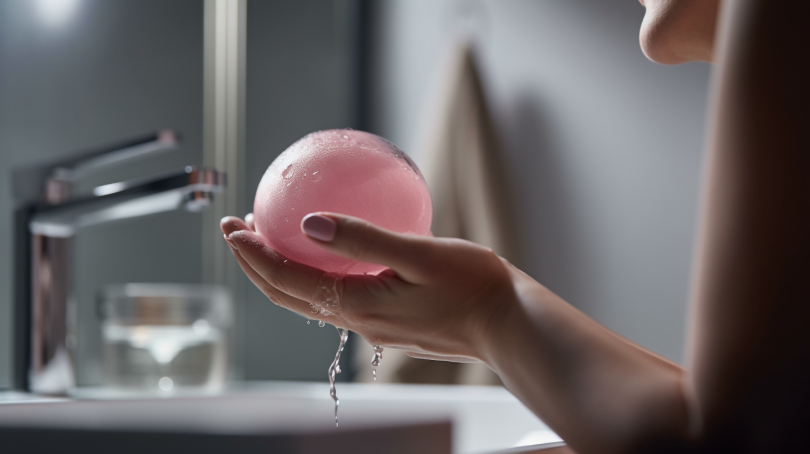
- Wet the sponge: Soak your beauty blender in water until it expands in size. Then, gently squeeze out the excess water, leaving it damp but not dripping wet. This helps prevent the sponge from absorbing too much product and ensures smooth blending.
- Apply product: Dispense your liquid or cream-based makeup product onto the back of your hand or a mixing palette. Lightly dab the rounded end of your damp beauty blender into the product.
- Bounce and blend: Using a stippling motion, bounce the beauty blender against your skin to apply and blend the product. Start at the center of your face and work outward for even coverage. Be gentle – no need to press too hard!
- Use different sides for different products: Utilize the pointed tip for precise application in smaller areas like under-eye circles or around your nose. The flat edge can be used for contouring and blending larger areas like your cheeks and forehead.
- Layer as needed: If you need more coverage, apply additional product with the same bouncing motion. Remember, it’s easier to build up coverage gradually than to remove excess makeup.
- Finish with powder: If desired, use a dry beauty blender or a separate makeup brush to apply setting powder gently. This helps lock in your makeup for longer wear.
How to Clean a Beauty Blender
To maintain the longevity of your sponge and prevent bacteria buildup, it’s essential to clean your beauty blender regularly. Here’s how:
- Wet the sponge with warm water.
- Apply a gentle soap or cleanser specifically designed for makeup sponges. Alternatively, you can use baby shampoo or a mild dish soap.
- Gently massage the soap into the sponge, focusing on any stained areas.
- Rinse thoroughly under warm water until the water runs clear.
- Gently squeeze out excess water and allow the sponge to air dry completely before using or storing it.
Tips for Using a Beauty Blender
To make the most of your beauty blender experience, keep these tips in mind:
- Replace your beauty blender every three months or when it starts to lose its shape and texture.
- Avoid rubbing or dragging the sponge across your face, as this can cause streaks and irritation. Instead, use a bouncing motion for optimal blending.
- If you’re short on time, try using a dry beauty blender for quicker makeup application. However, keep in mind that a damp sponge generally provides a more seamless finish.
- Experiment with different shapes and sizes of beauty blenders to find the perfect fit for your makeup routine and preferences.
In conclusion, a beauty blender is an essential makeup tool that can help you achieve a flawless, professionally-applied look. By following the steps and tips outlined in this guide, you’ll be well on your way to mastering the art of using a beauty blender for seamless makeup application. So go ahead, give it a try and see the difference it can make in your daily makeup routine!


