The Ultimate Guide to Homemade Lip Balm: Top Benefits and How to Make It at Home
Welcome to the ultimate guide to homemade lip balm! If you’re someone who’s tired of using commercial lip balms that contain harmful chemicals and additives, or if you’re looking for a cost-effective way to keep your lips moisturized and nourished, then this guide is for you. In this tutorial, we’ll be discussing the top benefits of using homemade lip balm and how you can make it in the comfort of your own home. Not only is it easy to make, but it’s also customizable and long-lasting. So without further ado, let’s dive into the world of homemade lip balm!
The Benefits of Homemade Lip Balm
Before we get into the nitty-gritty of making homemade lip balm, let’s first discuss why it’s a superior alternative to commercial lip balms. Here are some of the top benefits:
It Contains Natural Ingredients
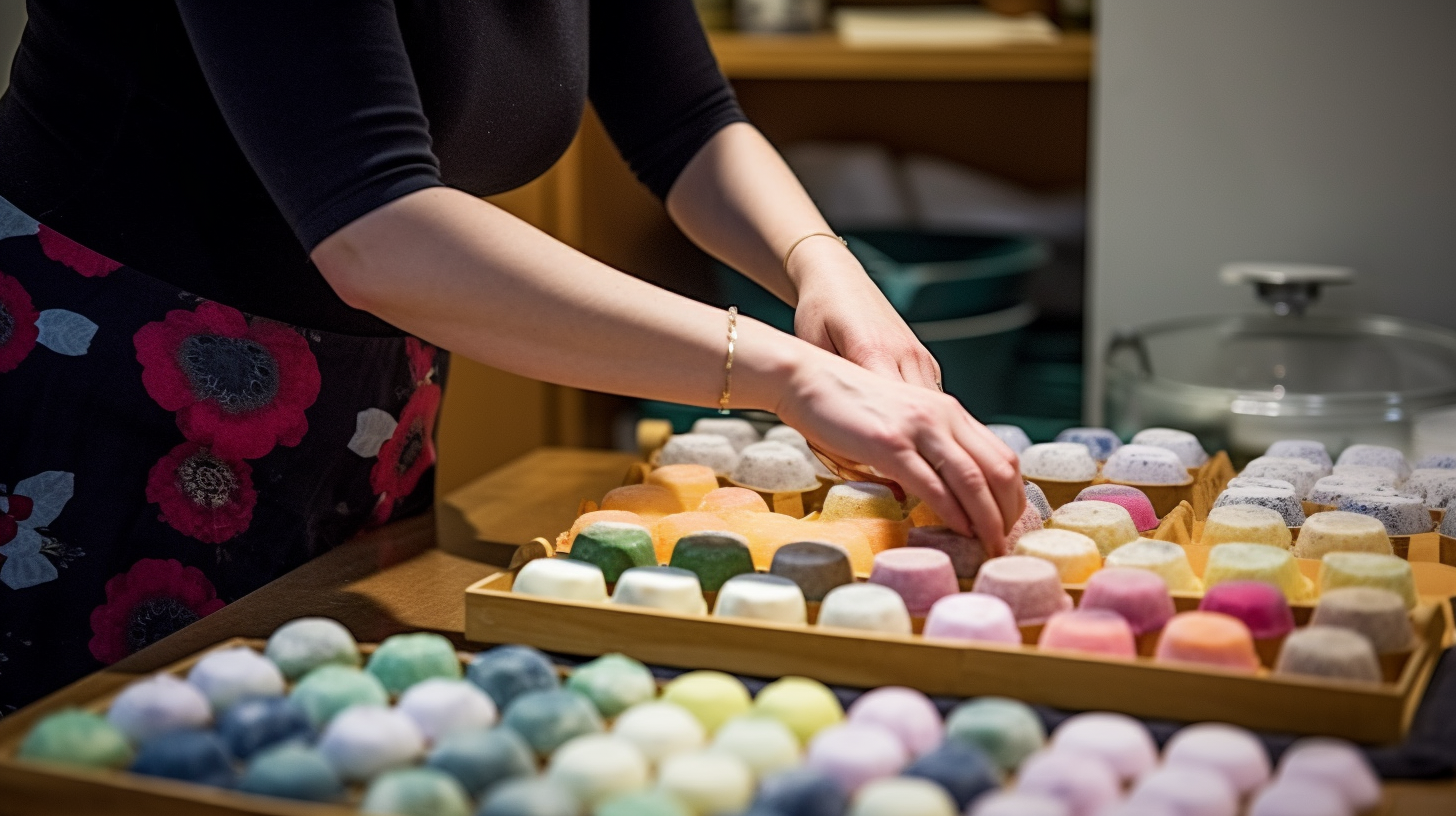
Homemade lip balm is made with natural ingredients such as beeswax, shea butter, coconut oil, and essential oils. These ingredients are free from harmful chemicals that can cause irritation or allergies. By making your own lip balm, you have control over what goes into it and can ensure that it’s safe for use.
It’s Moisturizing and Nourishing
The natural ingredients used in homemade lip balm are excellent at moisturizing and nourishing dry or chapped lips. Beeswax forms a protective barrier on the lips, preventing moisture loss while shea butter and coconut oil provide deep hydration.
It’s Cost-Effective
Making your own lip balm is much cheaper than buying commercial ones. You can buy ingredients in bulk and make multiple batches at once, saving money in the long run.
It’s Customizable
With homemade lip balm, you can customize the scent and texture to your liking. You can add essential oils for a pleasant fragrance or adjust the amount of beeswax to make it more or less firm.
It’s Easy to Make
Making homemade lip balm is incredibly easy and requires only a few ingredients and equipment. Plus, you can make it in large quantities and store it for future use.
It’s Long-Lasting
Homemade lip balm has a longer shelf life than commercial ones as it doesn’t contain preservatives. It can last up to a year if stored properly.
It’s Chemical-Free
Commercial lip balms often contain chemicals such as parabens, phthalates, and synthetic fragrances that can harm your health. By making your own lip balm, you can avoid these harmful chemicals and ensure that you’re using a safe product.
It’s Healing and Soothing
The natural ingredients in homemade lip balm have healing properties that can soothe irritated or inflamed lips. Beeswax has anti-inflammatory properties, while shea butter and coconut oil have moisturizing and soothing properties.
How to Make Homemade Lip Balm
Now that we’ve discussed the benefits of homemade lip balm let’s move on to the fun part – making it! Here’s what you’ll need:
- 1 tablespoon beeswax pellets
- 1 tablespoon shea butter
- 1 tablespoon coconut oil
- A few drops of essential oil (optional)
- A small container or lip balm tube
- A double boiler or a heatproof bowl and a pot of simmering water
- A stirring utensil (e.g., a spoon or spatula)
Here are the step-by-step instructions:
- Melt the beeswax, shea butter, and coconut oil in a double boiler or heatproof bowl over a pot of simmering water.
- Stir the mixture until it’s fully melted and combined.
- Remove the mixture from heat and add a few drops of essential oil (if desired). Stir to combine.
- Pour the mixture into your container or lip balm tube.
- Let it cool and solidify for about an hour.
- Your homemade lip balm is ready to use!
Tips for Storage and Usage
Now that you know how to make homemade lip balm let’s discuss some tips for storage and usage:
- Store your lip balm in a cool, dry place away from direct sunlight.
- If you’re using a container, use a clean finger or brush to apply the balm to your lips.
- If you’re using a lip balm tube, twist up the product slightly and apply it directly to your lips.
- You can reheat the mixture if it solidifies too much or add more beeswax if it’s too soft.
- Experiment with different essential oils to find your favorite scent!
Conclusion
Congratulations! You’ve just learned how to make homemade lip balm and discovered its many benefits. With its natural ingredients, moisturizing properties, and cost-effectiveness, homemade lip balm is a great alternative to commercial lip balms. By making your own, you can ensure that you’re using a safe and customized product that caters to your specific needs. So why not give it a try? Your lips will thank you!