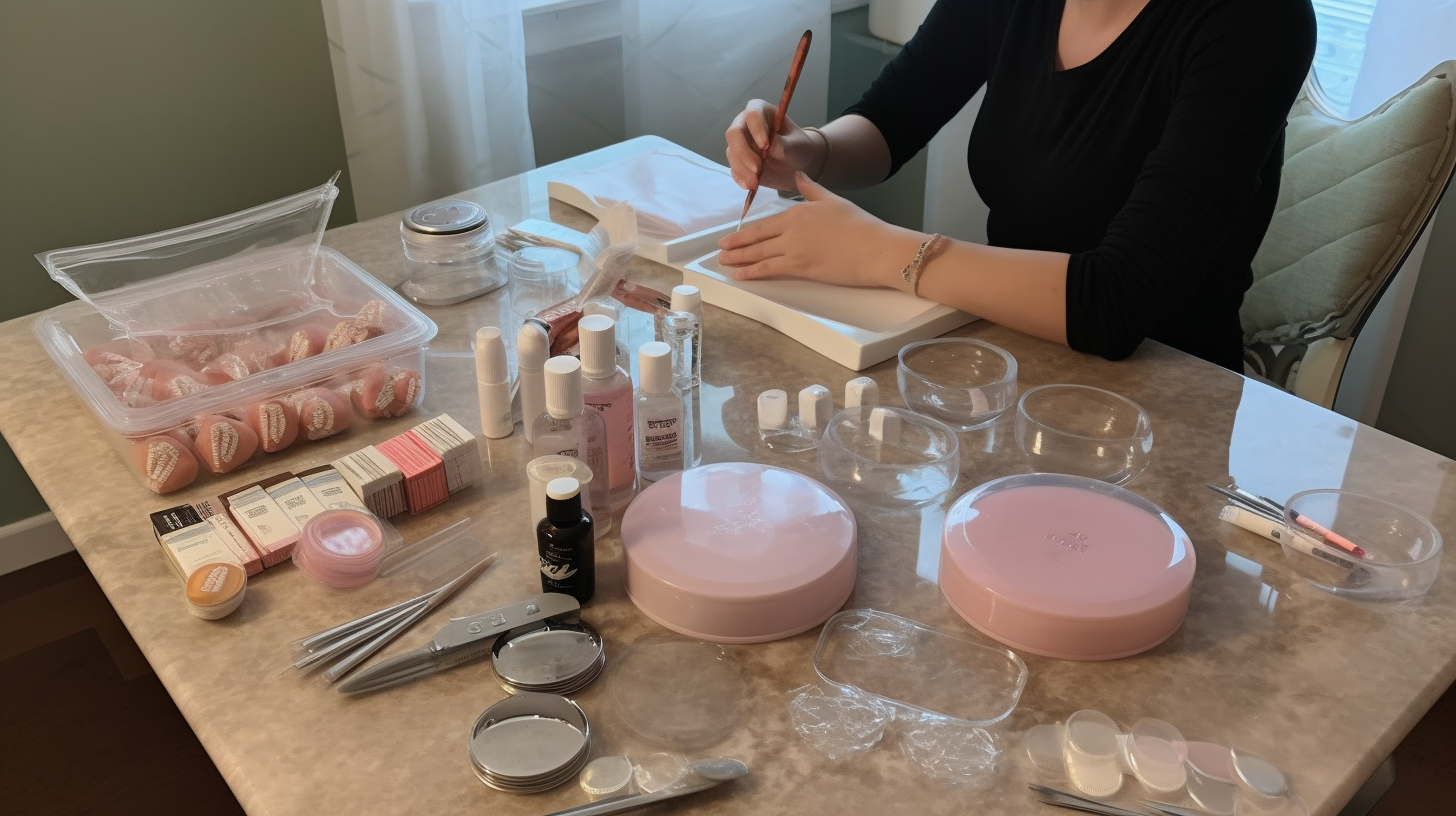
Step-by-Step Guide: Applying Glitter Nail Polish like a Pro
Are you tired of your glitter nail polish chipping or not lasting as long as you would like it to? Don’t worry; we’ve got you covered! Applying glitter nail polish can be tricky, but with the right techniques and tips, you can achieve a professional-looking manicure in no time. In this step-by-step guide, we will show you how to apply glitter nail polish like a pro, including different techniques such as glitter gradient, glitter ombre, and glitter placement. So, let’s get started!
What You Will Need
Before we dive into the application process, there are a few things that you will need:
- Base coat
- Glitter nail polish
- Clear topcoat
- Clean-up brush or cotton swabs
- Nail file and buffer
- Cuticle pusher or orange stick
- Nail polish remover (optional)
The Application Process: Step-by-Step Guide
Step 1: Prepare Your Nails
The first step in applying glitter nail polish is to prepare your nails. Start by removing any old nail polish using a nail polish remover. Then use a cuticle pusher or an orange stick to push back your cuticles gently. File and shape your nails to your desired length and shape. Buff the surface of your nails gently to create a smooth base for the nail polish.
Step 2: Apply Base Coat
Apply a layer of base coat to your nails. This will help the glitter nail polish adhere better and protect your nails from staining. Allow the base coat to dry completely before moving on to the next step.
Step 3: Apply Glitter Nail Polish
Now it’s time to apply the glitter nail polish. There are different techniques that you can use, depending on the look you want to achieve:
Glitter Gradient
To create a glitter gradient, apply a thin layer of glitter nail polish at the base of your nails and gradually build up the opacity towards the tip of your nails. Use a sponge or a brush to blend the glitter polish and create a smooth transition.
Glitter Ombre
If you want to achieve an ombre effect, apply a base color that complements your glitter nail polish. Once it has dried, take a makeup sponge and paint the glitter nail polish onto the sponge. Then dab the sponge onto your nails from bottom to top, gradually decreasing the amount of glitter as you move up. This will create an ombre effect that fades from glitter to your base color.
Glitter Placement
If you prefer a more subtle look, use a toothpick or a dotting tool to place individual pieces of glitter onto specific areas of your nails. You can create patterns or place them randomly for a unique look.
No matter which technique you choose, make sure to apply thin layers and let each layer dry completely before applying another one. This will prevent smudging and ensure that your manicure lasts longer.
Step 4: Apply Topcoat
Once your glitter nail polish has dried completely, it’s time to apply a clear topcoat. This will seal in the glitter and add extra shine to your manicure. Apply one or two layers of topcoat and allow it to dry completely before moving on to the next step.
Step 5: Clean Up
Use a clean-up brush or a cotton swab dipped in nail polish remover to clean up any excess glitter or mistakes around your nails. This will give your manicure a polished and professional look.
Tips and Tricks for Long-Lasting Glitter Nails
Now that you know how to apply glitter nail polish like a pro, here are some additional tips and tricks to help your manicure last longer:
- Make sure your nails are completely dry before applying each layer of nail polish.
- Avoid using too much pressure when buffing your nails, as this can damage the surface of your nails.
- If you have trouble with glitter nail polish chipping quickly, try adding a layer of regular topcoat every few days to extend the life of your manicure.
- Apply cuticle oil regularly to keep your cuticles hydrated and healthy.
Conclusion
Applying glitter nail polish can be tricky, but with these step-by-step instructions and tips, you can achieve a professional-looking manicure at home. Whether you prefer glitter gradient, glitter ombre, or glitter placement, there’s a technique for everyone. Remember to prepare your nails properly, apply thin layers of nail polish, and let each layer dry completely before moving on to the next step. With practice and patience, you’ll be able to create stunning glittery nails that last!


