Discover the Ultimate Guide on How to Use a Cuticle Pusher for Perfect Nails
Welcome to the ultimate guide on how to use a cuticle pusher for perfect nails. If you’re looking for a simple and effective way to improve the health and appearance of your nails, using a cuticle pusher is an excellent place to start. Cuticles are the thin layer of skin that grows at the base of your nails, and pushing them back gently can help promote healthy nail growth while also making your nails look neater and more polished.
Using a cuticle pusher is easy, but it’s important to know how to do it correctly to avoid injuring your nail bed or causing other problems. In this tutorial, we’ll cover everything you need to know about using a cuticle pusher, including what tools you’ll need, how to prepare your nails, and step-by-step instructions for pushing back your cuticles safely and effectively.
What You’ll Need
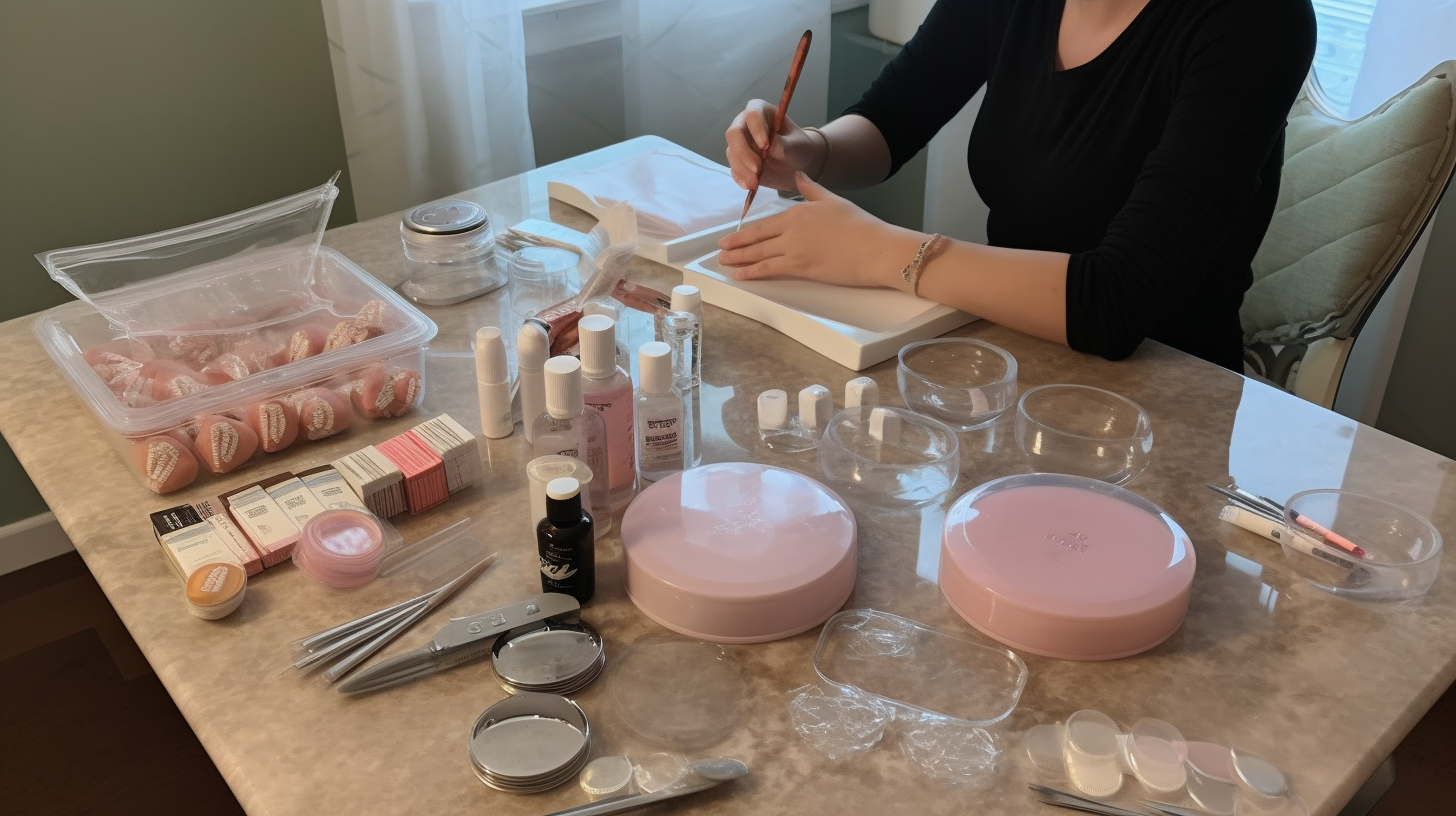
The first step in using a cuticle pusher is making sure you have all the necessary tools on hand. Here’s what you’ll need:
- A cuticle remover or other product designed to soften the cuticles
- A bowl of warm water or a small basin
- A clean towel or paper towels
- A quality cuticle pusher with a flat edge
- A moisturizing lotion or oil for aftercare
Once you have all these items ready, it’s time to get started.
Preparing Your Nails
The first step in using a cuticle pusher is preparing your nails. Start by washing your hands thoroughly with soap and warm water. This will help remove any dirt or bacteria that may be on your skin or under your nails.
Next, soak your fingertips in warm water for a few minutes to soften your cuticles. You can add a few drops of cuticle oil or another product designed to soften the cuticles to the water for added benefits. If you’re using a small basin, make sure it’s deep enough to cover your fingertips completely.
After soaking, pat your hands dry with a clean towel or paper towel. Be gentle and avoid rubbing too hard, as this can damage your nails or irritate your skin.
Pushing Back Your Cuticles
Now that you’ve prepared your nails, it’s time to start pushing back your cuticles. Here are the step-by-step instructions:
- Apply a small amount of cuticle remover or other product designed to soften the cuticles to each nail.
- Gently push back your cuticles using the flat edge of your cuticle pusher. Start at one side of your nail and work your way around, being careful not to apply too much pressure or push too far back.
- If you encounter any dead skin or hangnails, use the pointed end of your cuticle pusher to gently remove them.
- Clean the excess product and dead skin off of your nails with a clean towel or paper towel.
Remember, it’s important not to push too hard or go too far back when pushing back your cuticles. Doing so can damage the nail bed and cause pain or discomfort. Instead, work slowly and gently, using small movements until you achieve the desired result.
Aftercare
After pushing back your cuticles, it’s important to take care of them properly to promote healthy nail growth and prevent infection. Here are some tips for aftercare:
- Apply a moisturizing lotion or oil to your nails and cuticles to keep them hydrated and healthy.
- Avoid biting or picking at your nails or cuticles, as this can cause damage and infection.
- Keep your nails clean and dry, and avoid exposing them to harsh chemicals or other irritants.
- If you notice any signs of infection, such as redness, swelling, or pus, seek medical attention right away.
By following these simple aftercare tips, you can help ensure that your nails stay healthy and beautiful long after using a cuticle pusher.
Conclusion
In conclusion, using a cuticle pusher is an easy and effective way to promote healthy nail growth while also improving the appearance of your nails. By following the step-by-step instructions outlined in this tutorial and taking proper care of your nails afterward, you can achieve the perfect manicure or pedicure every time. So go ahead and give it a try – your nails will thank you!