Discover the Art of Perfect Contouring with Our Guide on Using a Contour Brush
Welcome to our comprehensive guide on using a contour brush for perfect face contouring! Contouring has become an essential part of makeup application, and it’s easy to see why. With the right products and techniques, you can create a flawless, sculpted look that enhances your natural features and makes you feel confident and beautiful. Here, we’ll walk you through everything you need to know about using a contour brush, from choosing the right brush to applying contouring products like a pro.
Why Use a Contour Brush?
Before we dive into the specifics of how to use a contour brush effectively, let’s talk about why using one is so important. A contour brush is specifically designed to apply makeup products that create shadows and highlights on your face. These products help define your facial features, making them more prominent or subtle as needed. By using a contour brush instead of your fingers or another tool, you can achieve more precise and even application.
Additionally, using a contour brush can help prevent streaks or smudges in your makeup application. When you use your fingers or another tool, it’s easy to accidentally apply too much product or miss areas altogether. With a contour brush, you can ensure that the product is evenly distributed across your face.
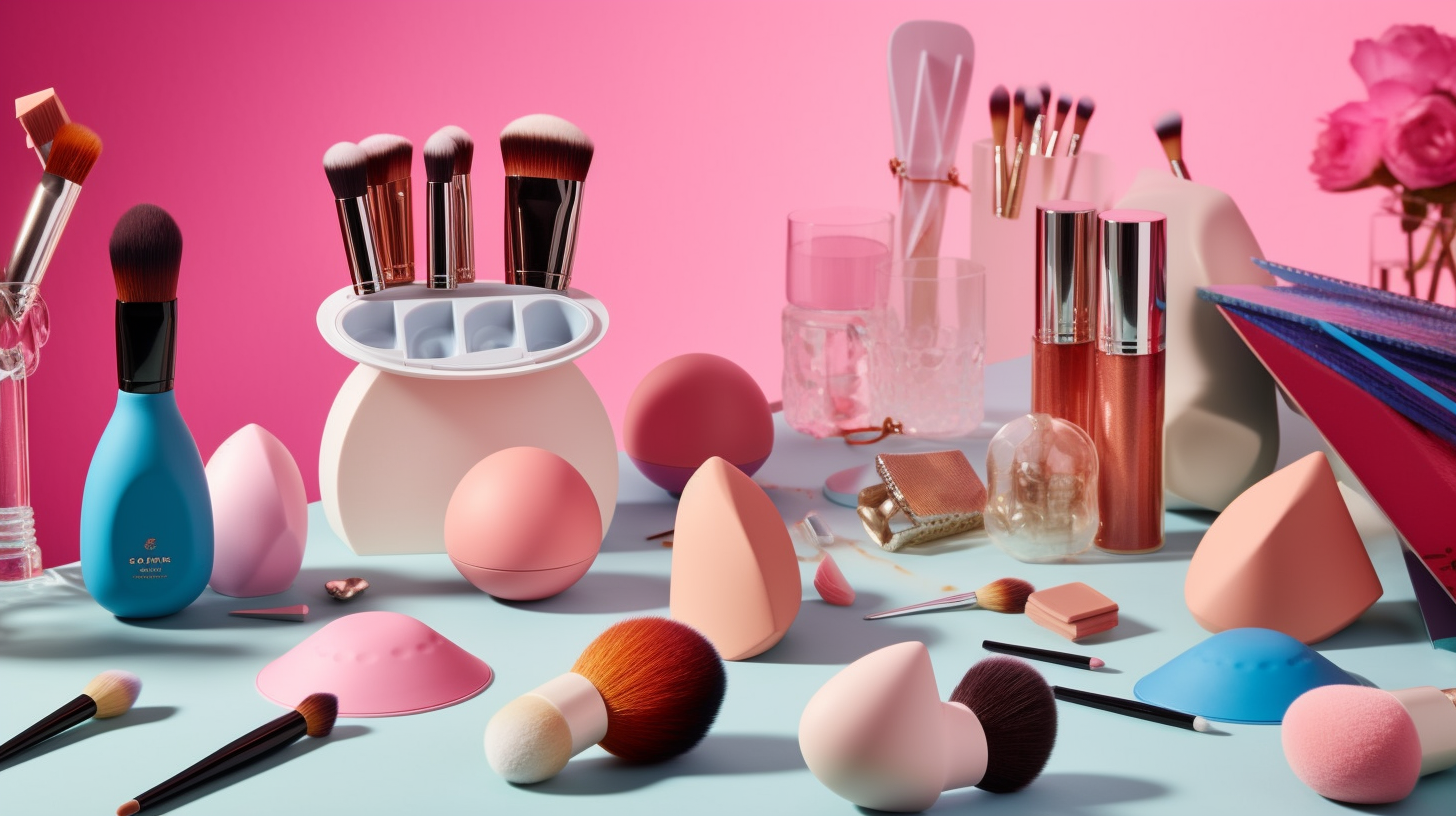
Choosing the Right Contour Brush
The first step in mastering the art of perfect contouring with a contour brush is choosing the right tool for your needs. There are many different types of brushes available on the market today, each with its own unique shape and bristle type.
The most common type of contour brush is an angled brush with soft bristles. This type of brush allows for precision application and blending of products along the contours of your face. You can also find round brushes, flat brushes, and even dual-ended brushes that combine different shapes in one tool.
When choosing a contour brush, consider the shape of your face and the look you want to achieve. For example, if you have a round face, you may want to opt for a slimmer, angled brush that can help create the illusion of more defined cheekbones. If you’re new to contouring, a dual-ended brush with both an angled and rounded side can be a great starting point.
Preparing Your Face for Contouring
Before you start applying any makeup products with your contour brush, it’s important to prepare your face properly. This will help ensure that the product goes on smoothly and blends evenly.
The first step is to cleanse your face thoroughly and apply a moisturizer. This will help create a smooth base for your makeup application. Next, apply a primer to your face. This will help your makeup last longer and prevent it from smudging or rubbing off throughout the day.
Applying Contouring Products with Your Contour Brush
Now that you have selected the right contour brush and prepared your face properly, it’s time to start applying your contouring products with your brush. Here’s how:
- Select Your Product: Choose the right product for your needs based on the look you want to achieve. Common contouring products include bronzer, blush, and highlighter.
- Dip Your Brush: Dip your contour brush into the product so that it’s evenly coated.
- Tap Off Excess: Tap off any excess product from the brush by lightly tapping it against the container or blowing on it gently.
- Apply Product: Start applying the product along the contours of your face, using the shape of your brush to guide you. For example, if you’re using an angled brush, you can use the point to apply product to the hollows of your cheeks. Use light, sweeping motions and blend as you go.
- Build Color Gradually: If you want a more dramatic look, you can gradually build up the color by adding more product and blending it in between layers.
Remember that less is often more when it comes to contouring. Start with a small amount of product and build up as needed until you achieve your desired effect.
Tips and Tricks for Using Your Contour Brush
Now that you know the basics of using a contour brush for makeup application, here are some additional tips and tricks to help you get the most out of your tool:
- Blend Well: One of the most important aspects of successful contouring is blending. Take your time to blend your products well for a natural-looking finish.
- Use Different Brushes for Different Products: Consider investing in multiple contour brushes so that you can use different brushes for different products. For example, use one brush for bronzer and another for highlighter.
- Try Different Techniques: There are many different techniques for applying contouring products with a contour brush. Experiment with different techniques to find what works best for your face shape and personal preferences.
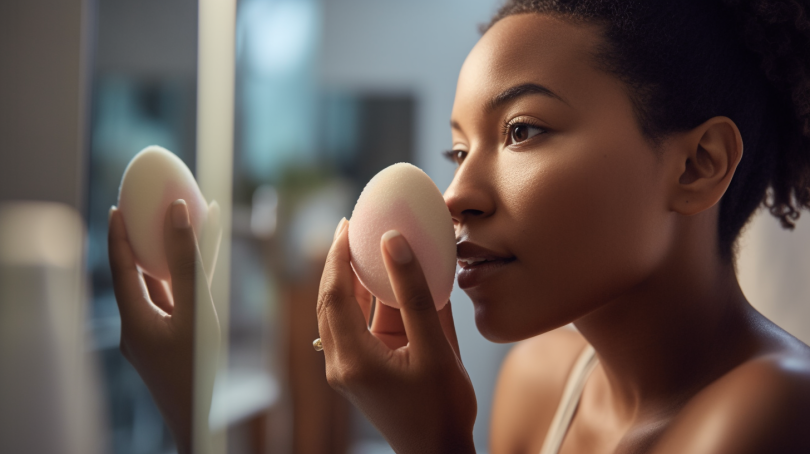
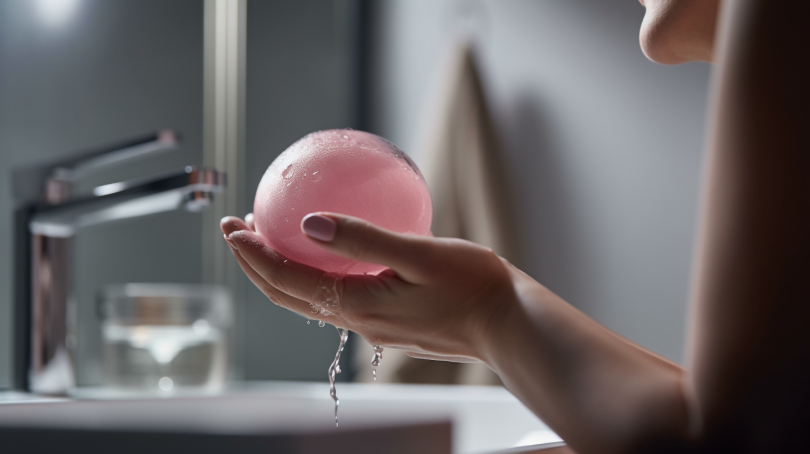
- Clean Your Brushes Regularly: To ensure that your brushes last as long as possible and don’t harbor bacteria, clean them regularly with gentle soap or brush cleaner.
In Conclusion
We hope this guide has been helpful in teaching you how to use a contour brush for perfect face contouring. Remember that practice makes perfect, and it may take some time to master the art of contouring. Be patient with yourself and have fun experimenting with different products, brushes, and techniques until you find what works best for you. With the right tools and knowledge, you can achieve a flawless, sculpted look that enhances your natural beauty.