Discover the Benefits of Nail Buffers: A Comprehensive Guide on How to Use Them
Welcome to our comprehensive guide on nail buffers! If you’re someone who loves taking care of their nails, then you’ve come to the right place. Nail buffers are an essential tool that every nail enthusiast should have in their collection. They help in smoothening out the surface of your nails, making them look shinier and healthier. In this tutorial, we’ll be discussing everything you need to know about nail buffers and how to use them effectively.
What is a Nail Buffer?
A nail buffer is a tool used for shaping and smoothing the surface of your nails. It’s a rectangular or square-shaped block made from foam or other materials that have different grits on each side. The grits range from coarse to fine and are used for different purposes. The coarse grit is used for shaping your nails and removing any ridges or bumps, while the finer grit is used for smoothing and shining your nails.
The Benefits of Using a Nail Buffer
Using a nail buffer has several benefits that go beyond just making your nails look good. Here are some of the benefits:
- Improves Blood Circulation: Buffing your nails helps in stimulating blood flow to the nail bed, which promotes healthy nail growth.
- Strengthens Nails: Regular buffing can make your nails stronger by removing any weak spots or ridges.
- Makes Nails Look Healthier: Buffing can make your nails look healthier by removing any discoloration or yellowing caused by nail polish or other factors.
- Makes Nail Polish Last Longer: Buffing creates a smooth surface on your nails, allowing polish to adhere better and last longer.
Types of Nail Buffers
There are two main types of nail buffers:
- Manual Nail Buffers: These are the most common type of nail buffers and are usually made from foam or other materials. They require manual effort to use and come in different shapes and sizes.
- Electric Nail Buffers: These are battery-operated or corded devices that make buffing your nails quicker and easier. They come with different attachments for different purposes, such as shaping, filing, and buffing.
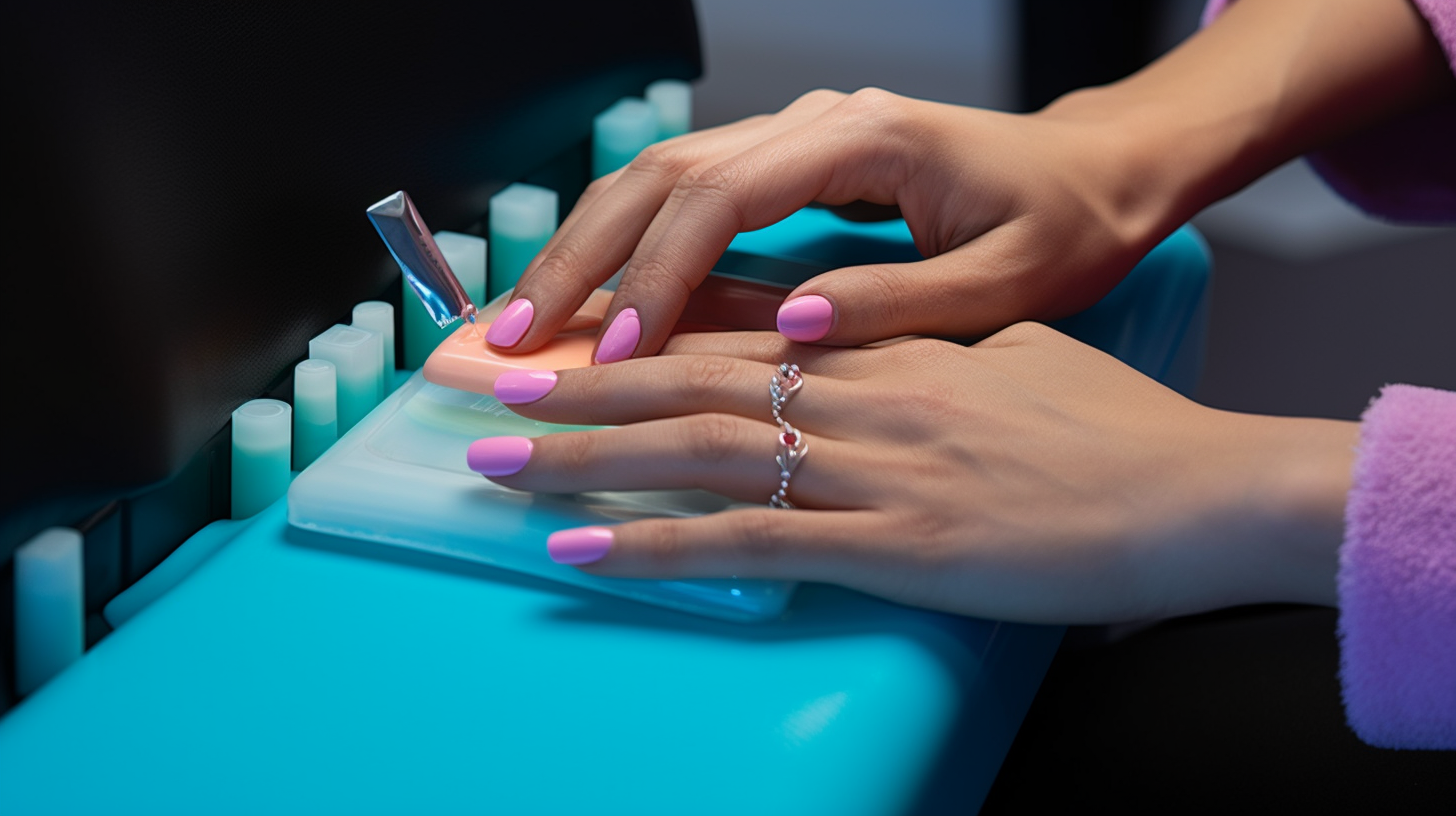
How to Use a Nail Buffer
Using a nail buffer is easy, but it’s important to follow the correct steps to get the best results. Here’s how to use a manual nail buffer:
- Clean Your Nails: Remove any nail polish or dirt from your nails using a nail polish remover or soap and water. Dry your nails thoroughly.
- Shape Your Nails: Use the coarse side of the buffer to shape your nails. Start at one corner and move towards the center in one direction. Repeat on the other side until you get the desired shape.
- Smooth Out Ridges: If you have any ridges or bumps on your nails, use the coarse grit side of the buffer to smooth them out. Be gentle while doing this, as over-buffing can weaken your nails.
- Buff Your Nails: Use the fine grit side of the buffer to buff your nails in a back-and-forth motion. Be gentle while doing this, as over-buffing can damage your nails.
- Polish Your Nails: If you want to apply nail polish, use a base coat first, followed by your desired color. Finish off with a top coat for added shine and protection.
Here’s how to use an electric nail buffer:
- Clean Your Nails: Remove any nail polish or dirt from your nails using a nail polish remover or soap and water. Dry your nails thoroughly.
- Choose the Right Attachment: Choose the attachment that corresponds to the task you want to perform, such as shaping, filing, or buffing.
- Turn on the Device: Turn on the device and adjust the speed according to your preference.
- Shape Your Nails: Use the appropriate attachment to shape your nails. Start at one corner and move towards the center in one direction. Repeat on the other side until you get the desired shape.
- Smooth Out Ridges: If you have any ridges or bumps on your nails, use the appropriate attachment to smooth them out. Be gentle while doing this, as over-buffing can weaken your nails.
- Buff Your Nails: Use the appropriate attachment to buff your nails in a back-and-forth motion. Be gentle while doing this, as over-buffing can damage your nails.
- Polish Your Nails: If you want to apply nail polish, use a base coat first, followed by your desired color. Finish off with a top coat for added shine and protection.
Tips for Using Nail Buffers
Here are some tips for using nail buffers:
- Don’t Over-Buff: Over-buffing can weaken your nails and cause damage. Be gentle while buffing and don’t buff more than once a week.
- Use a Light Touch: Use a light touch while buffing, as too much pressure can damage your nails.
- Clean Your Buffer: Clean your buffer after every use to prevent the buildup of bacteria and other germs.
- Replace Your Buffer: Replace your buffer every six months or when it starts to show signs of wear and tear.
In Conclusion
Nail buffers are an essential tool for anyone who wants to maintain healthy and beautiful nails. They help in smoothening out the surface of your nails, making them look shinier and healthier. Whether you choose a manual or electric nail buffer, it’s important to follow the correct steps to get the best results. Remember to be gentle while buffing and don’t overdo it, as this can damage your nails. We hope this tutorial has been helpful in answering all your questions about nail buffers and how to use them effectively!