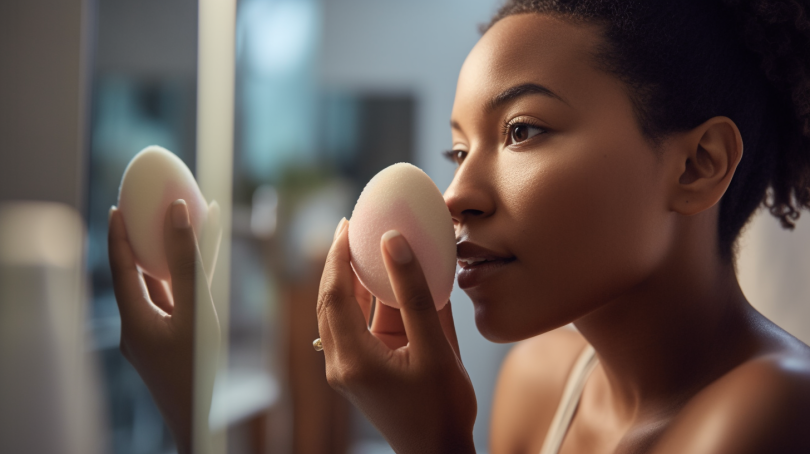
Mastering the Art of Blending: A Guide to Using a Blending Brush like a Pro
Welcome to the ultimate guide to mastering the art of blending! If you’re a makeup enthusiast or just someone who wants to up their makeup game, then you’ve come to the right place. One of the essential tools in your makeup kit is a blending brush. It helps to create a seamless and blended look, whether you’re going for a natural or dramatic look. In this tutorial, we’ll take you through everything you need to know about using a blending brush like a pro. From the different types of brushes available to the techniques you can use, we’ve got you covered. So let’s get started!
What is a Blending Brush?
A blending brush is a makeup brush that’s used to blend eyeshadow or other eye makeup products together seamlessly. It’s designed with soft bristles that are densely packed together, allowing it to blend harsh lines and edges for a smooth finish.
Blending brushes come in different shapes and sizes, but they all serve the same purpose – to help you achieve that flawless, blended look. The most common shapes include tapered, dome-shaped, and fluffy.
The Different Types of Blending Brushes
Not all blending brushes are created equal. There are various types of brushes available in the market, each with its unique shape and size. Here are some of the most commonly used blending brushes:
- Tapered Blending Brush: This type of brush has a pointed tip that’s perfect for applying eyeshadow precisely in small areas like the crease or outer corner of your eye.
- Dome-Shaped Blending Brush: This type of brush has a rounded tip that’s perfect for blending out harsh lines or edges on your eyelids.
- Fluffy Blending Brush: This type of brush has long, fluffy bristles that are perfect for blending out eyeshadow in large areas like your eyelids.
Techniques for Using a Blending Brush
Now that you know the different types of blending brushes available let’s dive into the techniques for using them.
1. Choose the Right Brush
The first step to mastering the art of blending is choosing the right brush. Depending on your eye shape and the look you’re going for, you’ll need to select a brush that’s suitable for the job. For instance, if you have small eyes, a tapered blending brush would be ideal for applying eyeshadow in small areas like your crease. On the other hand, if you have large eyes, a fluffy blending brush would be perfect for applying eyeshadow in larger areas like your eyelids.
2. Apply Your Base Eyeshadow
The next step is to apply your base eyeshadow using a flat eyeshadow brush. This will create a base color that you can build on later with other shades. Be sure to apply it evenly across your eyelid and up to your brow bone.
3. Use Your Blending Brush to Apply Transition Shades
The transition shade is used to create depth and dimension in your eye makeup look. To achieve this, use a blending brush with soft bristles and circular motions to apply the transition shade along your crease line. Remember to blend it out well so that there are no harsh lines or edges.
4. Apply Your Main Eyeshadow Shade
Once you’ve applied your transition shade, it’s time to apply your main eyeshadow shade. Use a flat eyeshadow brush to apply the color to your eyelid, then use a blending brush to blend the edges out for a seamless finish.
5. Add Depth with a Darker Shade
If you want to add more depth to your eye makeup look, use a darker shade on the outer corner of your eye. Use a tapered blending brush and small circular motions to apply the color. Be sure to blend it out well for a natural look.
6. Highlight Your Brow Bone
The final step is to highlight your brow bone using a light eyeshadow shade or highlighter. Use a fluffy blending brush and sweep the color under your brow bone for an instant lift.
Mistakes to Avoid When Using a Blending Brush
While using a blending brush is relatively easy, there are some common mistakes that people make when applying their makeup. Here are some of them:
- Using Too Much Pressure: Using too much pressure when applying eyeshadow can lead to harsh lines and edges that are difficult to blend out.
- Not Cleaning Your Brush: Not cleaning your blending brush regularly can lead to bacteria buildup, which can cause breakouts or infections.
- Not Blending Enough: Not blending your eyeshadow enough can lead to harsh lines and edges that don’t look natural.
- Using Too Many Colors: Using too many colors at once can make your eye makeup look cluttered and messy.
Conclusion
Congratulations! You’ve just learned how to use a blending brush like a pro. With this guide, you’ll be able to create a flawless and blended eye makeup look every time. Remember to choose the right brush for the job, apply your base eyeshadow, use circular motions when applying your transition shade and main eyeshadow shade, add depth with a darker shade, highlight your brow bone, and avoid common mistakes like using too much pressure or not blending enough. With these tips in mind, you’re well on your way to mastering the art of blending!


