Can You Paint Press-On Nails? A Step-by-Step Guide
Welcome to our step-by-step guide on painting press-on nails! If you’ve ever wondered whether or not you can paint press-on nails, you’ve come to the right place. Press-on nails have become increasingly popular due to their convenience and affordability. They offer a quick and easy way to achieve beautiful manicures without the need for a trip to the salon. But what if you want to personalize your press-on nails with your favorite nail polish or create intricate nail art designs? Can you paint press-on nails? The answer is yes! In this guide, we will walk you through the process of painting press-on nails, including tips, techniques, and recommendations for achieving long-lasting results. Let’s dive in!
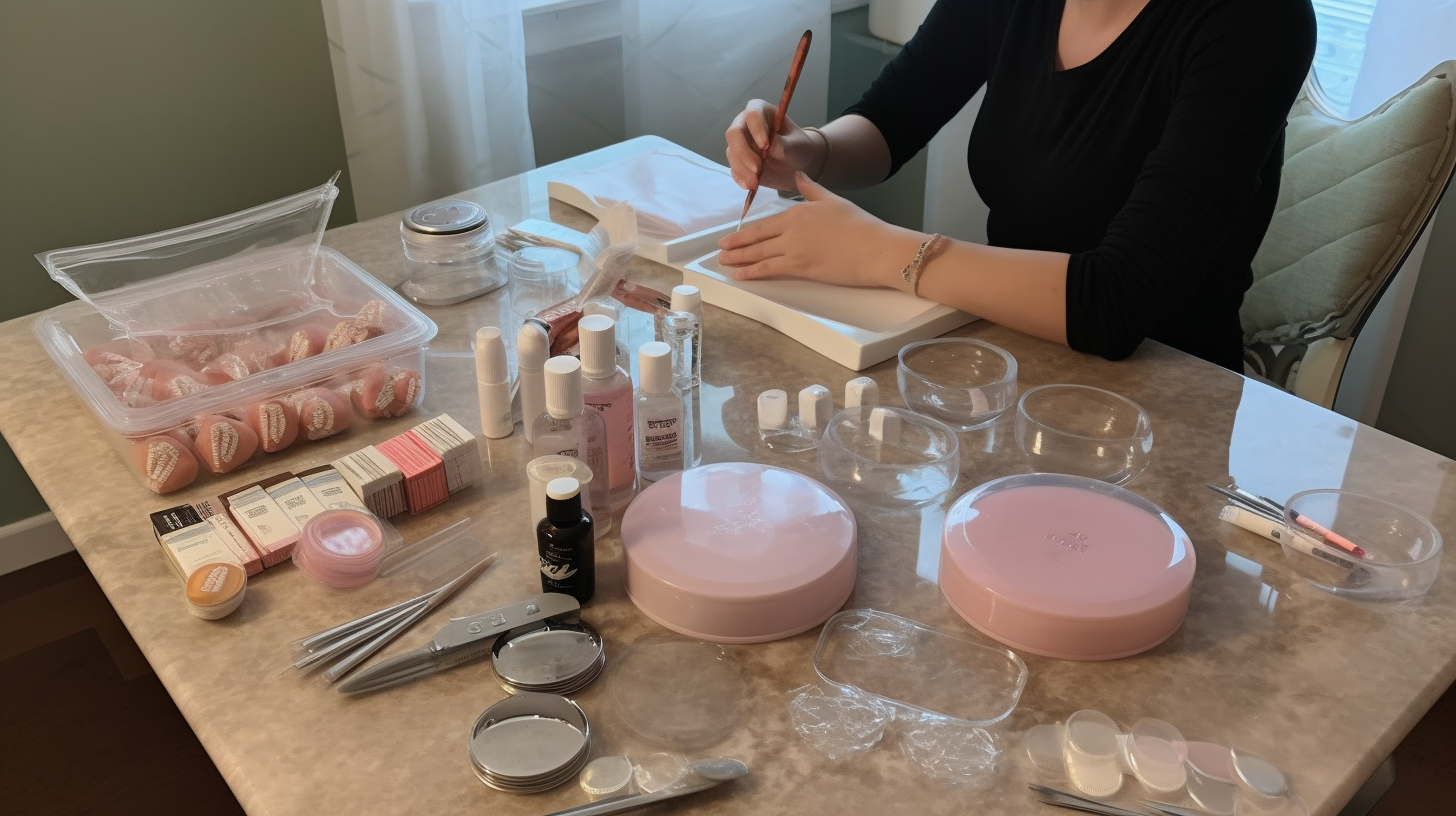
Materials You’ll Need
Before we get started, let’s gather all the necessary materials:
- Press-on nails
- Nail polish of your choice
- Base coat
- Top coat
- Nail glue (if not provided with the press-on nails)
- Nail file
- Cuticle pusher or orange stick
- Cotton pads or nail wipes
- Rubbing alcohol or nail polish remover
- Small brush for clean-up (optional)
Step 1: Prep Your Nails
The key to a long-lasting manicure is proper nail preparation. Start by removing any old nail polish from your natural nails using cotton pads or nail wipes soaked in rubbing alcohol or nail polish remover. Once your nails are clean and dry, gently push back your cuticles using a cuticle pusher or an orange stick.
Step 2: Prepare the Press-On Nails
If your press-on nails come with an adhesive backing, skip this step. However, if they require nail glue, apply a small amount of glue onto each press-on nail, spreading it evenly. Be careful not to use too much glue, as it can cause the nails to lift or become uneven.
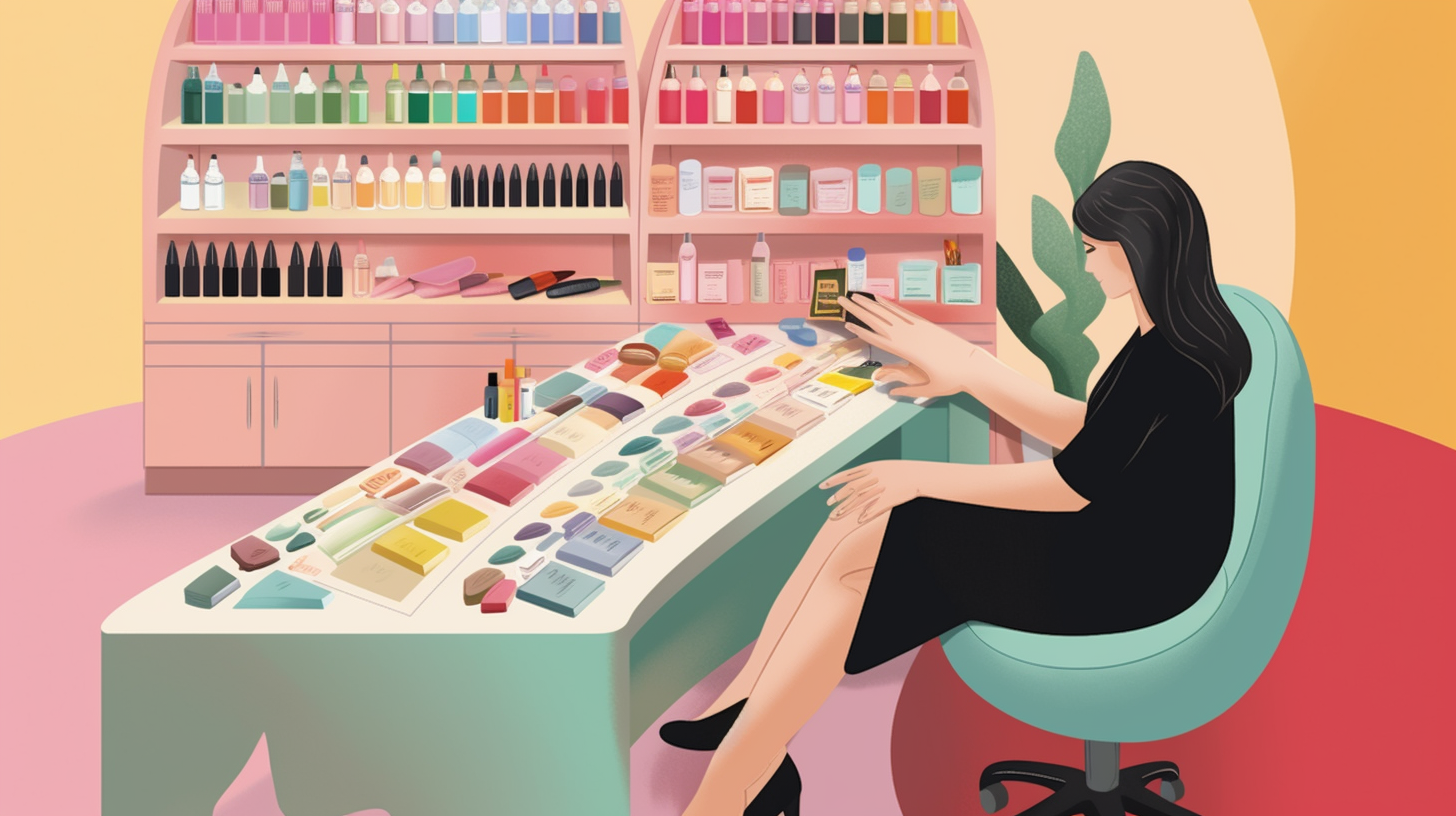
Step 3: Find the Perfect Fit
Press-on nails come in various sizes to fit different nail shapes and sizes. Take your time to find the perfect fit for each of your natural nails. If necessary, gently file the sides of the press-on nails to adjust their width or length. Remember, a good fit is crucial for a natural-looking and comfortable manicure.
Step 4: Apply the Press-On Nails
Once you have found the right size for each nail, it’s time to apply them. Start by aligning the press-on nail with your cuticle and firmly press down from the cuticle area towards the tip of your nail. Hold each nail in place for a few seconds to ensure proper adhesion.
Step 5: Shape and File
Now that your press-on nails are applied, it’s time to shape and file them according to your desired style. Use a nail file to gently shape the tips of your nails into square, round, almond, or any other shape you prefer. Be gentle during this process to avoid damaging or lifting the press-on nails.
Step 6: Apply Base Coat
A base coat acts as a protective barrier between your natural nails and the nail polish, preventing staining and prolonging the wear of your manicure. Apply a thin layer of base coat onto each press-on nail and let it dry completely before moving on to the next step.
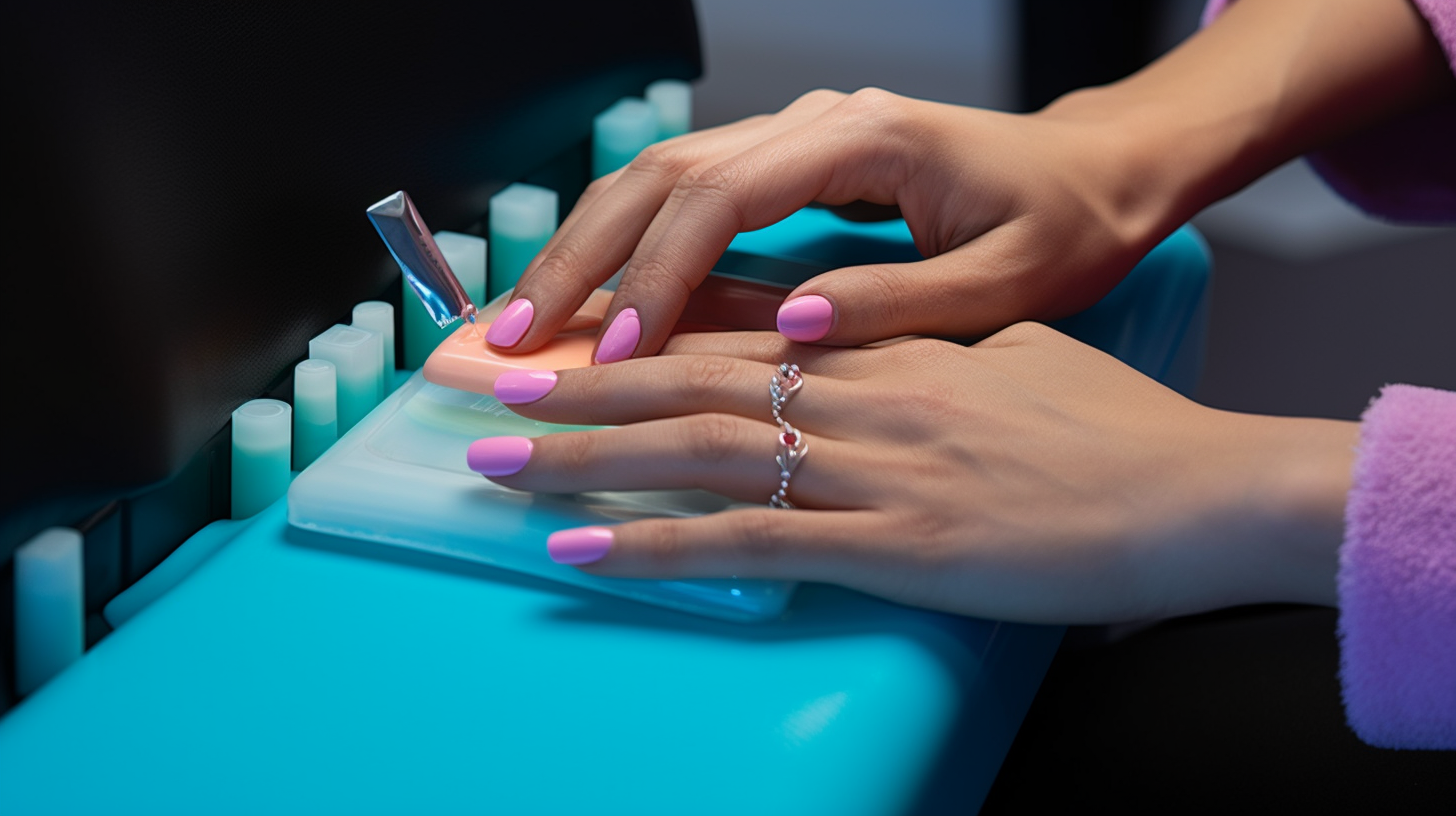
Step 7: Paint Your Press-On Nails
This is where you can get creative! Choose your favorite nail polish color and apply it onto each press-on nail, starting from the cuticle area and moving towards the tip. Apply thin layers of polish for better control and opacity. Let each layer dry before applying the next one. You may need 2-3 coats depending on the color and finish of your chosen polish.
Step 8: Add Nail Art (Optional)
If you want to take your press-on nails to the next level, now is the time to add some nail art! You can use a small brush or a dotting tool to create designs, patterns, or accents on your painted press-on nails. Get creative and experiment with different techniques such as marbling, gradients, or geometric shapes.
Step 9: Apply Top Coat
To seal and protect your beautiful nail polish and nail art, apply a layer of top coat onto each press-on nail. The top coat will also give your manicure a glossy finish. Make sure to cover the entire surface of each nail, including the edges, for maximum durability.
Step 10: Let It Dry
Allow your painted press-on nails to dry completely before touching anything or applying any pressure. Depending on the thickness of your layers and the drying time of your chosen products, this may take anywhere from 15 minutes to an hour. Be patient – it’s worth it!
Step 11: Nail Care
To ensure the longevity of your painted press-on nails, it’s important to take care of them properly. Avoid exposing them to excessive water or harsh chemicals as these can cause the polish to chip or peel. Use gloves when doing household chores or activities that may be rough on your nails. Moisturize your cuticles and nails regularly to keep them healthy and hydrated.
Step 12: Removing the Nail Polish
When you’re ready for a new manicure, it’s time to remove the nail polish from your press-on nails. Soak a cotton pad or nail wipe in nail polish remover and hold it onto each nail for a few seconds to allow the polish to dissolve. Gently wipe away the polish, repeating if necessary. Avoid picking or scraping at the press-on nails, as this can damage them.
Conclusion
Painting press-on nails is a fun and creative way to express yourself through your manicures. With the right tools, techniques, and a little bit of practice, you can achieve stunning results that rival those of a professional salon. Remember to take your time, follow each step carefully, and experiment with different colors and designs to find what suits you best. Enjoy the process and rock your beautifully painted press-on nails with confidence!