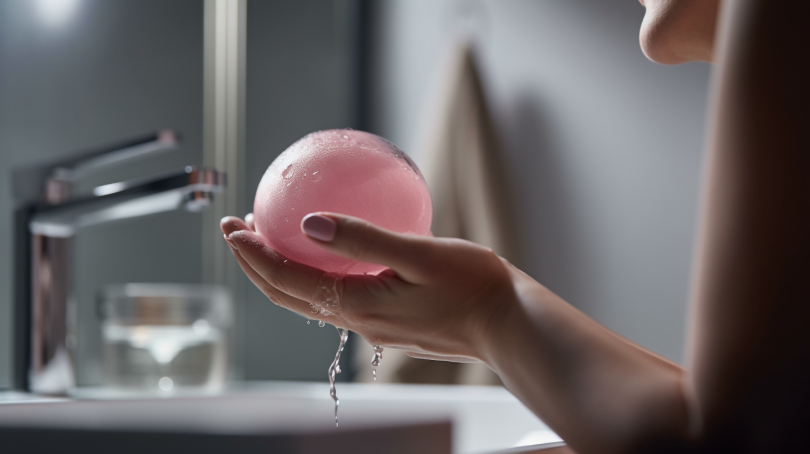
How to Clean a Sponge Applicator: Essential Tips for Effective Maintenance
Welcome to our comprehensive guide on how to clean a sponge applicator! If you’re an avid makeup enthusiast or professional artist, you know the importance of keeping your tools clean and well-maintained. A sponge applicator is a versatile tool that helps achieve flawless and seamless makeup application. However, over time, these handy tools can accumulate product buildup, dirt, and bacteria, compromising their effectiveness and hygiene. In this tutorial, we will provide you with essential tips and step-by-step instructions on how to effectively clean and maintain your sponge applicators.
Why is Cleaning a Sponge Applicator Important?
Cleaning your sponge applicator regularly is crucial for several reasons:
- Hygiene: Sponge applicators come into direct contact with your skin, making them prone to collecting oils, dead skin cells, and bacteria. Regular cleaning prevents the growth of harmful microorganisms that can lead to breakouts and skin infections.
- Product Performance: Over time, product buildup on the sponge can affect its performance. A dirty sponge may not distribute the product evenly or blend it seamlessly onto the skin.
- Durability: Proper maintenance extends the lifespan of your sponge applicators. Regular cleaning prevents deterioration and ensures they remain in optimal condition for longer.
Gather Your Cleaning Supplies
Before diving into the cleaning process, make sure you have the following supplies ready:
- Mild Liquid Soap: Opt for a gentle cleanser that won’t be harsh on the sponge material.
- Olive Oil or Coconut Oil: These natural oils are excellent for breaking down stubborn makeup residue.
- Bowl or Sink: You’ll need a clean bowl or sink to hold water for the cleaning process.
- Clean Towel: Have a soft, clean towel or paper towel on hand to dry the sponge after cleaning.
Step-by-Step Guide: How to Clean a Sponge Applicator
Now, let’s dive into the step-by-step process of effectively cleaning your sponge applicator:
Step 1: Wet the Sponge
Start by wetting your sponge applicator under warm running water. Make sure the entire sponge is thoroughly saturated.
Step 2: Apply Liquid Soap
Squeeze a small amount of mild liquid soap onto your palm or directly onto the damp sponge. Gently massage the soap into the sponge, focusing on areas with visible product buildup.
Step 3: Work the Soap into a Lather
Rub the sponge between your palms in circular motions to work the soap into a rich lather. This helps break down any remaining makeup residue and dirt trapped within the sponge fibers.
Step 4: Rinse Thoroughly
Rinse the sponge under warm running water until no soap residue remains. Squeeze and release the sponge repeatedly to ensure all traces of soap are removed.
Step 5: Repeat if Necessary
If you notice that your sponge still has stubborn stains or residue, repeat steps 2 to 4 until it is completely clean. Patience is key!
Step 6: Optional Deep Cleaning with Oil
If you have stubborn stains or waterproof makeup residue on your sponge, you can perform a deep cleaning using oil:
- Mix equal parts olive oil or coconut oil with liquid soap in a small bowl.
- Submerge the sponge in the mixture and let it soak for a few minutes.
- Gently squeeze and release the sponge to loosen the stubborn residue.
- Rinse thoroughly under warm running water until all traces of oil and soap are removed.
Step 7: Dry the Sponge
After rinsing, gently squeeze out any excess water from the sponge. Place it on a clean towel or paper towel and allow it to air dry completely before using it again. Avoid exposing the damp sponge to direct heat or sunlight, as this can damage its structure.
Tips for Maintaining Your Sponge Applicators
To ensure your sponge applicators stay clean and perform optimally, consider these additional tips:
- Regular Cleaning: Aim to clean your sponge applicators at least once a week, or more frequently if you use them daily.
- Replace when Necessary: If your sponge starts to deteriorate, shows signs of wear and tear, or has an unpleasant odor that doesn’t go away after cleaning, it’s time to replace it.
- Avoid Sharing: To prevent cross-contamination and maintain hygiene, avoid sharing your sponge applicators with others.
- Air-Dry Properly: Always allow your sponge applicator to air dry completely before storing it. This helps prevent mold and bacteria growth.
In Conclusion
Cleaning your sponge applicator is an essential part of maintaining its hygiene, performance, and durability. With the step-by-step instructions provided in this guide, you can ensure that your sponge applicators remain clean and in optimal condition for flawless makeup application. Remember to clean them regularly, use gentle cleansers, and air-dry them properly to extend their lifespan. By following these tips and incorporating proper maintenance into your beauty routine, you’ll enjoy the benefits of a clean and effective sponge applicator every time you apply your favorite makeup products.


