How to Curl Your Hair: A Step-by-Step Guide
Are you tired of your straight and lifeless hair? Do you want to add some volume, bounce, and texture to your locks? Well, you’re in luck! Curling your hair is a fantastic way to transform your hairstyle and create a stunning look. Whether you’re going for loose waves, tight coils, or anything in between, this step-by-step guide will teach you how to curl your hair like a pro.
Why Curl Your Hair?
Curling your hair can instantly elevate your overall appearance and add a touch of glamour to any outfit. Here are a few reasons why curling your hair is worth the effort:
- Versatility: Curly hair offers endless styling options. You can create various hairstyles such as beach waves, romantic curls, or even rockstar-inspired spiral curls.
- Volume and Texture: Curling adds volume and texture to your hair, making it look fuller and more voluminous.
- Confidence Boost: A fabulous set of curls can boost your confidence and make you feel like a million bucks!
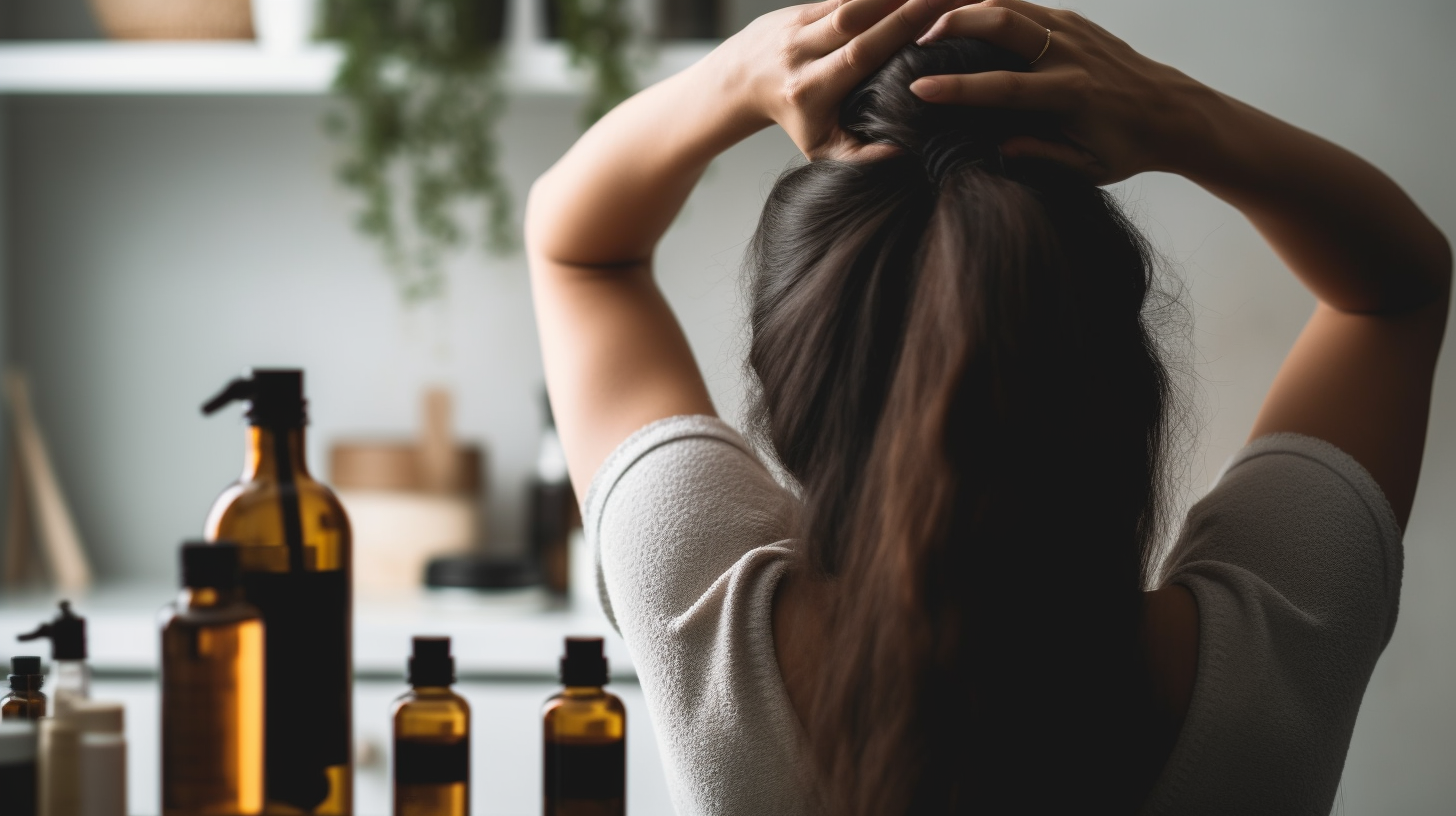
Preparing Your Hair
Before diving into the curling process, it’s essential to prepare your hair properly. Follow these steps to ensure that your curls last longer and look their best:
- Cleanse and Condition: Start by washing your hair with a shampoo and conditioner suitable for your hair type. This will ensure that your locks are clean, moisturized, and ready for styling.
- Towel Dry: Gently towel dry your hair to remove excess moisture. Avoid rubbing vigorously as this can cause frizz and damage.
- Apply Heat Protectant: Apply a heat protectant spray or serum to shield your hair from the damaging effects of heat styling tools.
- Detangle: Use a wide-toothed comb or a detangling brush to remove any knots or tangles. Starting from the ends, work your way up to prevent breakage.
Choosing the Right Curling Tool
There are various curling tools available in the market, each producing different types of curls. Here are some popular options:
- Curling Iron: A curling iron is a classic tool for creating curls. It comes with a clamp that holds the hair in place while you wrap it around the barrel.
- Curling Wand: A curling wand is similar to a curling iron but doesn’t have a clamp. This allows for more versatility and creates natural-looking curls.
- Flat Iron: Yes, you can even curl your hair with a flat iron! This versatile tool can be used to create both sleek straight styles and beautiful curls.
Choose the tool that suits your preferences and hair type. Now, let’s move on to the actual curling process!
The Curling Process: Step-by-Step Guide
Step 1: Divide and Conquer
To ensure that you don’t miss any sections of your hair, divide it into manageable sections using clips or hair ties. Start by separating your hair into two sections – top and bottom.
Step 2: Pre-Heat Your Curling Tool
Plug in your curling tool and allow it to heat up to the desired temperature. For fine or damaged hair, use a lower heat setting, while thicker or coarser hair may require higher heat.
Step 3: Curling Technique
Now comes the fun part – curling your hair! Follow these steps for beautiful curls:
- Take a small section: Start with a small section of hair, about an inch wide. Remember that smaller sections will create tighter curls, while larger sections will result in looser curls.
- Wrap the hair around the barrel: Hold the curling iron or wand vertically and wrap the hair around the barrel, away from your face. Be cautious not to touch the hot barrel to prevent burns.
- Hold and release: Hold the hair wrapped around the barrel for about 8-10 seconds (or as recommended by your curling tool’s instructions) before releasing it gently.
- Repeat: Continue curling one section at a time until you’ve curled all your hair. Remember to alternate between curling towards and away from your face for a more natural look.
Step 4: Set Your Curls
To ensure that your curls last longer, let them cool down before styling further. You can either clip each curl up using bobby pins or let them hang loose until they cool completely.
Step 5: Finishing Touches
The final step is to add some finishing touches to perfect your curly hairstyle:
- Hairspray: Apply a light mist of hairspray to hold your curls in place without making them stiff or crunchy.
- Texturizing Spray: For added volume and texture, spray a texturizing product onto your curls and scrunch them gently with your fingers.
- Shine Serum: If you desire a glossy finish, apply a few drops of shine serum to the ends of your curls.
Tips and Tricks for Beautiful Curls
To achieve salon-worthy curls, keep these tips and tricks in mind:
- Experiment with different curling techniques: Try out different curling techniques such as wrapping the hair around the barrel, twisting it before curling, or using a flat iron to create different types of curls.
- Vary the direction of your curls: Curl some sections towards your face and others away from your face to create a more natural and voluminous look.
- Allow your curls to cool completely: Letting your curls cool down before styling further will help them set better and last longer.
- Use heat protectant products: Always apply a heat protectant spray or serum before using any hot styling tools to minimize damage to your hair.
In Conclusion
Curling your hair can be a fun and exciting way to switch up your look. With the right tools, techniques, and a little bit of practice, you’ll be able to create stunning curls that turn heads wherever you go. Remember to take care of your hair by using heat protectant products and following proper prepping and finishing steps. So go ahead, embrace those beautiful curls, and let your hair do the talking!