How to Create a Homemade Facial Mask: A Step-by-Step Guide
Welcome to our step-by-step guide on how to create a homemade facial mask! Whether you’re looking for a natural skincare solution, want to save money, or simply enjoy the satisfaction of creating your own beauty products, making a DIY facial mask is a fantastic option. In this tutorial, we’ll walk you through the process of creating a homemade facial mask using simple and easily accessible ingredients. So let’s dive in and discover the wonderful world of at-home skincare!
The Benefits of Homemade Facial Masks
Before we jump into the tutorial, let’s take a moment to explore the benefits of using homemade facial masks. There are several advantages to incorporating DIY face masks into your skincare routine:
- Natural Ingredients: Homemade facial masks are typically made with natural ingredients, allowing you to avoid harsh chemicals and potentially irritating substances found in some commercial products.
- Customization: By making your own facial mask, you have complete control over the ingredients used. This means you can tailor your mask to suit your specific skin type and address any specific concerns or conditions.
- Cost-Effective: Creating your own facial mask can save you money in the long run. Many of the ingredients needed are already available in your pantry or fridge, making it an affordable alternative to store-bought masks.
- Satisfaction: There’s something incredibly satisfying about creating your own skincare products. Making a homemade facial mask allows you to tap into your creativity while caring for your skin.
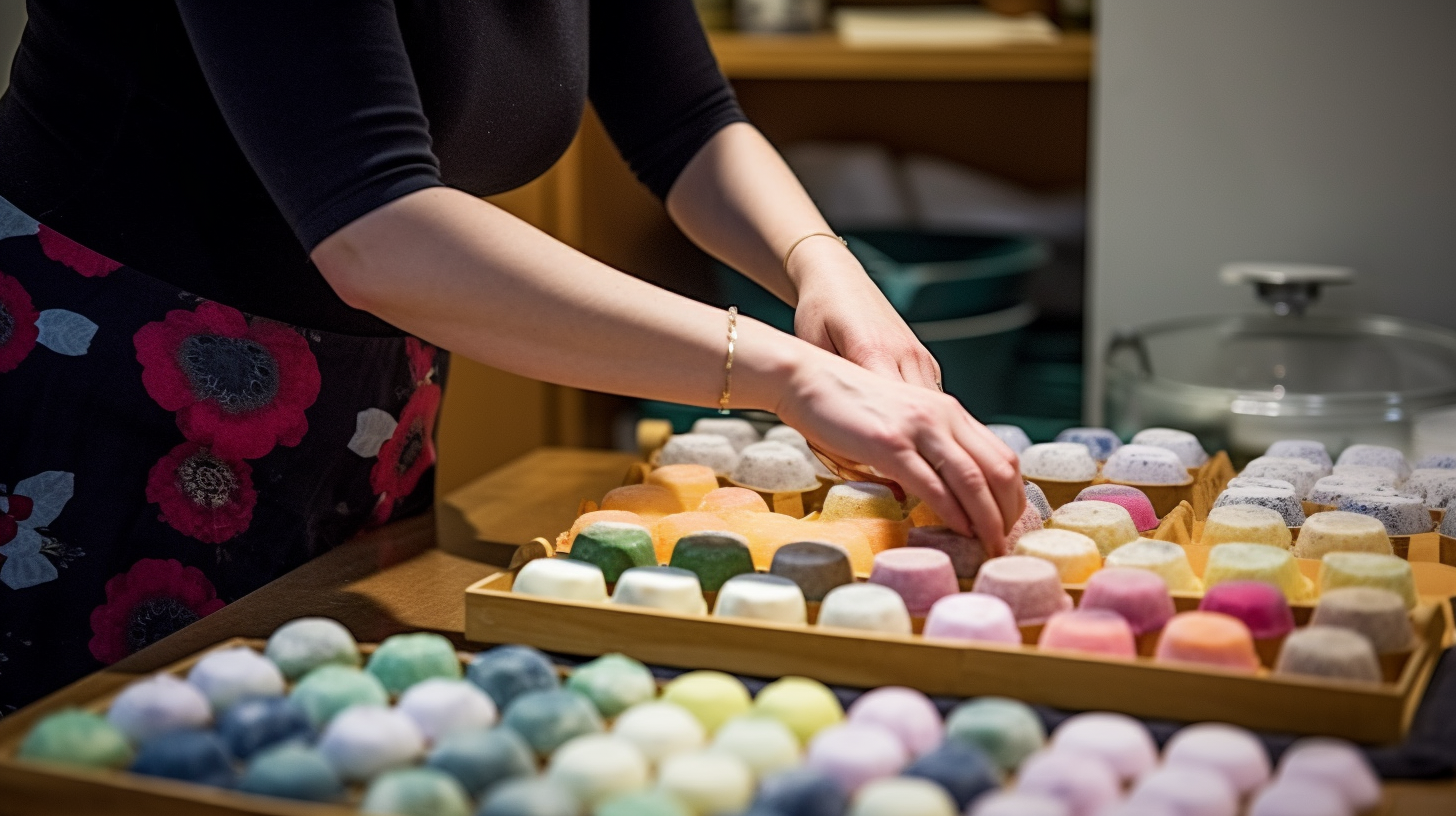
Gathering Your Ingredients
The first step in creating a homemade facial mask is gathering all the necessary ingredients. For this particular recipe, we’ll be using nourishing and refreshing ingredients that are suitable for all skin types. Here’s what you’ll need:
- 1 ripe avocado
- 2 tablespoons of plain yogurt
- 1 tablespoon of honey
- 1 teaspoon of lemon juice
Avocado is packed with healthy fats and vitamins that moisturize and nourish the skin. Yogurt contains lactic acid, which gently exfoliates and brightens the complexion. Honey is a natural humectant, drawing moisture to the skin, while lemon juice provides a refreshing and clarifying effect.
Preparing Your Homemade Facial Mask
Now that you have all your ingredients ready, it’s time to prepare your homemade facial mask. Follow these simple steps:
- Step 1: Scoop out the avocado: Cut the avocado in half, remove the pit, and scoop out the flesh into a mixing bowl.
- Step 2: Mash the avocado: Use a fork to mash the avocado until it forms a smooth paste without any lumps.
- Step 3: Add the yogurt: Add the plain yogurt to the mashed avocado and mix well. The yogurt will add extra hydration and provide a soothing effect.
- Step 4: Pour in the honey: Drizzle in the honey and continue mixing until all ingredients are well combined. The honey will add moisture and act as a natural antibacterial agent.
- Step 5: Squeeze in lemon juice: Finish off by squeezing in fresh lemon juice for a refreshing scent and to help balance oil production.
Your homemade facial mask is now ready to be applied!
Applying and Removing Your Facial Mask
Now that you have prepared your homemade facial mask, it’s time to apply it to your skin. Follow these steps for optimal results:
- Step 1: Cleanse your face: Start with a clean face by washing it gently with a mild cleanser.
- Step 2: Apply the mask: Using clean fingertips or a brush, apply an even layer of the homemade facial mask to your face and neck. Avoid the delicate eye area.
- Step 3: Relax and wait: Find a comfortable spot and let the mask work its magic for about 15-20 minutes. Take this time to relax and unwind.
- Step 4: Rinse off: After the recommended time has passed, rinse off the mask with lukewarm water. Gently pat your skin dry with a soft towel.
You’ll immediately notice how soft, nourished, and refreshed your skin feels after using this homemade facial mask!
Additional Tips and Variations
If you’re looking to customize your homemade facial mask or try alternative ingredients, here are some additional tips and variations:
- Oily Skin: If you have oily skin, add a teaspoon of bentonite clay to the basic recipe. Bentonite clay helps absorb excess oil and unclog pores.
- Dry Skin: For extra hydration, include a teaspoon of almond oil or jojoba oil in the mixture. These oils will provide nourishment and replenish moisture.
- Sensitive Skin: If you have sensitive skin, omit the lemon juice as it may cause irritation. Instead, add a few drops of chamomile essential oil for its calming properties.
- Acne-Prone Skin: To address acne-prone skin, add a teaspoon of tea tree oil to the basic recipe. Tea tree oil has antibacterial properties that can help combat acne-causing bacteria.
Remember to perform a patch test before applying any new ingredients to your face to ensure you don’t have an adverse reaction. Everyone’s skin is unique, so it’s essential to find what works best for you.
In Conclusion
Congratulations! You’ve successfully created your own homemade facial mask using simple and natural ingredients. By incorporating DIY skincare into your routine, you’re taking a step towards healthier and more radiant skin. Remember, the key is consistency, so try to use your homemade facial mask once or twice a week for optimal results.
Experiment with different ingredients and variations to find what suits your skin best. Enjoy the process of creating your own skincare products and embrace the benefits of self-care. Your skin will thank you!