How to Make Shower Melts: A Step-by-Step Guide for a Relaxing Bath Experience
Welcome to our step-by-step guide on how to make shower melts, the perfect addition to your bath routine for a truly relaxing and rejuvenating experience. Shower melts are small, aromatic tablets that release soothing scents when exposed to water and steam, creating a spa-like atmosphere in your own bathroom. Whether you’re looking to unwind after a long day or simply enhance your shower time, shower melts are a wonderful way to incorporate aromatherapy into your self-care routine.
Why Use Shower Melts?
Shower melts offer numerous benefits for both your mind and body. The combination of hot water and essential oils creates a therapeutic experience that can help relieve stress, ease congestion, promote better sleep, and uplift your mood. As the warm water dissolves the melt, the aromatic vapors fill the air, providing a gentle and natural way to enjoy the benefits of aromatherapy.
What You’ll Need
Before we dive into the step-by-step process of making shower melts, let’s gather all the necessary ingredients and equipment:
- A mixing bowl
- A silicone mold or ice cube tray
- 1 cup of baking soda
- 1/2 cup of citric acid
- 1/2 cup of cornstarch
- 20-30 drops of essential oils (choose scents based on your preferences)
- A spray bottle filled with water
- A spoon or spatula for mixing
Step-by-Step Instructions: Making Your Own Shower Melts
Step 1: Prepare Your Workstation
Start by setting up your workstation. Make sure you have all the necessary ingredients and equipment within reach. This will make the process smoother and more enjoyable.
Step 2: Combine Dry Ingredients
In a mixing bowl, combine 1 cup of baking soda, 1/2 cup of citric acid, and 1/2 cup of cornstarch. Use a spoon or spatula to mix the dry ingredients thoroughly. This mixture will form the base of your shower melts.
Step 3: Add Essential Oils
Add 20-30 drops of your chosen essential oils to the dry mixture. You can use a single oil or create your own blend by combining different scents. Lavender, eucalyptus, peppermint, and citrus oils are popular choices for their relaxing and invigorating properties.
Pro Tip: Experiment with different essential oil combinations to find your favorite scent profile. Just make sure not to exceed the recommended number of drops as some oils can be overpowering.
Step 4: Mix Thoroughly
Using your spoon or spatula, mix the dry ingredients and essential oils until everything is well combined. Ensure that there are no clumps in the mixture.
Step 5: Add Water Gradually
This step requires caution as adding too much water at once can activate the citric acid prematurely. Using a spray bottle, lightly mist the dry mixture with water. Gradually incorporate the water while stirring continuously. The goal is to achieve a consistency similar to wet sand that holds its shape when squeezed.
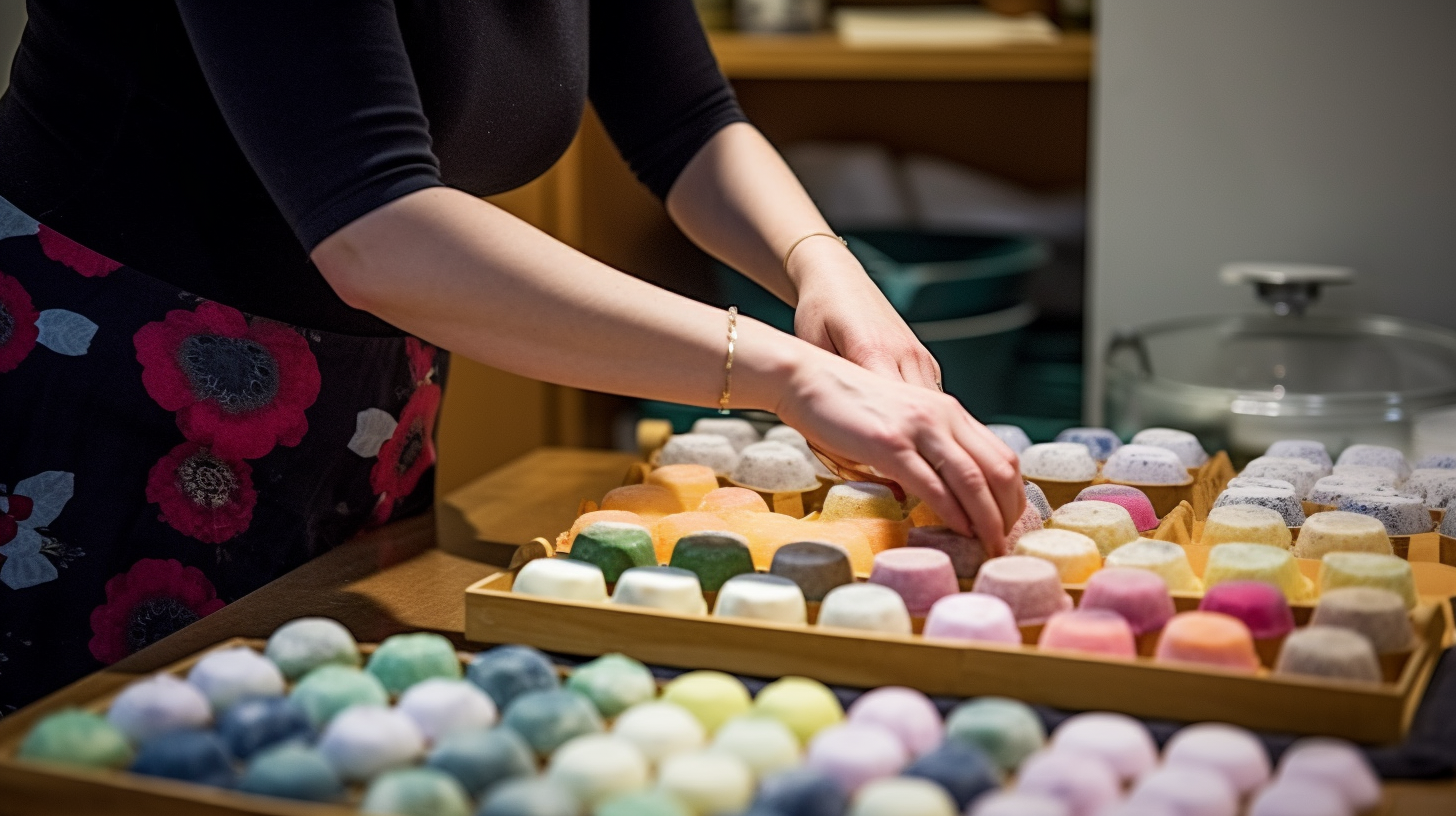
Step 6: Pack the Mixture into Molds
Spoon or press the mixture firmly into your silicone mold or ice cube tray. Make sure to pack it tightly to prevent crumbling or breakage. You can choose various shapes and sizes for your molds, allowing you to customize your shower melts to suit your preferences.
Step 7: Let Them Set
Allow the shower melts to dry and harden for at least 24 hours. You can speed up the process by placing them in the refrigerator or a well-ventilated area.
Step 8: Store Properly
Once your shower melts have completely hardened, carefully remove them from the molds. Store them in an airtight container or a resealable bag to preserve their scent and effectiveness.
How to Use Your Shower Melts
The beauty of shower melts lies in their simplicity. Follow these easy steps to enjoy a blissful shower experience:
- Place one shower melt on the floor of your shower, away from direct water flow.
- Turn on the water, adjusting the temperature according to your preference.
- As the steam builds up, close your eyes, take deep breaths, and allow the soothing aroma of the shower melt to envelop you.
- Enjoy your relaxing shower as the scent fills the air around you.
Note: Shower melts are not intended for use directly on the skin as they contain higher concentrations of essential oils. If you prefer a more gentle aromatherapy experience, consider using bath bombs or bath salts instead.
Beyond Relaxation: Customizing Your Shower Melts
While relaxation is often the primary goal when using shower melts, you can also customize them based on specific needs or preferences:
- Congestion Relief: Add a few drops of eucalyptus or peppermint oil to help clear nasal congestion and ease breathing.
- Mood Boost: Opt for uplifting scents like citrus oils or bergamot to invigorate your senses and uplift your mood.
- Sleep Support: Lavender, chamomile, or ylang-ylang oils can create a calming atmosphere, promoting better sleep and relaxation.
In Conclusion
Now that you have learned how to make shower melts, you can elevate your shower routine and enjoy the benefits of aromatherapy in the comfort of your own home. With just a few simple ingredients and easy steps, you can create personalized shower melts that cater to your preferences and needs. So go ahead, unleash your creativity, and indulge in a truly relaxing bath experience with homemade shower melts!