How to Safely Remove Press-On Nails: Step-by-Step Guide for Easy Removal
Welcome to our step-by-step guide on how to safely remove press-on nails! Whether you’re new to press-on nails or a seasoned user, knowing the proper removal technique is essential to prevent any damage to your natural nails. In this tutorial, we will walk you through the process of removing press-on nails easily and safely. So, let’s get started!
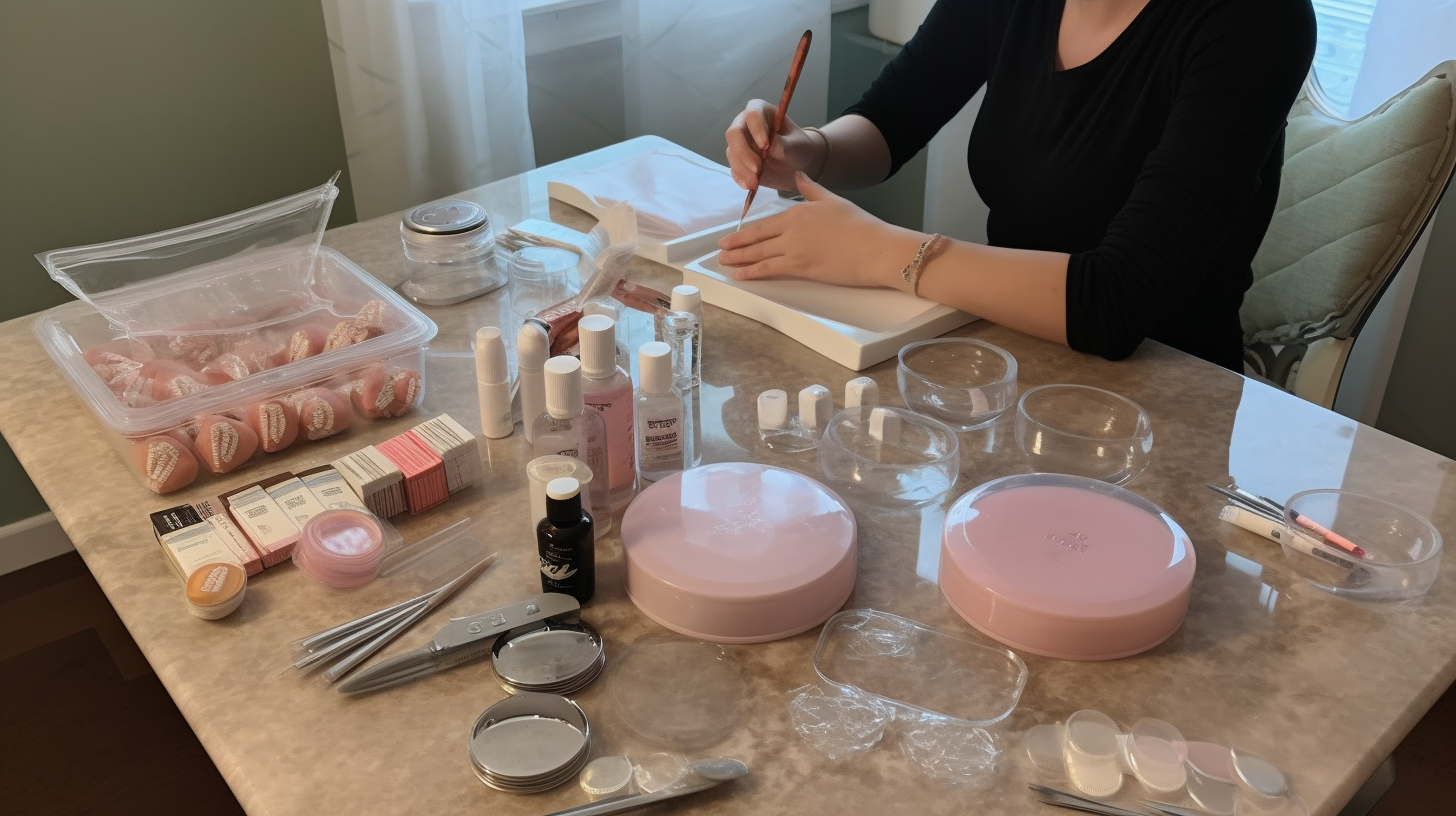
Step 1: Gather Your Supplies
Before you begin the removal process, it’s important to gather all the necessary supplies. Here’s what you’ll need:
- Acetone or nail polish remover
- Cotton balls or pads
- Cuticle pusher or orangewood stick
- Nail file or buffer
- Warm water
- Towel or paper towel
Step 2: Soften the Glue
The first step in removing press-on nails is to soften the glue that holds them in place. You can do this by soaking your nails in warm water for about 10 minutes. This will help loosen the adhesive and make it easier to remove the nails.
Step 3: Gently Pry the Nails
After soaking, take a cuticle pusher or an orangewood stick and gently pry up one edge of the press-on nail. Be careful not to force it or apply too much pressure, as this can cause damage to your natural nails.
Step 4: Apply Acetone or Nail Polish Remover
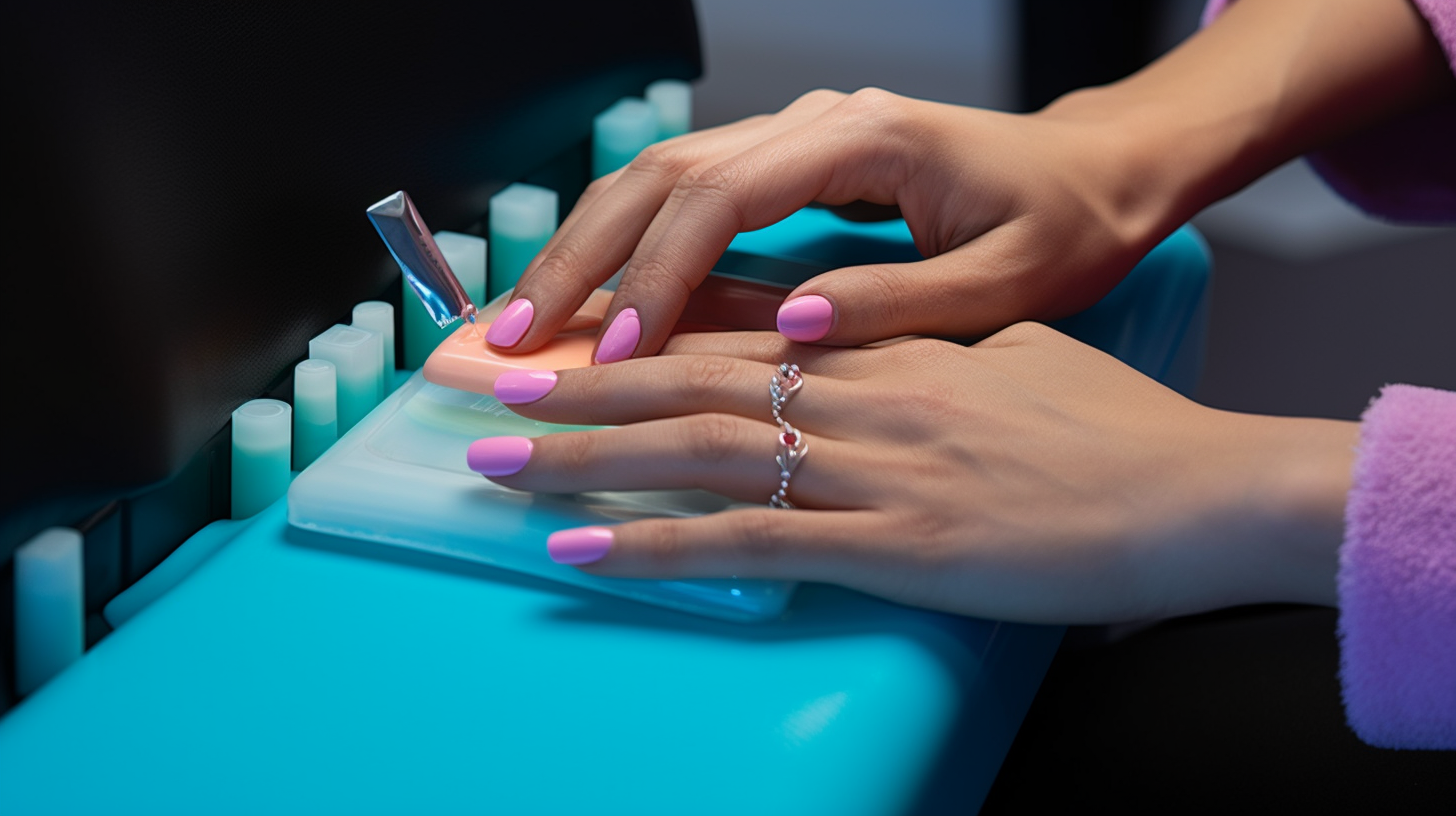
If the glue is still stubborn, you can use acetone or nail polish remover to further loosen it. Soak a cotton ball or pad with acetone or nail polish remover and place it on top of the press-on nail. Secure it in place by wrapping aluminum foil around your fingertip.
Leave the cotton ball and foil wraps on for about 10-15 minutes to allow the acetone to penetrate the glue. This will make it easier to remove the nails without any resistance.
Step 5: Gently Remove the Nails
After the soaking period, remove the foil wraps and gently pull off the press-on nails. If they don’t come off easily, avoid using excessive force. Instead, repeat steps 4 and 5 for a few more minutes until they can be lifted off without any resistance.
Step 6: Cleanse and Hydrate Your Nails
Once you have successfully removed all the press-on nails, it’s important to cleanse and hydrate your natural nails. Start by using a nail polish remover or acetone to clean off any remaining glue residue.
Next, wash your hands with warm water and gentle soap to remove any excess oil or debris. Pat your hands dry with a towel or paper towel.
To keep your nails healthy and hydrated, apply a nourishing cuticle oil or moisturizer. Massage it into your nails and cuticles for a few minutes to promote hydration and strengthen your natural nails.
Tips for Safe Press-On Nail Removal
Here are some additional tips to ensure a safe and successful press-on nail removal:
- Avoid forcefully pulling off the nails, as this can cause damage to your natural nails.
- If you’re having trouble removing stubborn glue residue, use a gentle buffing motion with a nail file or buffer to avoid excessive scraping.
- Never use metal tools, such as metal nail files or scrapers, to remove press-on nails. These can damage your natural nails and cuticles.
- If you experience any pain or discomfort during the removal process, stop immediately and seek professional help.
Conclusion
Removing press-on nails doesn’t have to be a daunting task. By following these step-by-step instructions and tips, you can safely remove your press-on nails without causing any harm to your natural nails. Remember to be patient and gentle throughout the process, allowing the adhesive to loosen properly before attempting to remove the nails. With a little practice, you’ll become a pro at removing press-on nails in no time!