How to Properly Apply Makeup with a Sponge Applicator
Welcome to our comprehensive tutorial on how to properly apply makeup with a sponge applicator! Whether you’re a makeup enthusiast looking to refine your techniques or a beginner eager to learn the basics, this guide will provide you with step-by-step instructions, helpful tips, and valuable insights to achieve flawless makeup application using a sponge applicator.
Why Use a Sponge Applicator for Makeup?
Before we dive into the tutorial, let’s take a moment to understand why a sponge applicator is an essential tool in your makeup kit. A sponge applicator offers several benefits that contribute to a seamless and natural-looking finish:
- Blending Power: The soft and porous texture of a sponge allows for effortless blending, ensuring your foundation, concealer, eyeshadow, blush, contour, and highlighter seamlessly melt into your skin.
- Buildable Coverage: With a sponge applicator, you have control over the coverage level. You can easily achieve both sheer and full coverage by adjusting the pressure and technique during application.
- No Streaks: Unlike brushes or fingers, which can sometimes leave streaks or uneven patches on the skin, a sponge applicator provides an even distribution of product for a flawless finish.
Step-by-Step Guide: How to Properly Apply Makeup with a Sponge Applicator
Now that we understand the benefits of using a sponge applicator let’s dive into the step-by-step process of achieving flawless makeup application:
Step 1: Prepare Your Skin
The first step to any successful makeup application is preparing your skin. Start by cleansing your face with a gentle cleanser followed by applying moisturizer suitable for your skin type. This will ensure a smooth canvas for makeup application.
Step 2: Choose the Right Sponge Applicator
When it comes to selecting a sponge applicator, there are various options available in the market. The most popular ones include:
- Traditional Makeup Sponge: Shaped like a teardrop, this sponge is versatile and can be used for applying foundation, concealer, and blending.
- Flat-Edged Sponge: This type of sponge is ideal for precise application and can be used for contouring, highlighting, and blending small areas.
- Dual-Ended Sponge: With one rounded end and one flat end, this sponge is perfect for a variety of makeup application techniques.
Consider your specific needs and preferences when choosing a sponge applicator. It’s also important to keep your sponge clean by washing it regularly to maintain hygiene.
Step 3: Apply Foundation with the Sponge
The foundation sets the base for your makeup look. To apply foundation using a sponge applicator, follow these steps:
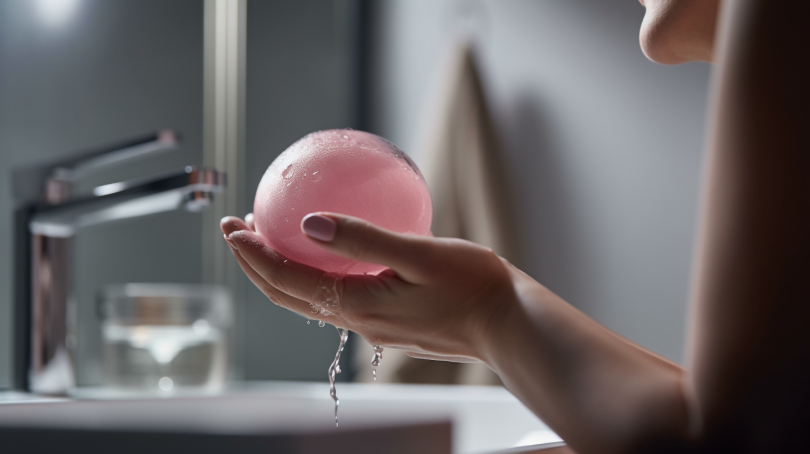
- Dampen the sponge by running it under water and then squeezing out any excess moisture. The dampness helps prevent the sponge from absorbing too much product.
- Pour a small amount of foundation onto the back of your hand or directly onto the sponge.
- Dab the sponge into the foundation to pick up product. Avoid using dragging motions as this may cause streaks or uneven application.
- Gently bounce or stipple the sponge onto your skin, starting from the center of your face and working outwards. This technique ensures even distribution and a natural finish.
- Continue bouncing or stippling the sponge until you achieve your desired coverage. For areas that require more coverage, you can build up the product gradually.
Step 4: Conceal with Precision
A sponge applicator is excellent for precise concealing, especially in hard-to-reach areas or when targeting specific imperfections. Here’s how to use a sponge applicator for concealer:
- Choose a concealer shade that matches your skin tone or is slightly lighter for brightening under-eye areas.
- Apply small dots of concealer onto the area you want to conceal.
- Gently dab the sponge onto the concealer, blending it into your skin using light bouncing motions. This technique ensures seamless integration with your foundation.
Step 5: Enhance with Eyeshadow
A sponge applicator can be a game-changer when it comes to eyeshadow application. Follow these steps for flawless eyeshadow:
- Choose your desired eyeshadow colors and apply them onto the back of your hand or an eyeshadow palette.
- Dab the sponge into the eyeshadow and gently pat it onto your eyelids. This technique helps to intensify the color and prevents fallout.
- Blend any harsh lines using gentle circular motions with the sponge until you achieve a seamless transition between colors.
Step 6: Add Color with Blush
To achieve a natural flush, follow these steps when applying blush with a sponge applicator:
- Dab the sponge into the blush product, picking up a small amount.
- Smile to locate the apples of your cheeks and gently press the sponge onto them, blending the color upwards towards your temples.
- Blend any excess product or harsh lines using the clean side of the sponge or your fingertips for a seamless finish.
Step 7: Contour and Highlight with Precision
A sponge applicator allows for precise contouring and highlighting. Here’s how to achieve a sculpted look:
- Apply a contour shade onto the hollows of your cheeks, temples, and jawline using a small, flat-edged sponge.
- Gently blend the contour by bouncing or stippling the sponge along the applied areas until you achieve a seamless blend.
- To highlight, dab a light-reflecting product onto the high points of your face such as the cheekbones, brow bone, and down the bridge of your nose using a clean side of the sponge.
Step 8: Set Your Makeup
After applying all your makeup products with a sponge applicator, it’s essential to set everything in place for long-lasting wear. Use a setting powder or spray to ensure longevity and prevent creasing or fading throughout the day.
Tips for Using a Sponge Applicator
To enhance your makeup application technique with a sponge applicator even further, consider these additional tips:
- Clean Regularly: Clean your sponge applicator regularly to remove any buildup of product or bacteria. This will ensure optimal performance and maintain hygiene.
- Dampen for Sheer Coverage: If you prefer sheer coverage, dampen the sponge slightly before applying your foundation or other products.
- Experiment with Techniques: Don’t be afraid to experiment with different techniques such as stippling, bouncing, or rolling motions to find what works best for you.
- Use Different Sides: Take advantage of the different sides and edges of the sponge applicator for precise application and blending in different areas of your face.
- Layer Gradually: For a more natural-looking finish, layer your products gradually instead of applying too much at once. This will help prevent a heavy or cakey appearance.
In Conclusion
A sponge applicator can be a game-changer in your makeup routine, providing you with seamless blending, buildable coverage, and an overall flawless finish. By following our step-by-step guide and incorporating our tips, you’ll be able to achieve professional-looking makeup results in no time. Remember to practice and experiment with different techniques to find what works best for you. Happy makeup application!