How to Use a Curling Iron: Step-by-Step Guide for Effortless Curls
Welcome to our step-by-step guide on how to use a curling iron to achieve effortless curls! Whether you’re getting ready for a special occasion or simply want to add some bounce and volume to your hair, using a curling iron can be a game-changer. Although it may seem daunting at first, with the right techniques and a little practice, you’ll be able to create beautiful curls that last all day.
In this tutorial, we will walk you through the entire process of using a curling iron, from preparing your hair to selecting the right heat settings and handling the tool. We’ll also cover different techniques for creating various types of curls, so you can experiment and find the style that suits you best. So let’s dive in and learn how to use a curling iron like a pro!
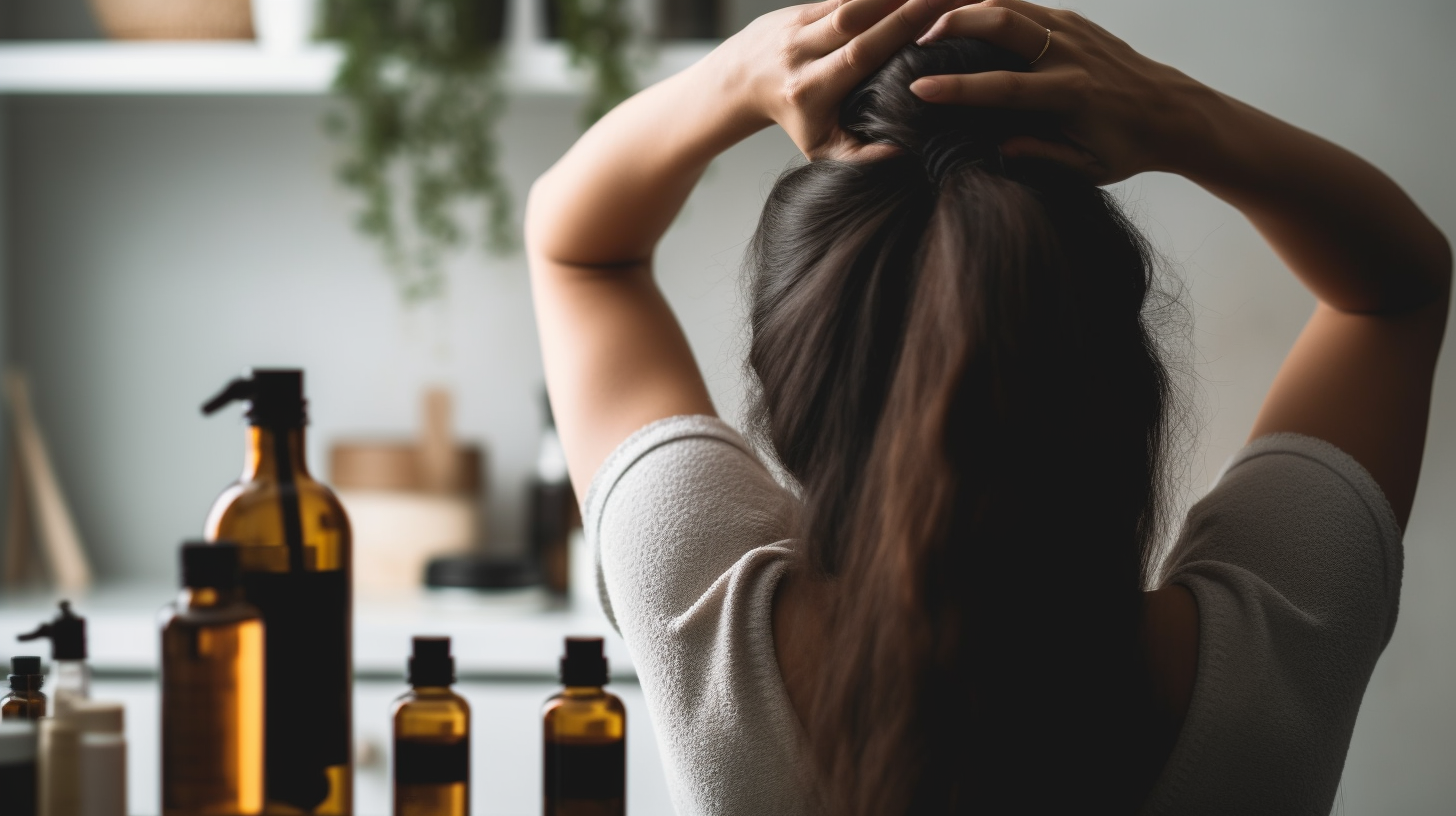
Step 1: Preparing Your Hair
Before you start curling your hair, it’s essential to prepare it properly. Here are some steps to follow:
- Clean and dry your hair: Start with freshly washed and completely dry hair. It’s important to remove any excess oil or product buildup for better results.
- Apply heat protectant: To prevent heat damage and keep your hair healthy, apply a heat protectant spray or serum evenly throughout your hair.
- Divide your hair into sections: To make the curling process more manageable, divide your hair into sections using clips or hair ties. Start by separating the top section of your hair from the bottom.
Step 2: Selecting the Right Heat Settings
The next step is to choose the appropriate heat settings on your curling iron. This will depend on your hair type and the desired outcome. Here’s what you need to consider:
- Hair type: If you have fine or damaged hair, use a lower heat setting (around 300-350°F) to avoid causing further damage. For thicker or coarse hair, higher heat settings (around 350-400°F) may be necessary to achieve long-lasting curls.
- Curling iron temperature: Most curling irons come with adjustable temperature settings. Experiment with different heat levels to find the one that works best for you. Start with a lower temperature and gradually increase if needed.
- Curling iron sizes: Curling irons come in various barrel sizes, ranging from small (3/4 inch) to large (2 inches). Smaller barrels create tighter curls, while larger barrels give you looser waves. Choose the barrel size based on your desired curl style.
Step 3: Handling the Curling Iron
Now that your hair is prepped and you’ve set the right heat settings, it’s time to start using the curling iron. Follow these steps for safe and effective handling:
- Hold the curling iron correctly: Hold the curling iron by its handle and make sure your fingers are away from the heated barrel. This prevents accidental burns.
- Start at the base of your hair: Take a small section of hair at the base of one of the sections you divided earlier. Position the curling iron close to your scalp without touching it.
- Wrap the hair around the barrel: Gently wrap the section of hair around the barrel, away from your face. Be careful not to overlap the hair, as this can cause uneven curls.
- Hold for a few seconds: Depending on your hair type and desired curl intensity, hold the hair wrapped around the barrel for about 5-10 seconds. Remember not to keep it too long to avoid heat damage.
- Release the curl: Carefully release the curl by unwrapping the hair from the barrel in the same direction you wrapped it. Avoid pulling or tugging on the hair.
- Repeat for all sections: Continue curling small sections of hair, working your way up from the bottom section to the top. Make sure each section is evenly curled for a consistent look.
Step 4: Creating Different Types of Curls
Curling irons offer versatility when it comes to creating different types of curls. Here are a few techniques you can try:
- Tight curls: For tight curls, use a smaller barrel size and wrap smaller sections of hair tightly around it. Hold for a longer duration before releasing.
- Loose waves: To achieve loose waves, opt for a larger barrel size and wrap larger sections of hair loosely around it. Hold for a shorter duration before releasing.
- Spiral curls: For spiral curls, twist small sections of hair before wrapping them around the barrel. This technique creates more defined and bouncy curls.
- Beachy waves: To get that effortless beachy wave look, alternate between wrapping small sections of hair towards your face and away from your face. This creates a more natural and relaxed curl pattern.
Step 5: Finishing Touches
Once you’ve curled all the sections of your hair, it’s time to add the finishing touches:
- Allow the curls to cool: Give your curls some time to cool down before touching or styling them further. This helps set the curls and make them last longer.
- Apply hairspray: To ensure your curls hold throughout the day, lightly spray them with a flexible hold hairspray. This will help maintain their shape and prevent frizz.
- Gently loosen the curls: If you prefer a more relaxed look, run your fingers through the curls or use a wide-tooth comb to gently loosen them. Avoid excessive brushing, as it can cause the curls to frizz or lose their shape.
Congratulations! You’ve successfully mastered the art of using a curling iron for effortless curls. Remember, practice makes perfect, so don’t be discouraged if you don’t achieve your desired results right away. Experiment with different techniques and styles to find what works best for you. With time and patience, you’ll become a curling iron pro in no time!
We hope this step-by-step guide has been helpful in demystifying the process of using a curling iron. Now it’s time for you to unleash your creativity and rock those fabulous curls with confidence!