Ultimate Guide to Cleaning Your Beauty Blender Like a Pro
Welcome to the ultimate guide to cleaning your beauty blender like a pro! As makeup enthusiasts, we all know the importance of having a clean and hygienic beauty blender. A dirty sponge can cause breakouts, clogged pores, and uneven makeup application. But cleaning a beauty blender can be a daunting task for many of us. In this tutorial, we will guide you through the best way to clean your beauty blender so that it’s as good as new every time you use it.
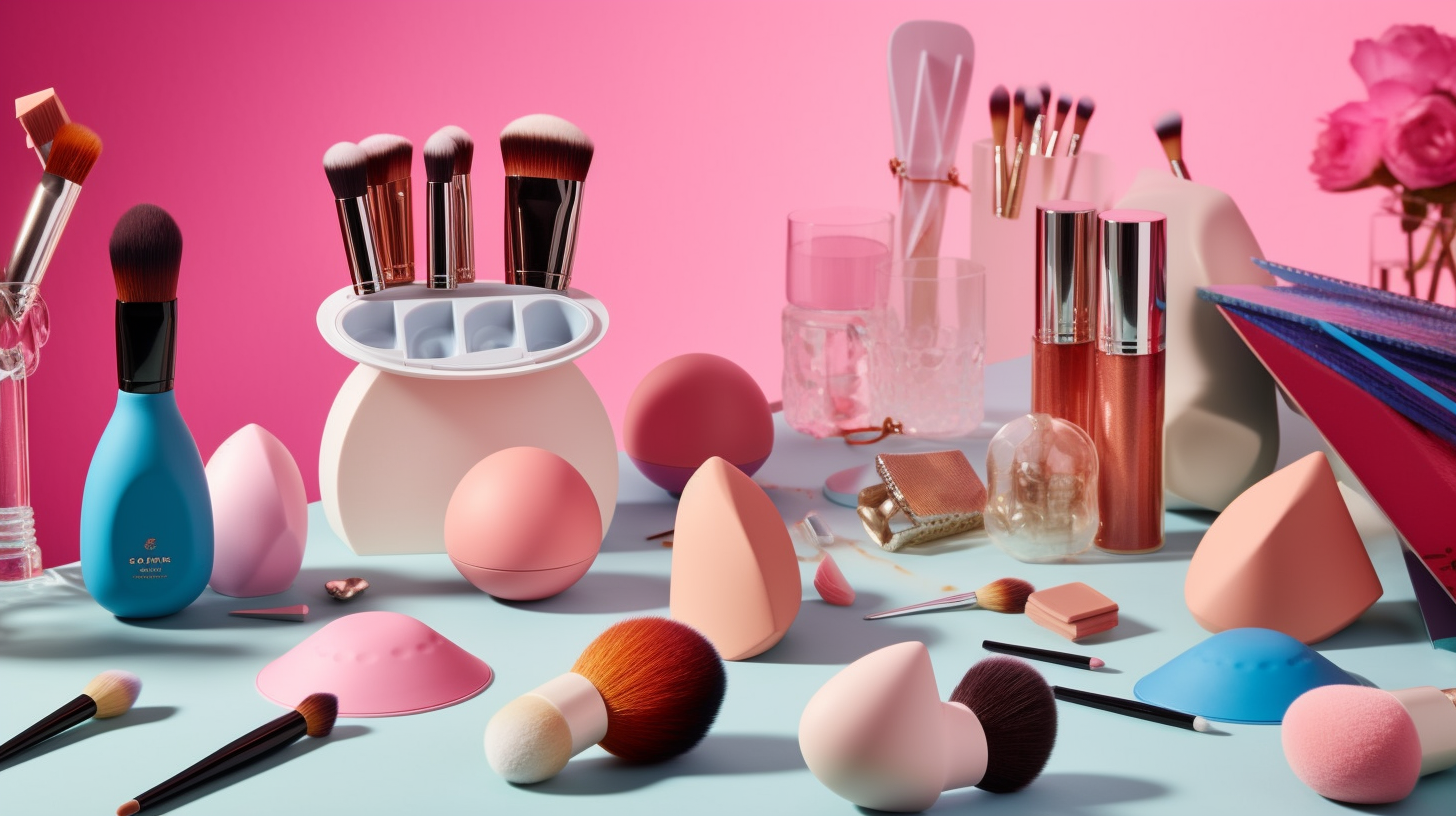
Things You Will Need
Before we get started with the cleaning process, let’s make sure that you have everything you need:
- A dirty beauty blender
- A bowl or cup
- Water
- A gentle cleanser (liquid or solid)
- A clean towel or paper towel
Step-by-Step Guide on How to Clean Your Beauty Blender
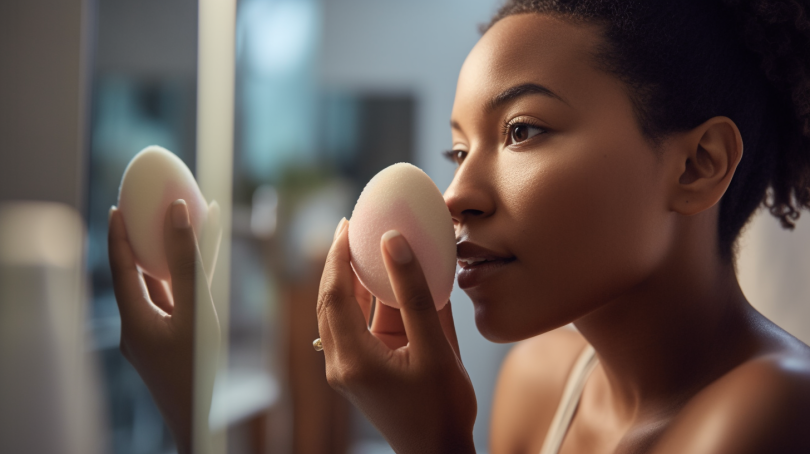
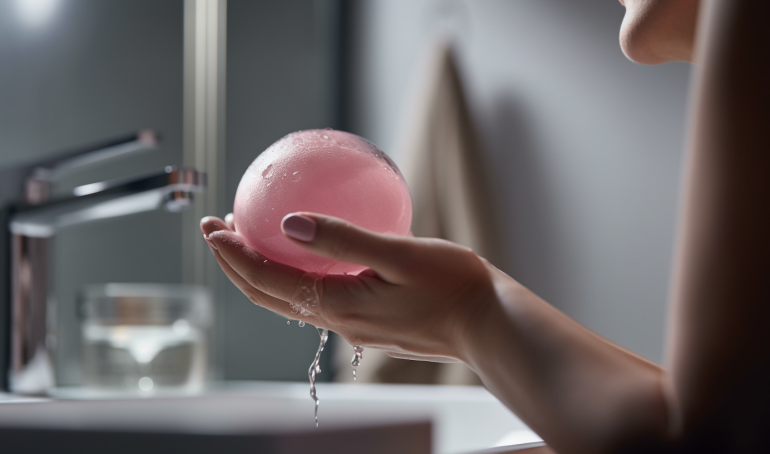
Step 1: Wet Your Beauty Blender
The first step in cleaning your beauty blender is to wet it with water. Run it under the tap until it’s completely soaked. Make sure that the water is warm but not too hot as this could damage the sponge.
Step 2: Apply Cleanser to Your Beauty Blender
Next, apply your chosen cleanser to your beauty blender. You can use either liquid or solid cleansers specifically designed for makeup sponges. If you don’t have a cleanser, you can also use mild soap or shampoo. Gently massage the cleanser into the sponge and make sure that it gets into all the nooks and crannies.
Step 3: Soak Your Beauty Blender in Water
After applying the cleanser, place your beauty blender into a bowl or cup filled with water. Make sure that the sponge is fully submerged in the water. Leave it to soak for about 10-15 minutes. This will help to loosen up any dirt and makeup residue.
Step 4: Rinse Your Beauty Blender
Rinse your beauty blender under running water until all the cleanser and dirt have been removed. Make sure that you squeeze out all the excess water from the sponge.
Step 5: Repeat If Necessary
If your beauty blender is still dirty after the first wash, repeat steps 2-4 until it’s completely clean.
Step 6: Dry Your Beauty Blender
After washing your beauty blender, gently squeeze out all the excess water from it. Then, place it on a clean towel or paper towel and let it air dry. Do not wring or twist the sponge as this could damage its shape.
How Often Should You Clean Your Beauty Blender?
Cleaning your beauty blender regularly is essential to maintain its quality and prolong its lifespan. We recommend cleaning your sponge after every use or at least once a week if you use it daily. This will ensure that bacteria and germs are not allowed to build up in the sponge, which could lead to breakouts and skin irritation.
Beauty Blender Cleaning Hacks
If you’re looking for some hacks on how to clean your beauty blender like a pro, here are some tips:
Clean Your Beauty Blender in The Microwave
You can also clean your beauty blender in the microwave if you’re short on time. First, wet your sponge with water and add some soap or cleanser. Then, place it in the microwave for 1-2 minutes. The heat from the microwave will help to kill any bacteria or germs in the sponge. Be careful when removing the sponge from the microwave as it will be hot.
Use Olive Oil to Remove Stubborn Stains
If your beauty blender has stubborn stains that won’t come out, try using some olive oil. Apply a small amount of olive oil to the stain and let it sit for a few minutes. Then, wash your sponge with soap and water as usual. The olive oil will help to break down the stain and make it easier to remove.
Conclusion
Cleaning your beauty blender is an essential part of maintaining good hygiene and getting flawless makeup application every time you use it. By following our step-by-step guide, you can ensure that your beauty blender is always clean and ready to use. Remember to clean your sponge regularly and try out some of our cleaning hacks if you’re looking for a quick and easy way to get rid of stubborn stains. Happy cleaning!