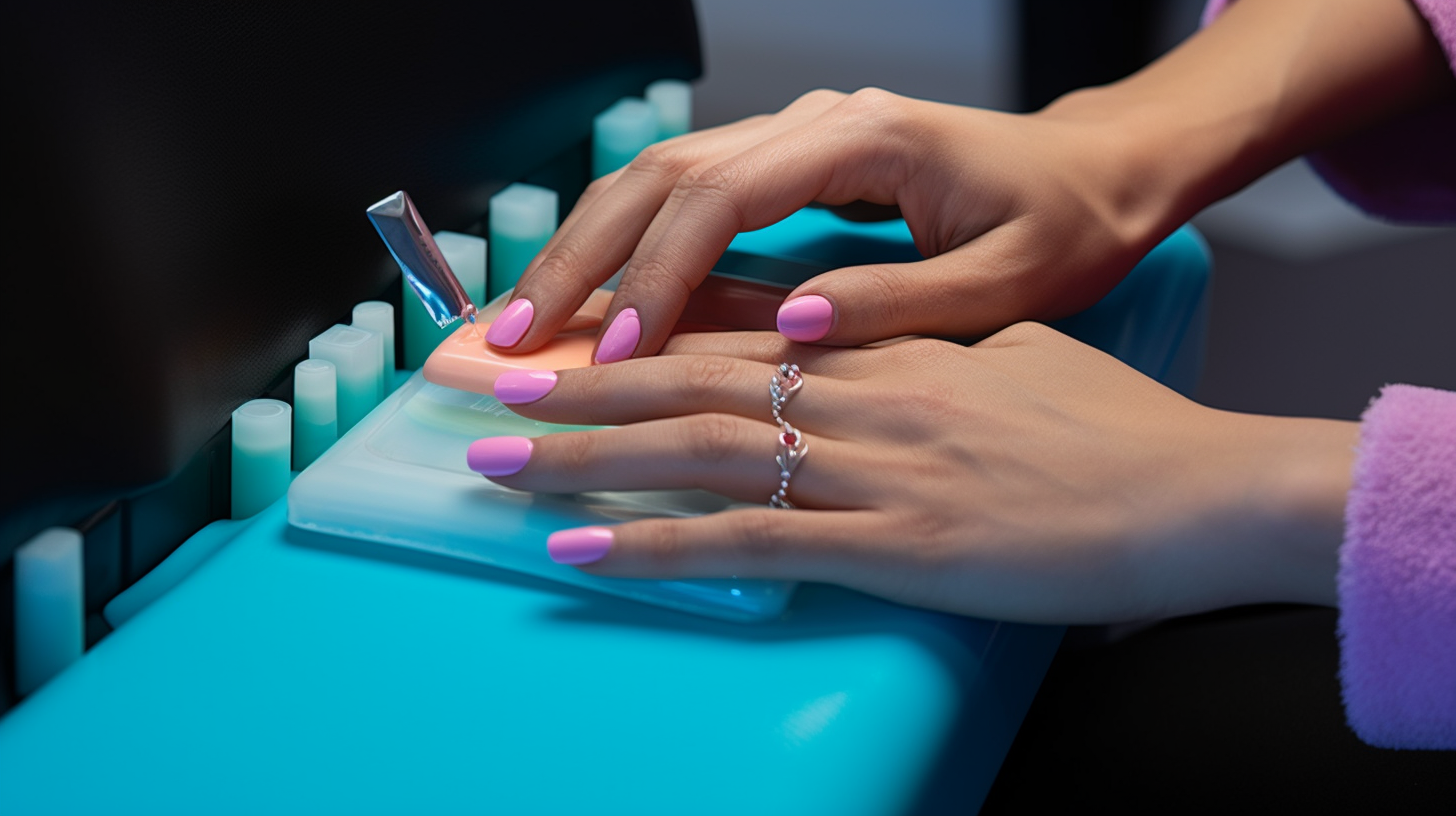
A Foolproof Guide to Removing Acrylic Nails at Home Like a Pro
Removing acrylic nails at home might seem like a daunting task, especially if you’re doing it for the first time. But with the right tools and techniques, you can easily remove your acrylic nails without causing any damage to your natural nails. In this foolproof guide, we’ll walk you through the process of removing acrylic nails at home like a pro, step by step.
What You’ll Need
Before you start the process of removing your acrylic nails at home, make sure you have the following items handy:
- Nail file or emery board
- Acetone
- Cotton balls or pads
- Foil strips (or aluminum foil cut into small squares)
- Nail buffer
- Orange stick or cuticle pusher
- Nail clippers (optional)
- Petroleum jelly (optional)
- Bowl (optional, for soaking method)
Step-by-Step Guide to Remove Acrylic Nails at Home
Step 1: Trim and File Your Acrylic Nails
If your acrylic nails are long, use nail clippers to trim them down to a shorter length. This will make the removal process easier and faster. Next, use a nail file or emery board to gently file off the top layer of the acrylic coating. Be careful not to file too deep into the nail, as this can cause damage.
Note: If your acrylics are designed with nail art or glitter, make sure to file off these embellishments before proceeding.
Step 2: Protect Your Skin
Acetone, which is the most effective solvent for acrylic nails removal, can be harsh on your skin. To protect the skin around your nails, you can apply a thin layer of petroleum jelly on the cuticles and fingertips. This will help prevent dryness and irritation caused by the acetone.
Step 3: Soak Your Nails in Acetone
There are two methods to soak your nails in acetone – using cotton balls and foil strips or soaking directly in a bowl. Choose the method that you find more comfortable.
Cotton Ball and Foil Method:
- Saturate a cotton ball or pad with acetone.
- Place the soaked cotton ball on top of your acrylic nail, making sure it covers the entire nail surface.
- Wrap a foil strip around your finger, securing the cotton ball in place. Ensure that it’s tight enough to hold the cotton ball against your nail but not too tight to cut off circulation.
- Repeat this process for all fingers with acrylic nails.
- Leave the foil wraps on for about 20-30 minutes. The exact time may vary depending on the thickness of your acrylics and the strength of the acetone.
Bowl Soaking Method:
- Pour acetone into a small bowl, enough to cover your fingertips when submerged.
- Dip your fingertips into the bowl, ensuring that all acrylic nails are submerged in acetone.
- Soak for about 20-30 minutes, or until you notice that the acrylic has softened enough to be easily removed.
Step 4: Remove the Acrylic
After soaking your nails in acetone, the acrylic should be soft and easy to remove. Use an orange stick or cuticle pusher to gently push off the acrylic, starting from the cuticle area and working your way towards the tip of the nail. Be patient and avoid using excessive force, as this can damage your natural nails.
If you find that some areas of acrylic are still firmly attached, soak your nails for a few more minutes in acetone and try again.
Step 5: Buff and Moisturize
Once all of the acrylic has been removed, use a nail buffer to smooth out any rough spots or residual glue on your natural nails. Then, wash your hands with soap and water to remove any traces of acetone.
Finally, apply a nourishing cuticle oil or hand cream to moisturize your nails and surrounding skin, as acetone can be very drying.
Conclusion
Removing acrylic nails at home doesn’t have to be a difficult process. By following this foolproof guide, you can safely and effectively take off your acrylics without causing damage to your natural nails. Remember to be patient and gentle throughout the process, as rushing or using excessive force can lead to injury. And don’t forget to give your nails some TLC afterwards with proper moisturizing!