The Ultimate Guide to Coloring Homemade Soap: Tips and Techniques You Need to Know
Soap making is a fun and creative activity that allows you to customize the soap’s ingredients, scents, and colors. Adding color to homemade soap can make it more appealing and unique, but it can be challenging for beginners. With so many colorants available, it can be overwhelming to choose the right one for your soap recipe. This guide will provide you with everything you need to know about coloring homemade soap, including tips, techniques, and expert advice.
Why Color Homemade Soap?
Coloring homemade soap serves both functional and aesthetic purposes. The most obvious reason to add color to your soap is to make it look more attractive. Colorful soaps are eye-catching and can be used as gifts or sold for profit. Additionally, adding color can help differentiate between different types of soaps or indicate the soap’s fragrance.
Coloring also helps in identifying if the soap has cured completely. When a colored bar of soap has been left out in the open air for a while, the color will fade if it has not yet cured completely. If there is no fading of color after a few days or weeks, it means that the soap has cured fully.
Challenges in Coloring Homemade Soap
The process of coloring homemade soap may seem simple at first glance, but there are several challenges that you may encounter along the way. Here are some common issues that you may face:
Limited Color Options
The majority of natural colorants have limited shades available compared to synthetic colors. Natural dyes like hibiscus powder or beetroot powder produce only pink or red hues, while spirulina powder produces greenish-blue hues.
Color Instability
Sometimes when using certain natural pigments like alkanet root, annatto, or turmeric, the color may change over time. The color may fade or morph into a different shade due to exposure to light or air.
Staining of Surfaces
Some natural colorants like indigo and activated charcoal can stain surfaces and clothing. It is essential to take precautions while handling these pigments to avoid staining your work area and clothes.
Overuse of Colorants
Using too much colorant can affect the soap’s texture, make it brittle, or cause it to crack. Additionally, some natural colorants can be abrasive and cause irritation when in direct contact with the skin.
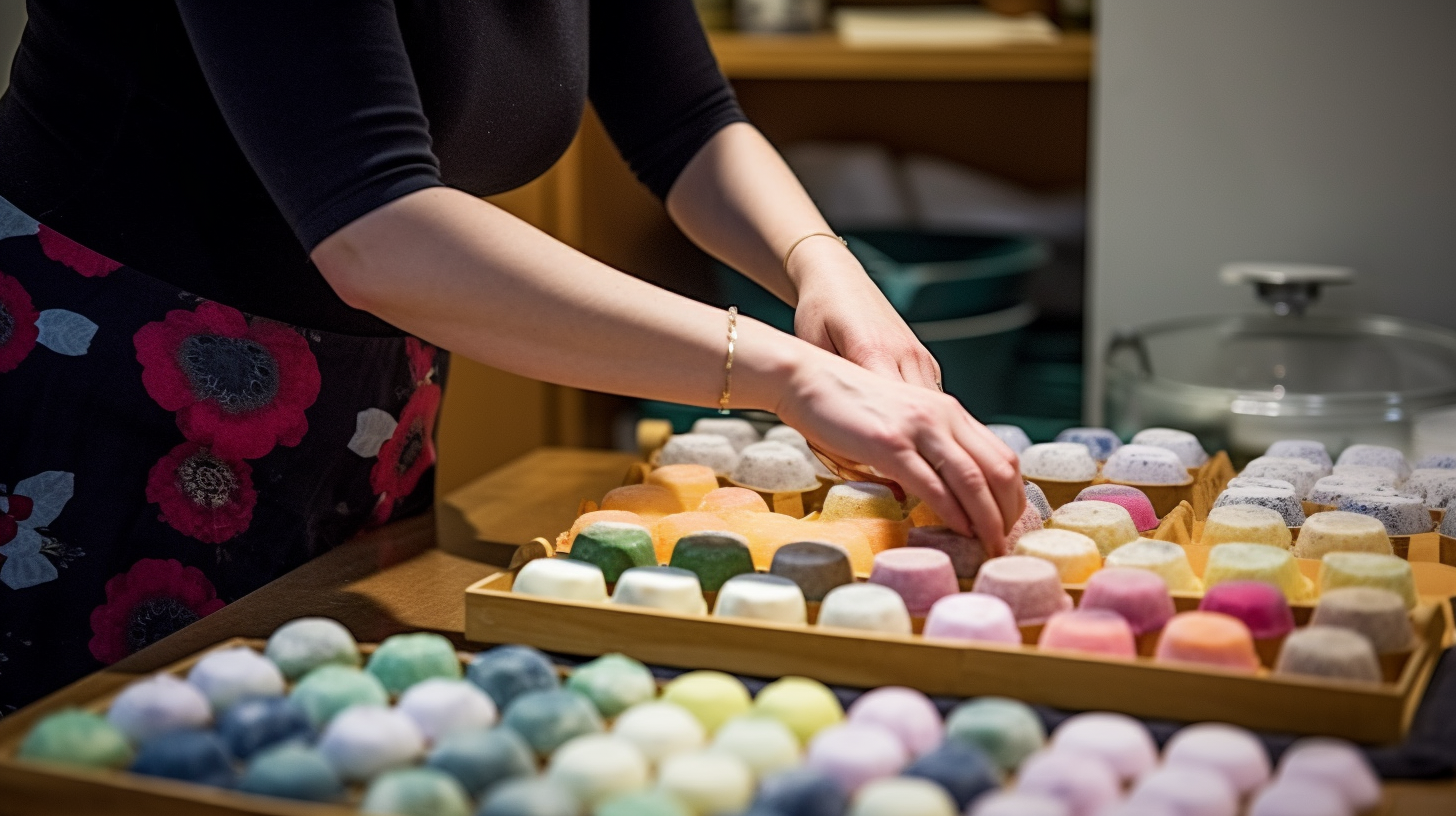
Types of Soap Colorants
There are several types of colorants available for coloring homemade soap. Below are some common types:
Natural Dyes
Natural dyes are derived from plants, fruits, vegetables, and minerals. They produce subtle shades that range from pale pastels to deep earthy hues. Common natural dyes used in soap making include beetroot powder, turmeric powder, spirulina powder, cocoa powder, paprika powder, and annatto seeds.
Mica Powder
Mica powder is a mineral-based pigment that produces shimmering metallic effects in soap. It comes in a variety of colors and is an excellent choice for adding sparkle to your soap recipe. Mica powders are typically mixed with oils before being added to soap batter.
Pigments
Pigments are synthetic colorants that produce bright and bold hues compared to natural dyes. They come in powdered form and should be mixed with oil before being added to the soap batter. Pigments include ultramarines, oxides, and titanium dioxide.
Color Blocks
Color blocks are pre-mixed colorants that come in solid form. They are made from a combination of pigments, dyes, and mica powder. Color blocks are easy to use and do not require any additional mixing or measuring.
Tips for Coloring Homemade Soap
Here are some practical tips to help you achieve the perfect color for your homemade soap:
Start with a Small Amount of Colorant
It is best to start with a small amount of colorant and gradually add more until you achieve the desired hue. Adding too much colorant can make the soap brittle or cause it to crack.
Mix the Colorant with Oil
Mixing the colorant with oil before adding it to the soap batter ensures that the pigment is evenly distributed throughout the soap. It also prevents clumping and streaking.
Add Color at Trace
The best time to add colorants is during the trace stage when the soap has thickened slightly. This ensures that the color is evenly distributed throughout the soap batter.
Avoid Overheating
Overheating can cause natural dyes to fade or turn brown. It is essential to monitor the temperature of your soap batter and avoid overheating it.
Expert Advice on Coloring Homemade Soap
We spoke to Anne-Marie Faiola, CEO, and founder of Bramble Berry Soap Making Supplies, who shared some expert advice on coloring homemade soap:
“When coloring soap, always use skin-safe pigments and dyes. Avoid using candle dyes or other non-skin-safe materials.”
“Use a stick blender to mix the colorant into the soap batter. This ensures that the pigment is evenly distributed throughout the soap.”
“Always test your colorants before using them in your soap recipe. Different oils and fragrances can affect the final color of your soap.”
“If you are using natural dyes, be prepared for some unpredictability. Natural dyes can be affected by factors like pH, temperature, and even water hardness.”
Conclusion
Coloring homemade soap is an enjoyable and creative activity that adds a personal touch to your soap-making process. With this guide’s tips and techniques, you can achieve beautiful and vibrant soap colors while avoiding common challenges. Remember to choose skin-safe colorants, start with small amounts of colorant, mix the pigment with oil, add color at trace, and avoid overheating. Happy soap making!