How to Shape Your Homemade Soap with Ease: Tips and Tricks
Welcome to our comprehensive guide on shaping your homemade soap! There’s nothing quite like the satisfaction of creating your own soap from scratch. Not only do you get to choose the ingredients that go into it, but you also have complete control over its shape and size. While making soap can be a fun and rewarding experience, shaping it can be a bit of a challenge, especially for beginners. In this guide, we’ll provide you with tips and tricks on how to shape your homemade soap with ease.
Soap Molding Techniques
The first step in shaping your homemade soap is to decide on the molding technique you want to use. There are two primary types of soap molding techniques: cold-process and hot-process. Cold-process soap is made by mixing oils and lye solution together at room temperature, while hot-process soap involves heating the oils and lye solution before mixing them together.
Both techniques have their advantages and disadvantages when it comes to shaping the soap. Cold-process soap is softer and more pliable, making it easier to mold into different shapes. However, it takes longer to cure and harden, which may make it more difficult to remove from the mold without damaging the shape. Hot-process soap, on the other hand, sets up faster and is more rigid, making it easier to remove from the mold without distorting its shape.
Shaping Cold-Process Soap
If you’re working with cold-process soap, there are several tools you can use to shape it:
- Soap Loaf Mold: This is a rectangular mold that allows you to create large bars of soap that can be sliced into smaller pieces.
- Soap Cutter: A wire cutter specifically designed for cutting bars of cold-process soap into uniform slices.
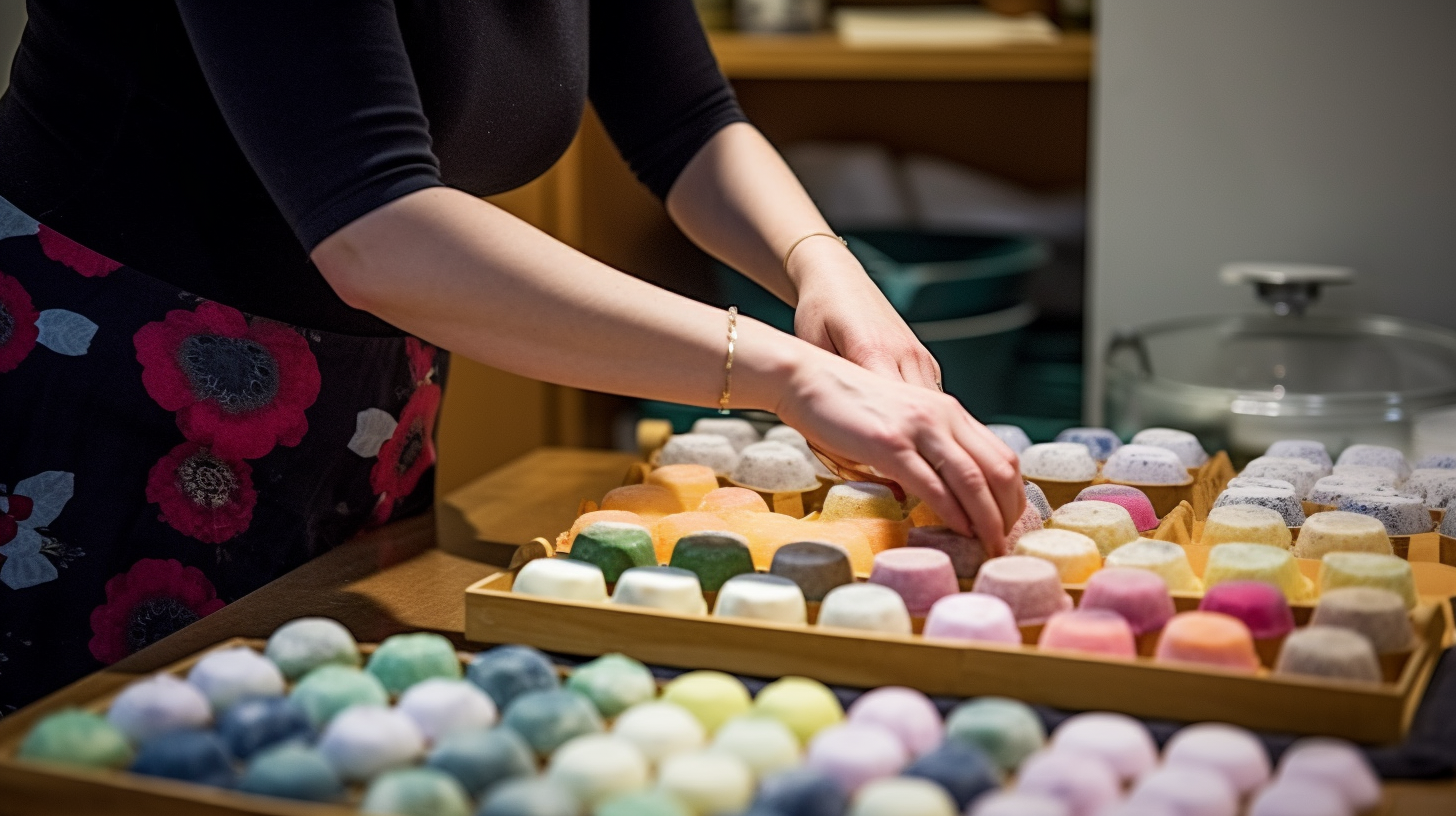
- Handmade Soap Shaping: You can use your hands to shape the soap into different forms. This method is great for creating irregular shapes or adding texture to the soap.
- Soap Stamping: You can use a stamp to press a design onto the surface of the soap. This is a great way to customize your soap and make it stand out.
To shape cold-process soap, follow these steps:
- Pour the soap mixture into a mold of your choice.
- Allow the soap to harden for at least 24 hours before attempting to remove it from the mold.
- If using a loaf mold, use a soap cutter to slice the soap into bars of equal size.
- If you’re shaping the soap by hand, wear gloves and use your hands to mold it into your desired shape.
- If you’re using a stamp, wait until the soap has hardened but is still slightly pliable before pressing the stamp onto its surface.
Shaping Hot-Process Soap
If you’re working with hot-process soap, there are several tools you can use to shape it:
- Soap Loaf Mold: This is a rectangular mold that allows you to create large bars of soap that can be sliced into smaller pieces.
- Soap Cutter: A wire cutter specifically designed for cutting bars of hot-process soap into uniform slices.
- Soap Embossing: You can use an embosser to create designs on the surface of hot-process soap. This method is similar to stamping, but it creates a raised design rather than a pressed one.
To shape hot-process soap, follow these steps:
- Pour the soap mixture into a mold of your choice.
- Allow the soap to harden for at least 24 hours before attempting to remove it from the mold.
- If using a loaf mold, use a soap cutter to slice the soap into bars of equal size.
- If you’re using an embosser, wait until the soap has hardened but is still slightly pliable before pressing the embosser onto its surface.
Tips and Tricks for Shaping Your Homemade Soap
Shaping your homemade soap can be a bit tricky, but with these tips and tricks, you’ll be able to create beautiful and unique soap designs:
- Use a non-stick spray: Before pouring your soap mixture into the mold, spray it with a non-stick cooking spray. This will make it easier to remove the soap from the mold without damaging its shape.
- Use a silicone mold: Silicone molds are great for shaping cold-process soap because they’re flexible and easy to peel away from the soap once it’s hardened.
- Freeze your soap: If you’re having trouble removing your cold-process soap from the mold, try freezing it for several hours. The cold temperature will cause the soap to contract slightly, making it easier to pop out of the mold without breaking or distorting its shape.
- Add texture: You can add texture to your handmade soap by using different tools such as forks or combs to create lines or patterns on the surface of the soap.
- Be patient: Soap takes time to harden and cure properly. Don’t rush the process by trying to remove it from the mold too soon. Wait at least 24 hours before attempting to shape or remove your soap.
Conclusion
Now that you know how to shape your homemade soap with ease, it’s time to get creative! Whether you’re using a mold or shaping it by hand, there are plenty of ways to make your soap unique and beautiful. Remember to be patient and take your time, and don’t be afraid to experiment with different shapes, textures, and designs. With these tips and tricks, you’ll be able to create handmade soap that’s both functional and beautiful.