The Ultimate Guide to Properly Storing Homemade Soap for Longevity
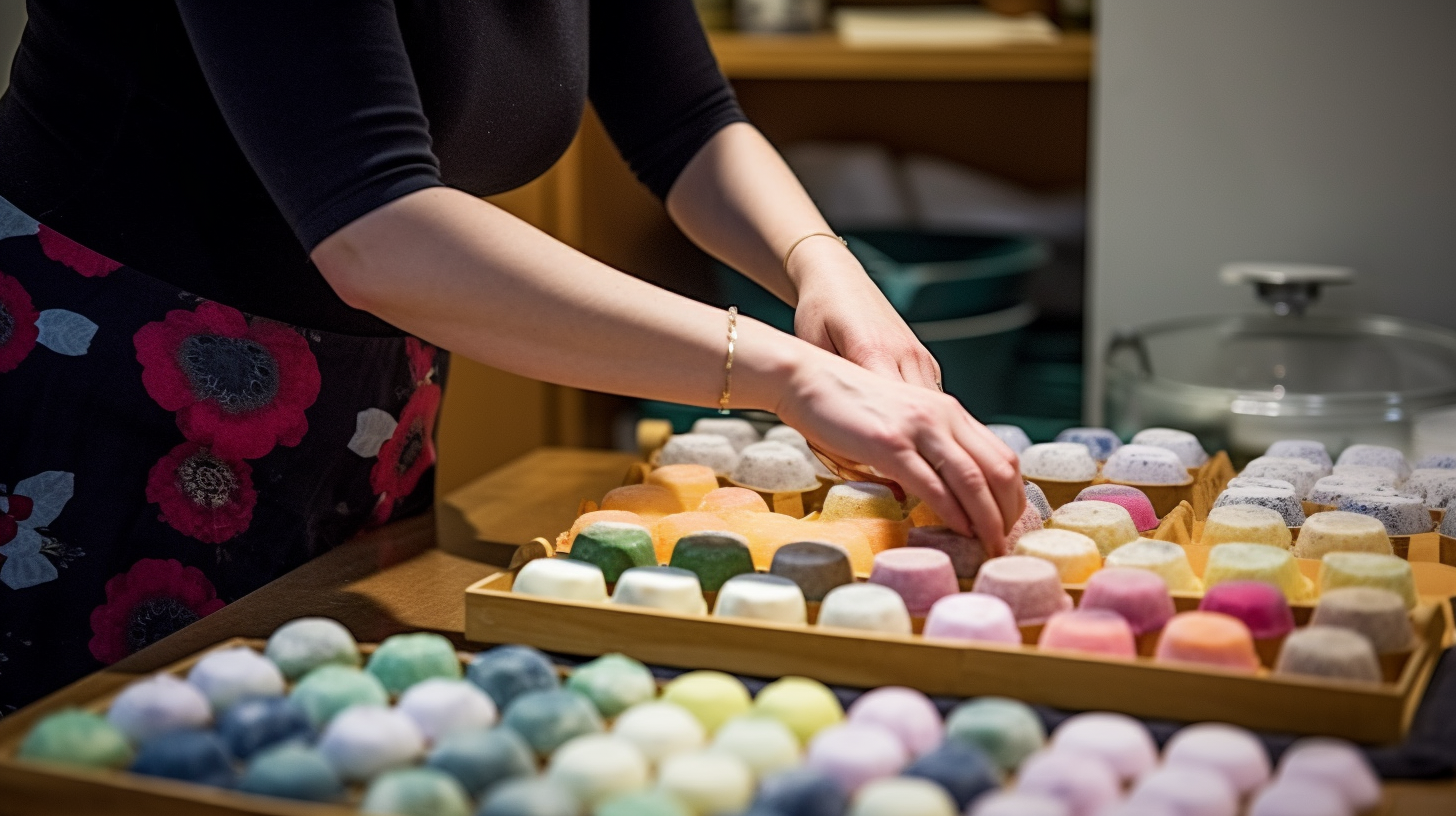
Homemade soap is a popular choice for individuals who want to avoid the harsh chemicals and additives found in commercial soaps. Not only is it a healthier option, but it also allows for customization and creativity in scent and design. However, after making your own soap, the next challenge is storing it correctly to ensure that it lasts as long as possible. Proper storage can significantly impact the longevity of your homemade soap, maintaining its fragrance and qualities over time.
In this guide, we will provide you with step-by-step instructions on how to store homemade soap properly. From soap savers to soap dishes, we will explore different storage options and highlight their advantages and disadvantages. By the end of this tutorial, you will be equipped with all the information you need to keep your homemade soap fresh and long-lasting.
Why Proper Storage Matters
Proper storage of homemade soap is essential to maintain its quality and prolong its lifespan. If not stored correctly, handmade soaps can lose their fragrance, color, and texture over time. Factors such as humidity, temperature changes, light exposure, or contact with water can affect the quality of your soap.
In addition to preserving the quality of your soap, proper storage also reduces waste by preventing spoilage or mold growth. Homemade soaps tend to have a shorter shelf life than commercial ones due to their lack of preservatives. Therefore, storing them correctly is crucial in making sure they last as long as possible.
Soap Storage Ideas
There are several ways to store homemade soap effectively. Depending on your preference or availability of resources, some methods may work better than others. Below are some popular options:
1) Soap Saver
A soap saver is a mesh-like bag that allows air circulation around the bar of soap while keeping it dry. It is a cost-effective and eco-friendly option that can be reused multiple times.
To use a soap saver, simply place the soap inside the bag and hang it in a dry location. This method is particularly useful for shower areas where there is constant water exposure. The soap saver helps the bar of soap to dry quickly, preventing it from becoming soggy or melting away.
2) Soap Dish
A soap dish is a shallow container that holds the bar of soap while allowing air circulation underneath. It can be made from various materials such as ceramic, wood, or plastic.
To use a soap dish, place the bar of soap on top of it after each use. Make sure to choose a dish with drainage holes or ridges that allow excess water to drain away from the soap. This method is ideal for individuals who prefer to have their soap on display while keeping it dry and clean.
3) Soap Rack
A soap rack is a raised platform that allows air circulation around the bar of soap while keeping it off surfaces that may retain moisture. It can be made from wood, metal, or acrylic material.
To use a soap rack, place the bar of soap on top of it after each use. Make sure to choose a rack with sufficient spacing between the slats to allow air circulation underneath. This method is ideal for those who want to keep their counter spaces clutter-free while maintaining proper storage for their homemade soaps.
4) Soap Box
A soap box is a lidded container designed to hold bars of soap securely. It can be made from plastic, metal, or wood material and comes in various sizes and shapes.
To use a soap box, place the bar of soap inside and close the lid tightly. This method is ideal for individuals who want to store their soap in a compact and portable container, making it easy to travel with or store in small spaces.
5) Soap Holder
A soap holder is a suction cup or adhesive-based device that attaches to the shower wall, holding the bar of soap in place while allowing air circulation around it. It can be made from plastic or metal material.
To use a soap holder, attach it to the shower wall and place the bar of soap on top of it. Make sure to choose a holder that sticks securely to the wall and does not leave residue behind. This method is ideal for those who prefer to have their soap within reach while keeping it dry and clean.
6) Soap Basket
A soap basket is a container that holds multiple bars of soap while allowing air circulation around them. It can be made from wire, wood, or plastic material and comes in various sizes and shapes.
To use a soap basket, place the bars of soap inside and make sure there is sufficient spacing between them for air circulation. This method is ideal for individuals who make large batches of homemade soaps or want to store multiple scents in one location.
Conclusion
Proper storage is essential in maintaining the quality and longevity of your homemade soaps. With the different storage options available, you can choose one that meets your preference and needs. Whether using a soap saver, dish, rack, box, holder, or basket, make sure to keep your homemade soaps dry and away from moisture, light exposure, or extreme temperatures.
With these tips and tricks on how to store homemade soap properly, you can now enjoy your handmade creations for longer periods without worrying about spoilage or loss of fragrance. So go ahead, make your soap, and store it like a pro!