The Ultimate Guide to Making Bath Bombs: Step-by-Step Instructions and Tips for Beginners
Welcome to the ultimate guide on making bath bombs! Bath bombs are an excellent way to add some fun and relaxation to your bath time routine. They come in various shapes, sizes, and colors and are packed with natural ingredients that are gentle on your skin. If you’ve always wanted to try making your own bath bombs but didn’t know where to start, you’re in the right place!
What Are Bath Bombs?
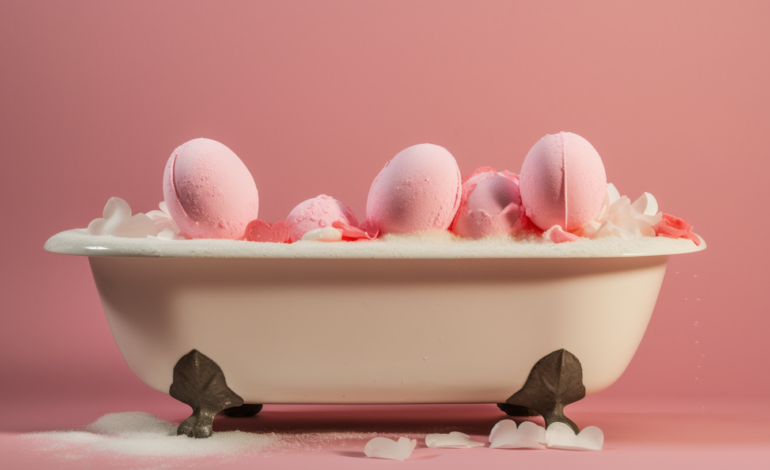
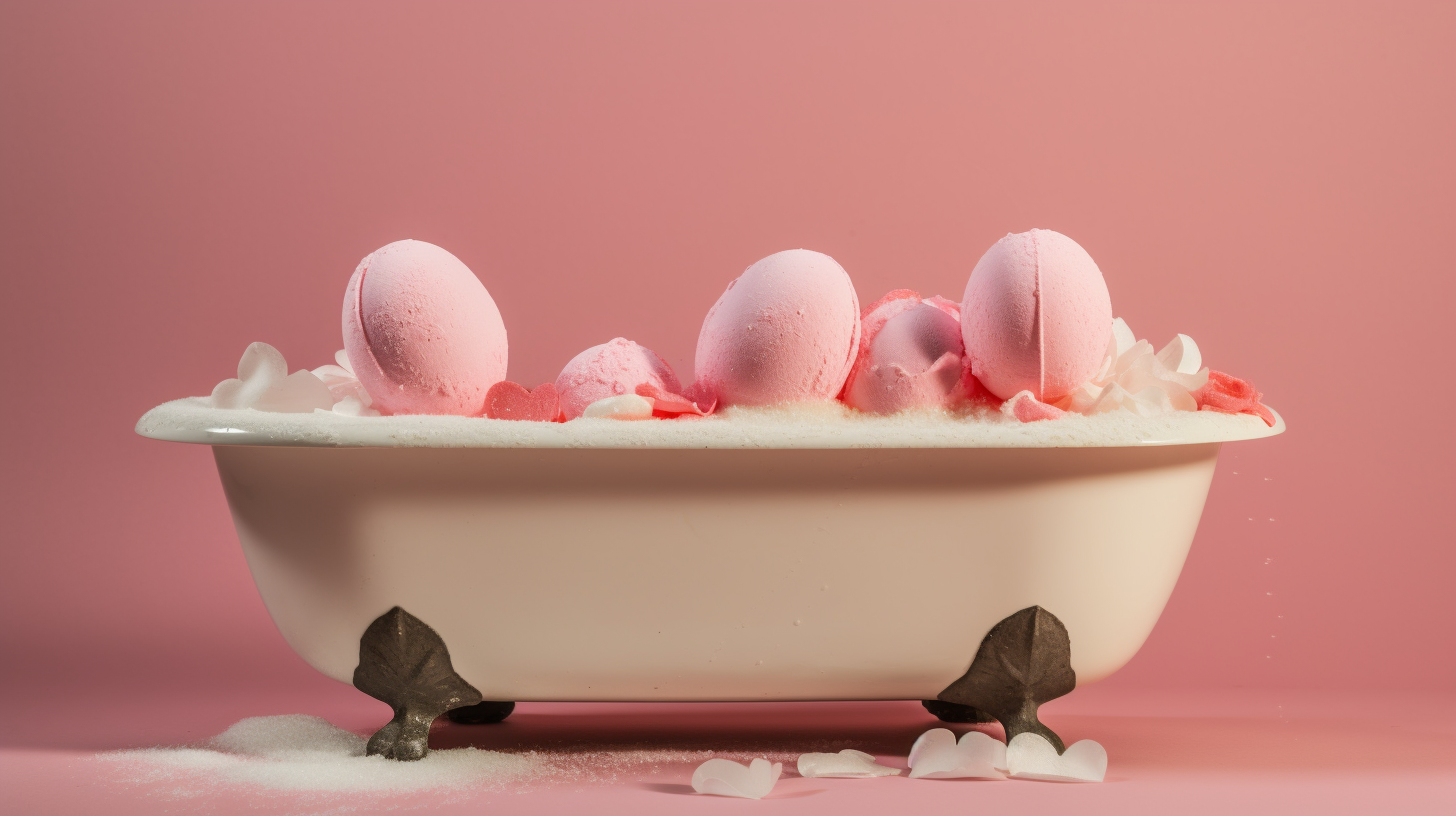
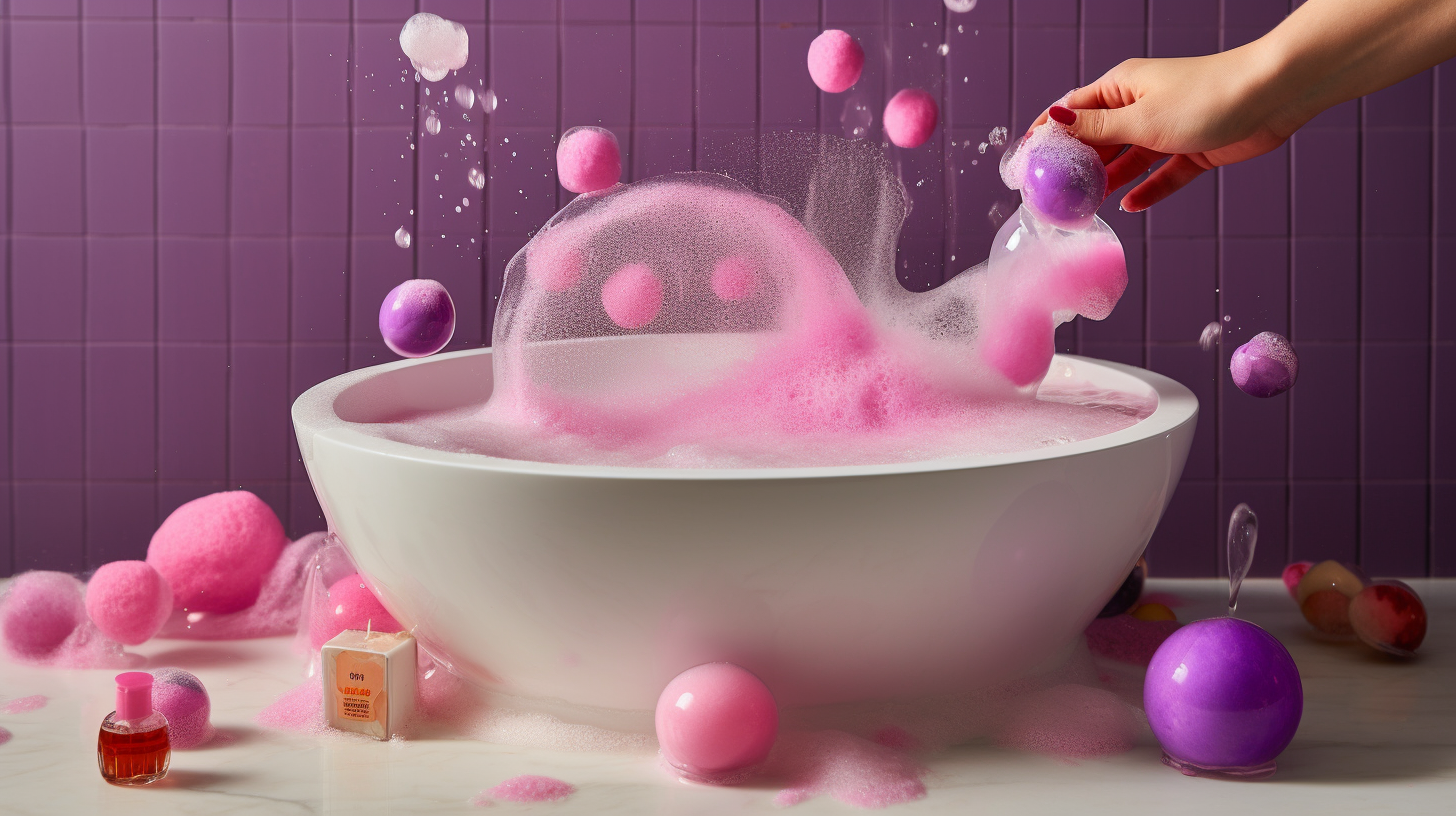
Bath bombs are small, hard-packed spheres that dissolve when dropped into warm water. They release a delightful fizz and release scents and colors that make your bath time more enjoyable. Bath bombs are made from a combination of dry ingredients such as baking soda, citric acid, and Epsom salts, along with wet ingredients like oils, fragrances, and natural colorants.
Benefits of Using Bath Bombs
Using bath bombs can provide several benefits for your skin and overall wellbeing. Here are some of the benefits:
- Bath bombs contain natural ingredients that nourish your skin and provide deep hydration.
- The essential oils used in bath bombs can help soothe muscles and reduce stress.
- Bath bombs can help exfoliate dead skin cells, leaving your skin feeling soft and smooth.
- The fragrances in bath bombs can help uplift your mood and promote relaxation.
Ingredients Needed for Making Bath Bombs
The first step in making bath bombs is gathering all the necessary ingredients. Here’s a list of what you’ll need:
- 1 cup baking soda
- 1/2 cup citric acid
- 1/2 cup Epsom salts
- 1/2 cup cornstarch
- 3 tablespoons coconut oil
- 1 teaspoon essential oils (lavender, peppermint, eucalyptus, or any other scent you prefer)
- Natural colorants (optional) – beetroot powder, turmeric powder, activated charcoal powder
- Bath bomb molds
- Spray bottle filled with rubbing alcohol
Step-by-Step Instructions to Make Bath Bombs
Step 1: Mix the Dry Ingredients
In a large bowl, mix together the baking soda, citric acid, Epsom salts, and cornstarch. Use a whisk to ensure that all the ingredients are well combined.
Step 2: Mix the Wet Ingredients Separately
In a separate bowl, mix together the coconut oil and essential oils until well combined.
Step 3: Mix the Wet and Dry Ingredients Together
Add the wet ingredients mixture to the dry ingredients mixture. Use your hands to mix everything together until it forms a crumbly texture. If you want to add some color to your bath bombs, now is the time to add natural colorants such as beetroot powder or turmeric powder. Add a small amount at first and mix well. Keep adding until you reach your desired color.
Step 4: Pack the Mixture into Molds
Pack the mixture tightly into bath bomb molds. Press down firmly to ensure that there are no air pockets. You can use different shapes of molds such as round, heart-shaped or star-shaped depending on your preference.
Step 5: Let the Bath Bombs Dry
Let the bath bombs dry for at least 24 hours. You can leave them to dry in a cool, dry place or place them in the refrigerator to speed up the drying process.
Step 6: Remove the Bath Bombs from the Molds
Once the bath bombs are completely dry, remove them from the molds carefully. If you find that they are sticking to the mold, gently tap around it with a spoon to loosen it.
Step 7: Store in an Airtight Container
Store your bath bombs in an airtight container until you’re ready to use them. Keep them away from moisture and heat as this can cause them to dissolve prematurely.
Tips and Tricks for Making Bath Bombs
Here are some tips and tricks that can help you make perfect bath bombs:
- If you’re new to making bath bombs, start with small batches until you get comfortable with the process.
- Use high-quality ingredients for best results.
- If your mixture is too dry, add a few sprays of rubbing alcohol until it becomes slightly damp.
- If your mixture is too wet, add some more baking soda or cornstarch to balance it out.
- You can experiment with different scents and colors using natural ingredients like lavender oil or beetroot powder.
- If you don’t have bath bomb molds, you can use silicone ice cube trays or even muffin tins instead.
In Conclusion
Making your own bath bombs is a fun and creative way to add some relaxation and self-care into your routine. With the right ingredients and a little bit of patience, you can make bath bombs that are customized to your preferences. Follow these step-by-step instructions and tips to create your own unique bath bombs that will leave you feeling relaxed and refreshed.