Shaping Coffin Nails: A Step-by-Step Guide for Perfect Results
Welcome to our step-by-step guide on how to shape coffin nails for perfect results. Coffin nails have become increasingly popular in recent years, and it’s no surprise why. This nail shape is elegant, edgy, and versatile, making it a favorite among many beauty enthusiasts. However, achieving the perfect coffin nail shape can be challenging, especially if you’re new to the world of nail art. That’s why we’ve created this guide to help you master the art of shaping coffin nails with ease.
What are Coffin Nails?
Coffin nails are a type of nail shape that resembles a coffin or a ballerina slipper. They are long and tapered with a flat tip and straight sides, creating a dramatic and stylish look that is perfect for any occasion. Coffin nails are also known as “ballerina nails,” and they have become increasingly popular in recent years due to their unique and trendy appearance.
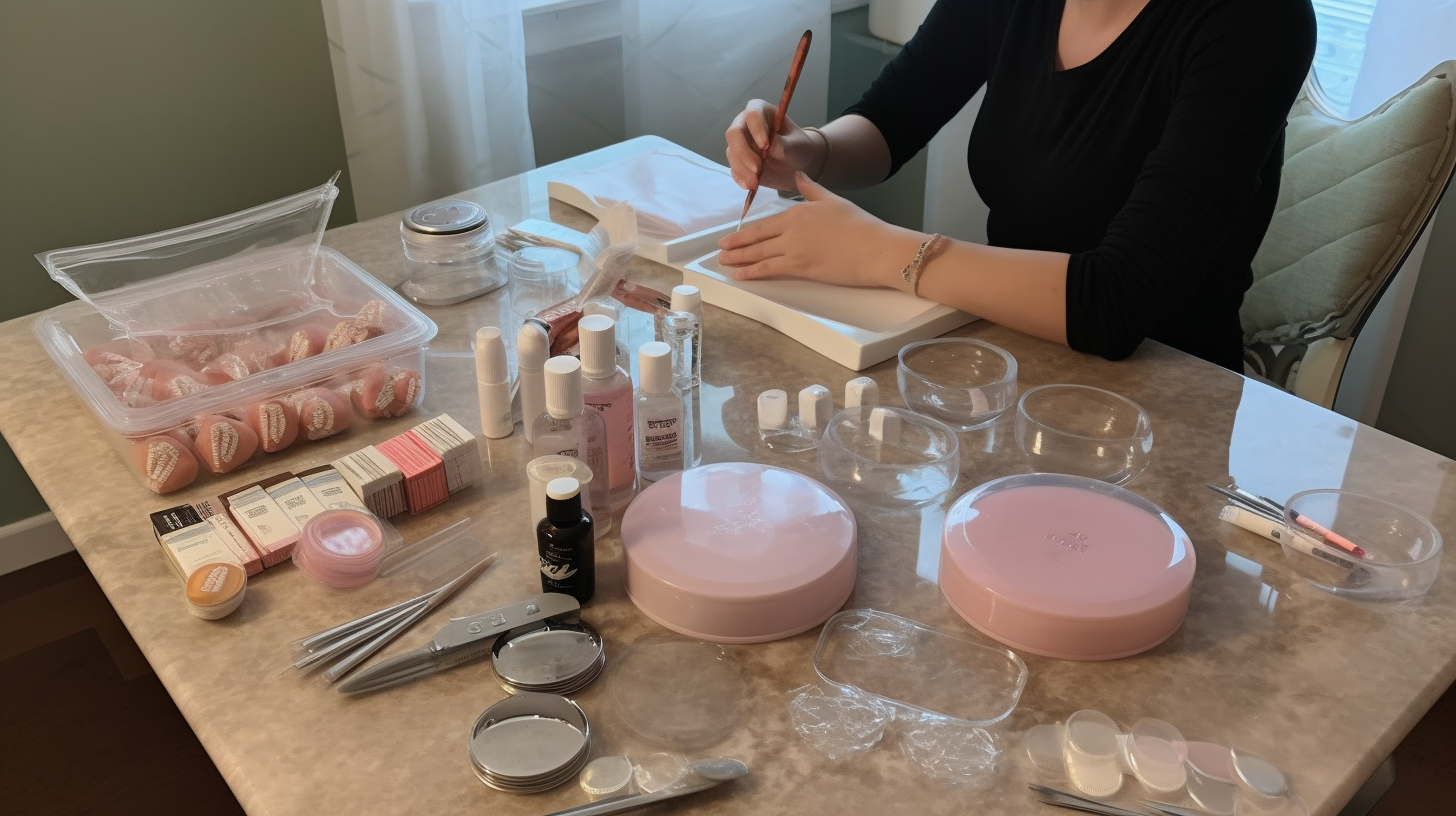
Tools You Will Need
Before we get started, let’s go over the tools you will need:
- Nail clipper
- Nail file
- Nail buffer
- Cuticle pusher
- Cuticle oil
- Nail polish (optional)
Step-by-Step Guide on How to Shape Coffin Nails
Step 1: Clip Your Nails
The first step in shaping your coffin nails is to clip them down to your desired length. Use your nail clipper to trim your nails straight across, leaving them slightly longer than your desired length.
Step 2: File Your Nails into a Square Shape
Once you’ve clipped your nails, use a nail file to shape them into a square shape. Hold the file at a 90-degree angle and file the edges of your nails in one direction, starting from the corners and working your way towards the center. Repeat this process on the other side of your nails until you achieve a square shape.
Step 3: Create the Coffin Shape
Now it’s time to create the coffin shape. To do this, hold your nail file at a 45-degree angle and file each side of your nails towards the center. The tip of your nail should be filed straight across to create a flat tip. Keep filing until you achieve your desired coffin shape.
Step 4: Smooth Out Your Nails
Use a nail buffer to smooth out any rough edges or bumps on your nails. Gently buff each nail in a back-and-forth motion until they’re smooth and shiny.
Step 5: Push Back Your Cuticles
Use a cuticle pusher to gently push back your cuticles. This will help to create a clean and even look for your nails.
Step 6: Apply Cuticle Oil
Apply cuticle oil to each nail and massage it into your cuticles. This will help to moisturize and protect them, leaving them looking healthy and nourished.
Step 7: Apply Nail Polish (Optional)
If you want to add some color or design to your coffin nails, now is the time to apply nail polish. Choose your favorite color or design and apply it evenly to each nail. Allow the polish to dry completely before moving on.
Tips for Maintaining Your Coffin Nails
Congratulations! You’ve now successfully shaped your coffin nails. Here are some tips for maintaining your new look:
- Moisturize your nails and cuticles regularly to prevent them from drying out.
- Avoid using your nails as tools, as this can cause them to break or chip.
- Be gentle when washing dishes or performing other household chores to avoid damaging your nails.
- Consider getting regular manicures or pedicures to keep your coffin nails looking fresh and polished.
Conclusion
We hope our step-by-step guide on how to shape coffin nails has been helpful in achieving the perfect look. Remember, practice makes perfect, so don’t be discouraged if you don’t get it right the first time. With time and patience, you’ll be able to master the art of shaping coffin nails with ease. So go ahead and show off your new trendy look!