A Step-by-Step Guide: Applying Press-On Nails for Effortlessly Beautiful Manicures
Welcome to our step-by-step guide on applying press-on nails for effortlessly beautiful manicures! Whether you’re a nail art enthusiast or simply looking for a quick and convenient way to achieve gorgeous nails, press-on nails are a fantastic option. With the right technique and a little practice, you can enjoy salon-worthy manicures in the comfort of your own home. In this tutorial, we’ll walk you through the entire process, from preparation to application and finishing touches. So let’s get started and learn how to apply press-on nails like a pro!
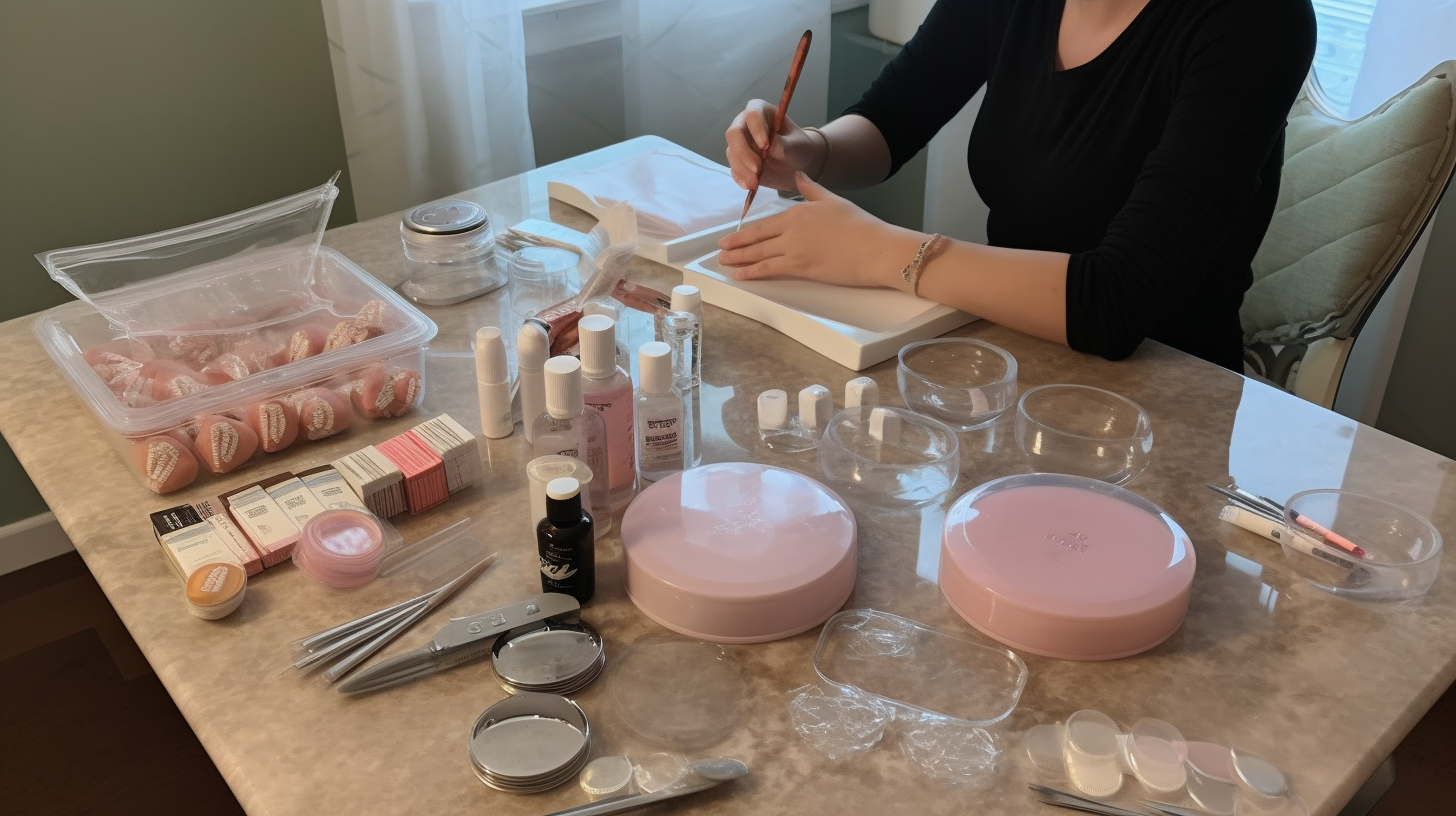
Step 1: Gather Your Supplies
Before you begin applying press-on nails, it’s essential to gather all the necessary supplies. Here’s what you’ll need:
- Cuticle pusher
- Nail file
- Nail buffer
- Alcohol wipes or nail polish remover
- Press-on nails (make sure they fit your natural nail size)
- Press-on nail adhesive or glue (check the instructions on your chosen product)
- Tweezers (optional but helpful for precise placement)
- Cotton swabs (for cleaning up any excess adhesive)
- Top coat (optional but recommended for added durability)
Step 2: Prep Your Natural Nails
Properly preparing your natural nails is crucial for ensuring a long-lasting application. Follow these steps:
- Remove any existing nail polish using an alcohol wipe or nail polish remover.
- Gently push back your cuticles using a cuticle pusher to create a clean canvas for your press-on nails.
- File your natural nails to your desired shape. Whether you prefer square, round, or almond-shaped nails, make sure to smooth out any rough edges.
- Use a nail buffer to gently buff the surface of your nails. This step helps the press-on nails adhere better and creates a smooth finish.
- Wipe your nails with an alcohol wipe or nail polish remover to remove any oils or residue that could affect the adhesion.
Step 3: Choose and Prepare the Press-On Nails
With a wide variety of press-on nail designs available, it’s time to choose the style that speaks to you. Once you’ve made your selection, follow these steps:
- Lay out all the press-on nails in order of size to ensure a seamless application process.
- If needed, gently file the sides of the press-on nails to adjust their width and match your natural nail shape.
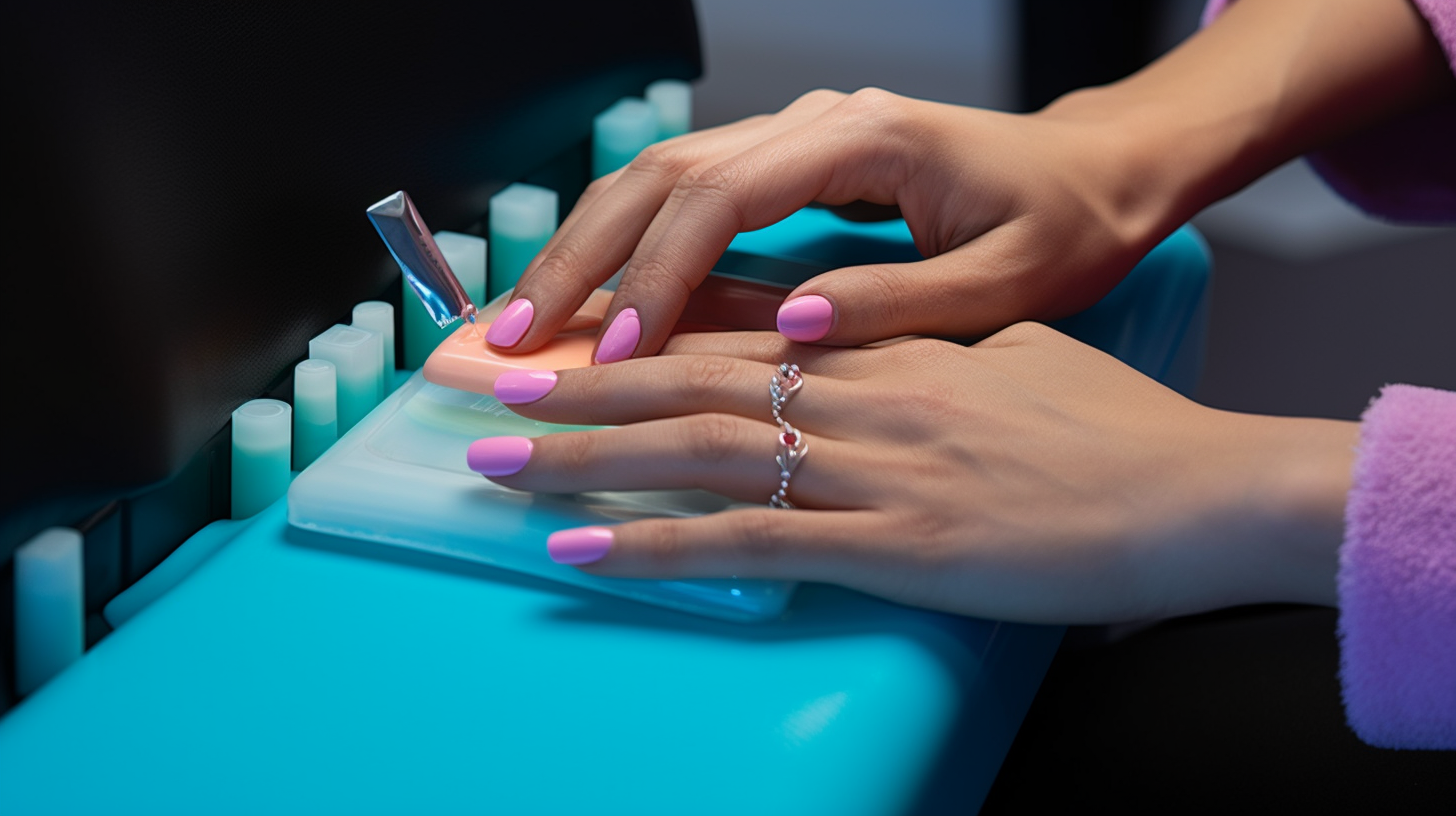
Step 4: Apply Press-On Nails
Now comes the exciting part—applying the press-on nails! Follow these steps for a flawless application:
- Apply a small amount of press-on nail adhesive or glue onto your natural nail. Be sure not to use too much, as excess adhesive can cause lifting or clumping.
- Carefully place the press-on nail on top of your natural nail, aligning it with the cuticle and pressing down firmly. Hold it in place for a few seconds to allow the adhesive to bond.
- If using tweezers, use them to hold and position the press-on nail for greater control and precision.
- Repeat this process for all your nails, working one at a time to ensure accuracy.
- Once all the press-on nails are applied, gently press down on each nail to ensure a secure bond.
Step 5: Finishing Touches
After applying the press-on nails, it’s time to give them some finishing touches to enhance their longevity and appearance:
- Use a nail file to shape and refine the length and shape of the press-on nails. This step will give them a more natural and polished look.
- If you notice any excess adhesive around the edges of your nails, use a cotton swab dipped in nail polish remover to clean it up.
- If desired, apply a thin layer of top coat over the press-on nails. This step will add shine, protection, and durability to your manicure.
Congratulations! You’ve successfully applied your press-on nails for an effortlessly beautiful manicure. With practice, you’ll become more comfortable with the process and be able to experiment with different designs and styles. Remember to follow these steps every time you apply press-on nails for optimal results. Enjoy your stunning new manicure!
In Conclusion
Applying press-on nails is an excellent way to achieve gorgeous manicures without the hassle of traditional nail polish or salon visits. By following our step-by-step guide, you can confidently apply press-on nails like a pro. Remember to gather all the necessary supplies, prep your natural nails properly, choose and prepare the press-on nails, apply them carefully using adhesive or glue, and finish with some refining touches. With practice, you’ll master this technique and enjoy beautiful manicures whenever you desire. So go ahead and try it out—your nails will thank you!