How to Achieve Stunning Ombre Nails: A Step-by-Step Guide
Welcome to our step-by-step guide on how to achieve stunning ombre nails! Ombre nails have become a popular trend in the world of nail art, and for good reason. This gradient effect adds a touch of elegance and creativity to your manicure, allowing you to showcase your personal style. Whether you’re a nail art enthusiast or someone looking to try something new, this tutorial will provide you with all the information you need to create beautiful ombre nails in the comfort of your own home.
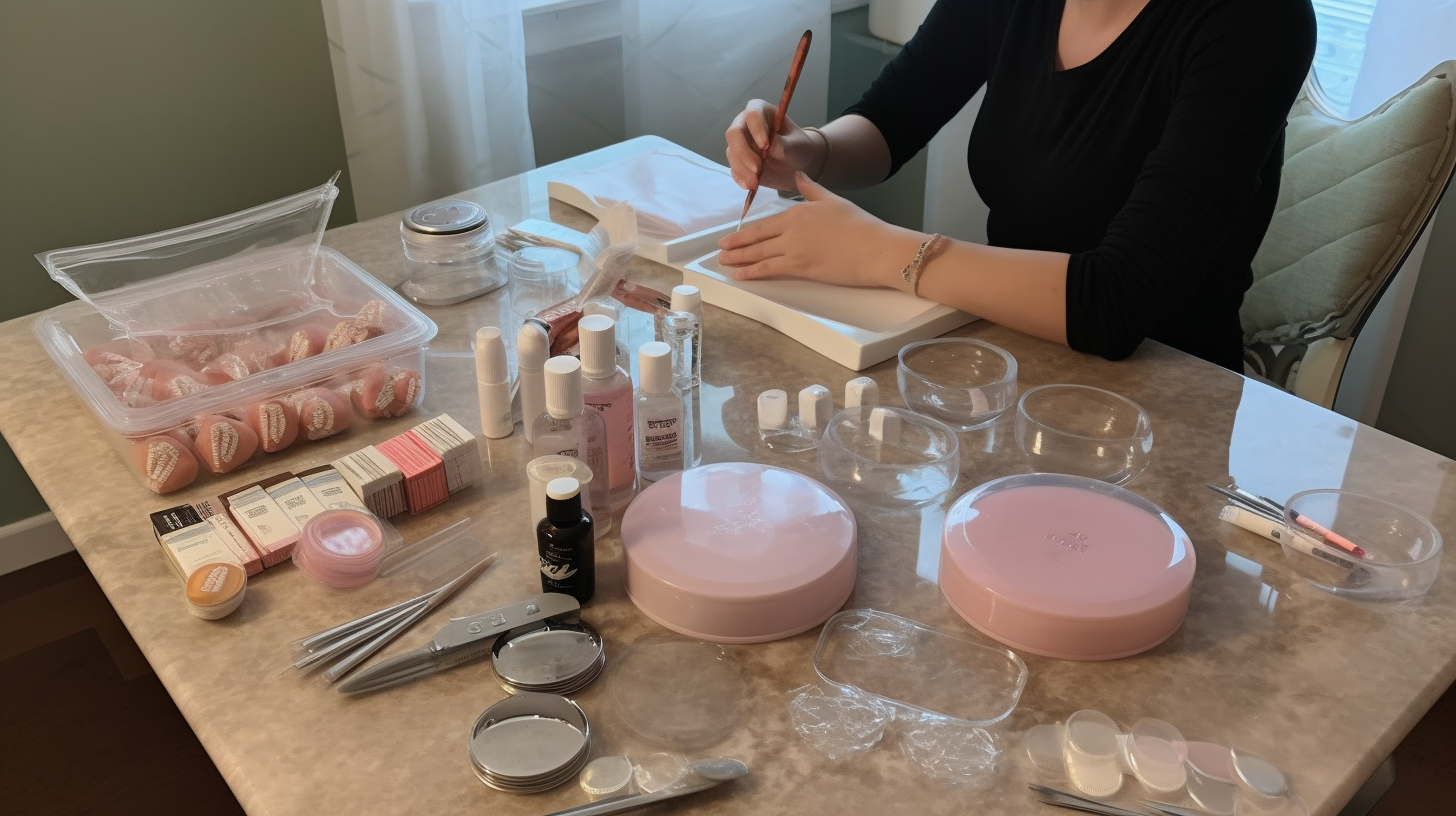
What You’ll Need:
Before we dive into the step-by-step process, let’s gather all the necessary tools and materials:
- A base coat
- Two or more nail polish colors of your choice
- A makeup sponge
- A small piece of aluminum foil or a palette
- A top coat
- A nail polish remover and cotton pads (for cleanup)
- An angled brush (optional)
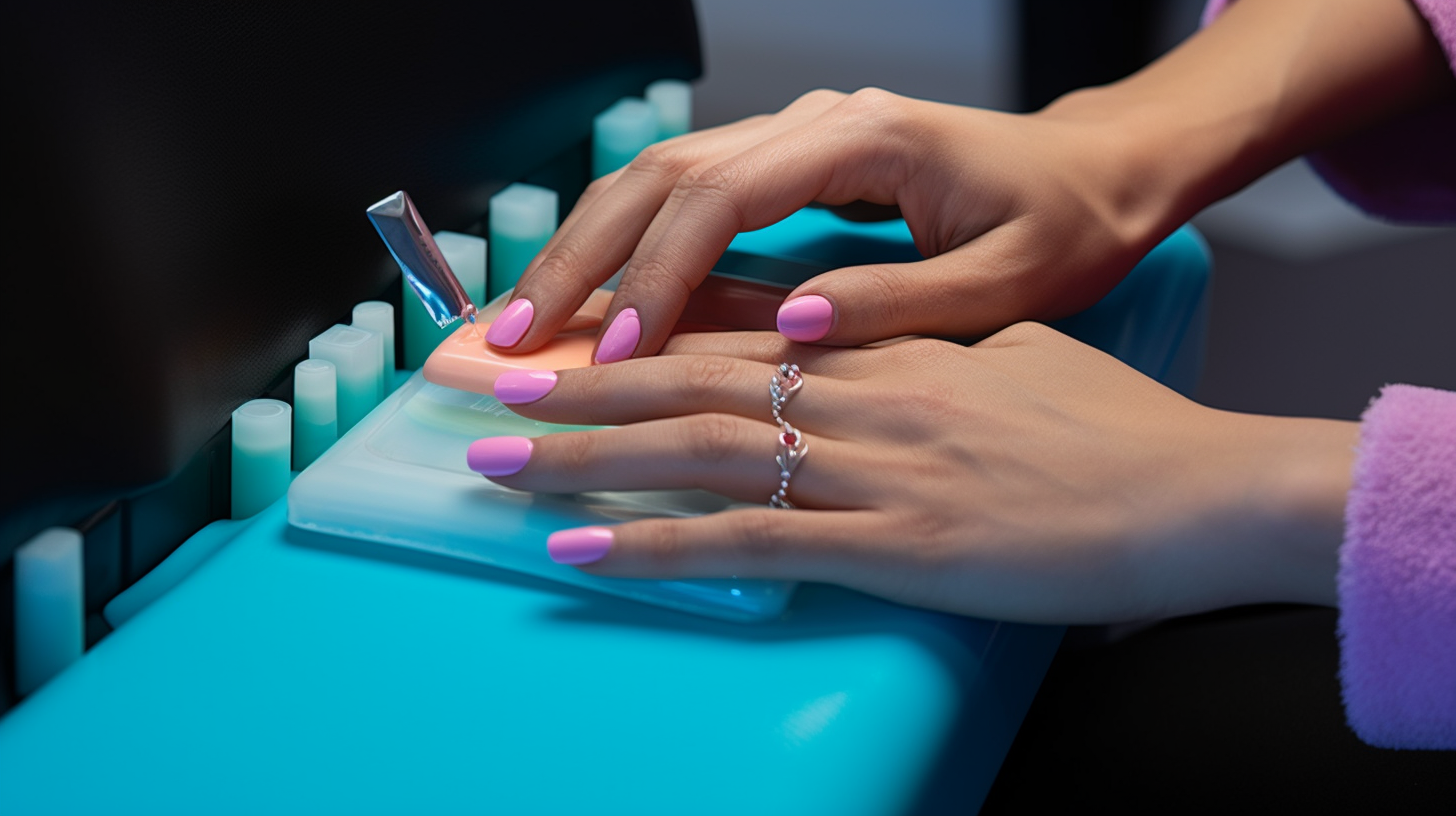
Step 1: Prepare Your Nails
Begin by preparing your nails for the ombre manicure. Remove any existing nail polish using a gentle nail polish remover. Trim, shape, and buff your nails as desired. Apply a thin layer of base coat to protect your natural nails from staining and promote better adhesion for the colored polishes.
Step 2: Choose Your Colors
Select two or more nail polish colors that will blend well together for your ombre design. Consider complementary shades or colors within the same color family for a cohesive look. For example, you could choose different shades of blue for a cool-toned ombre effect or various pink hues for a feminine touch. The choice is yours!
Step 3: Prep the Sponge
Take your makeup sponge and cut a small piece that’s large enough to cover your entire nail. If you’re using a new sponge, it’s a good idea to dampen it slightly with water to prevent excessive absorption of the nail polish.
Step 4: Paint the Colors on the Sponge
Apply a stripe of each chosen nail polish color side by side on the sponge. Make sure the stripes slightly overlap to ensure a smooth gradient transition. You can either directly apply the polish onto the sponge or use an angled brush for more precision.
Step 5: Dab the Sponge onto Your Nails
With your prepared sponge, gently press it down onto your first nail, starting from the cuticle area and moving towards the tip. Lightly dab and roll the sponge back and forth to transfer the colors onto your nails. Repeat this step for each nail, reapplying nail polish to the sponge as needed.
Step 6: Repeat and Blend
If you’re aiming for a more intense ombre effect, repeat steps 4 and 5, layering additional colors onto your nails until you achieve the desired look. Remember to blend each layer carefully by lightly dabbing with the sponge or using a clean section of the sponge for each color.
Step 7: Clean Up Any Excess Polish
Ombre nails can be messy, but don’t worry! Take a small angled brush or a cotton swab dipped in nail polish remover and gently clean up any excess polish around your cuticles or skin. This will give your manicure a neat and polished finish.
Step 8: Apply a Top Coat
Once you’re satisfied with your ombre design and the polish has dried, seal it with a high-quality top coat. The top coat will not only add shine but also protect your manicure, making it last longer.
Step 9: Admire Your Stunning Ombre Nails!
Now it’s time to sit back, relax, and admire your beautiful ombre nails! Show off your creative masterpiece to friends and family or even on social media. You’ve successfully achieved a stunning ombre manicure all by yourself!
Tips and Tricks for Perfect Ombre Nails:
- Start with lighter shades and gradually build up to darker ones for a seamless gradient.
- Experiment with different sponge densities or textures for unique ombre effects.
- If you prefer a softer look, you can lightly blend the colors on the sponge before applying them to your nails.
- For a more defined ombre effect, use nail polish colors with higher contrast.
- Clean the sponge between each color change by dabbing it onto a piece of aluminum foil or palette until the excess polish is removed.
- Add extra flair to your ombre nails by incorporating glitter or nail art decorations.
Congratulations! You’ve successfully learned how to achieve stunning ombre nails. With practice and creativity, you can explore endless possibilities and create unique ombre designs that reflect your personal style. Enjoy experimenting and have fun expressing yourself through this trendy nail art technique!
We hope you found this step-by-step guide helpful. If you have any questions or would like to share your ombre nail creations, feel free to leave a comment below. Happy ombre nail painting!